
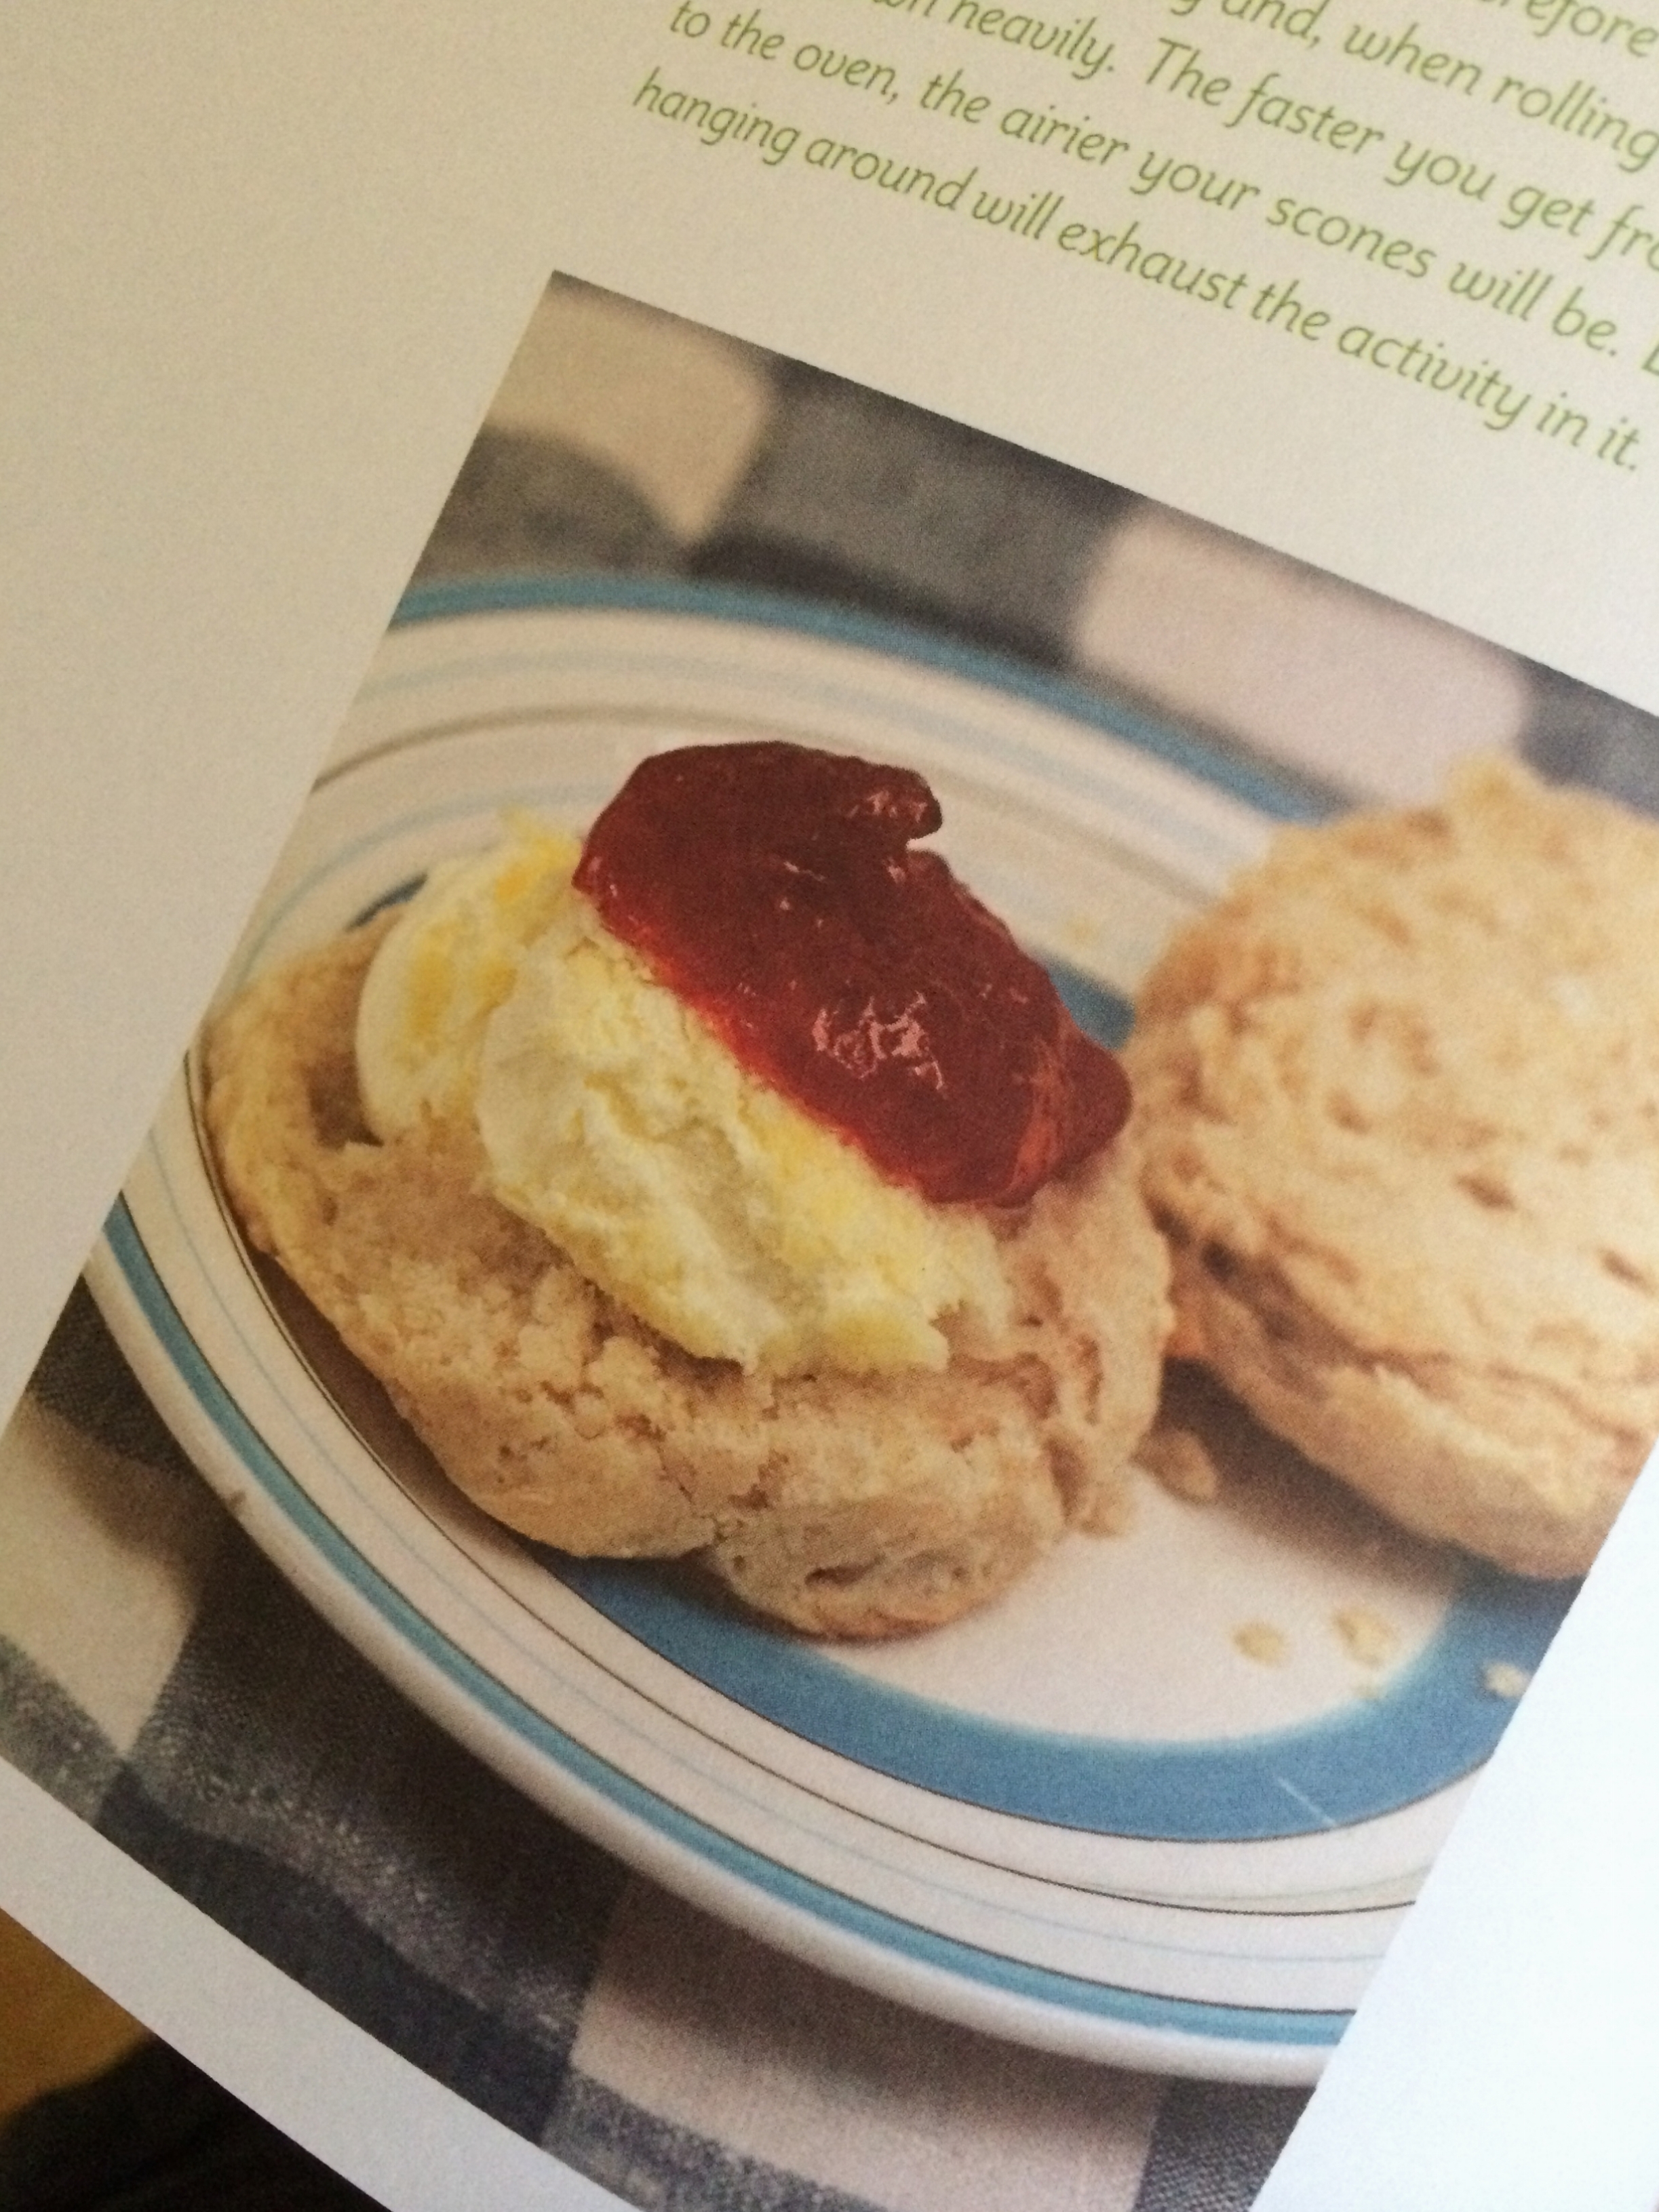
There is nothing like a scone topped with butter, clotted cream and finished with some strawberry jam. Coming from Devon, I know what constitutes a good scone and differentiates it from a poor scone. It is a combination of the rise, the balance of fruit and light and fluffy as compared to heavy and doughy. Sarah is a massive fan of scones as well, so the first time I made one of these about 3 years ago, was because she fancies one for lunch, so I eagerly obliged, even though I had no idea how to make them!
Since I bought my first flat, I’ve accumulated a number of cookbooks, either because I fancied making something (but more often than not didn’t get round to it), or someone bought me one for a Christmas or a birthday. It is fair to say that I probably don’t need another cookbook, but I won’t let that stop me! Anyway, I digress, the recipe and method for this particular scone came from a little blue book called The Pocket Bakery by Rose Prince.
Ingredients
- 480g strong white flour
- 1 tea spoon salt
- 90g cold butter diced
- 15g baking powder
- 400ml buttermilk or milk soured with juice from half a lemon
- For an even bigger rise, try adding a teaspoon of baking powder with the flour
THE Method
With the above set of ingredients you can make pretty much any scone you name – cheese scones, raspberry scones, bacon scones, etc. You add the particular ingredient just after you’ve mixed everything together. However, the focus of this particular write up is for a firm traditional favourite – raisin scones.
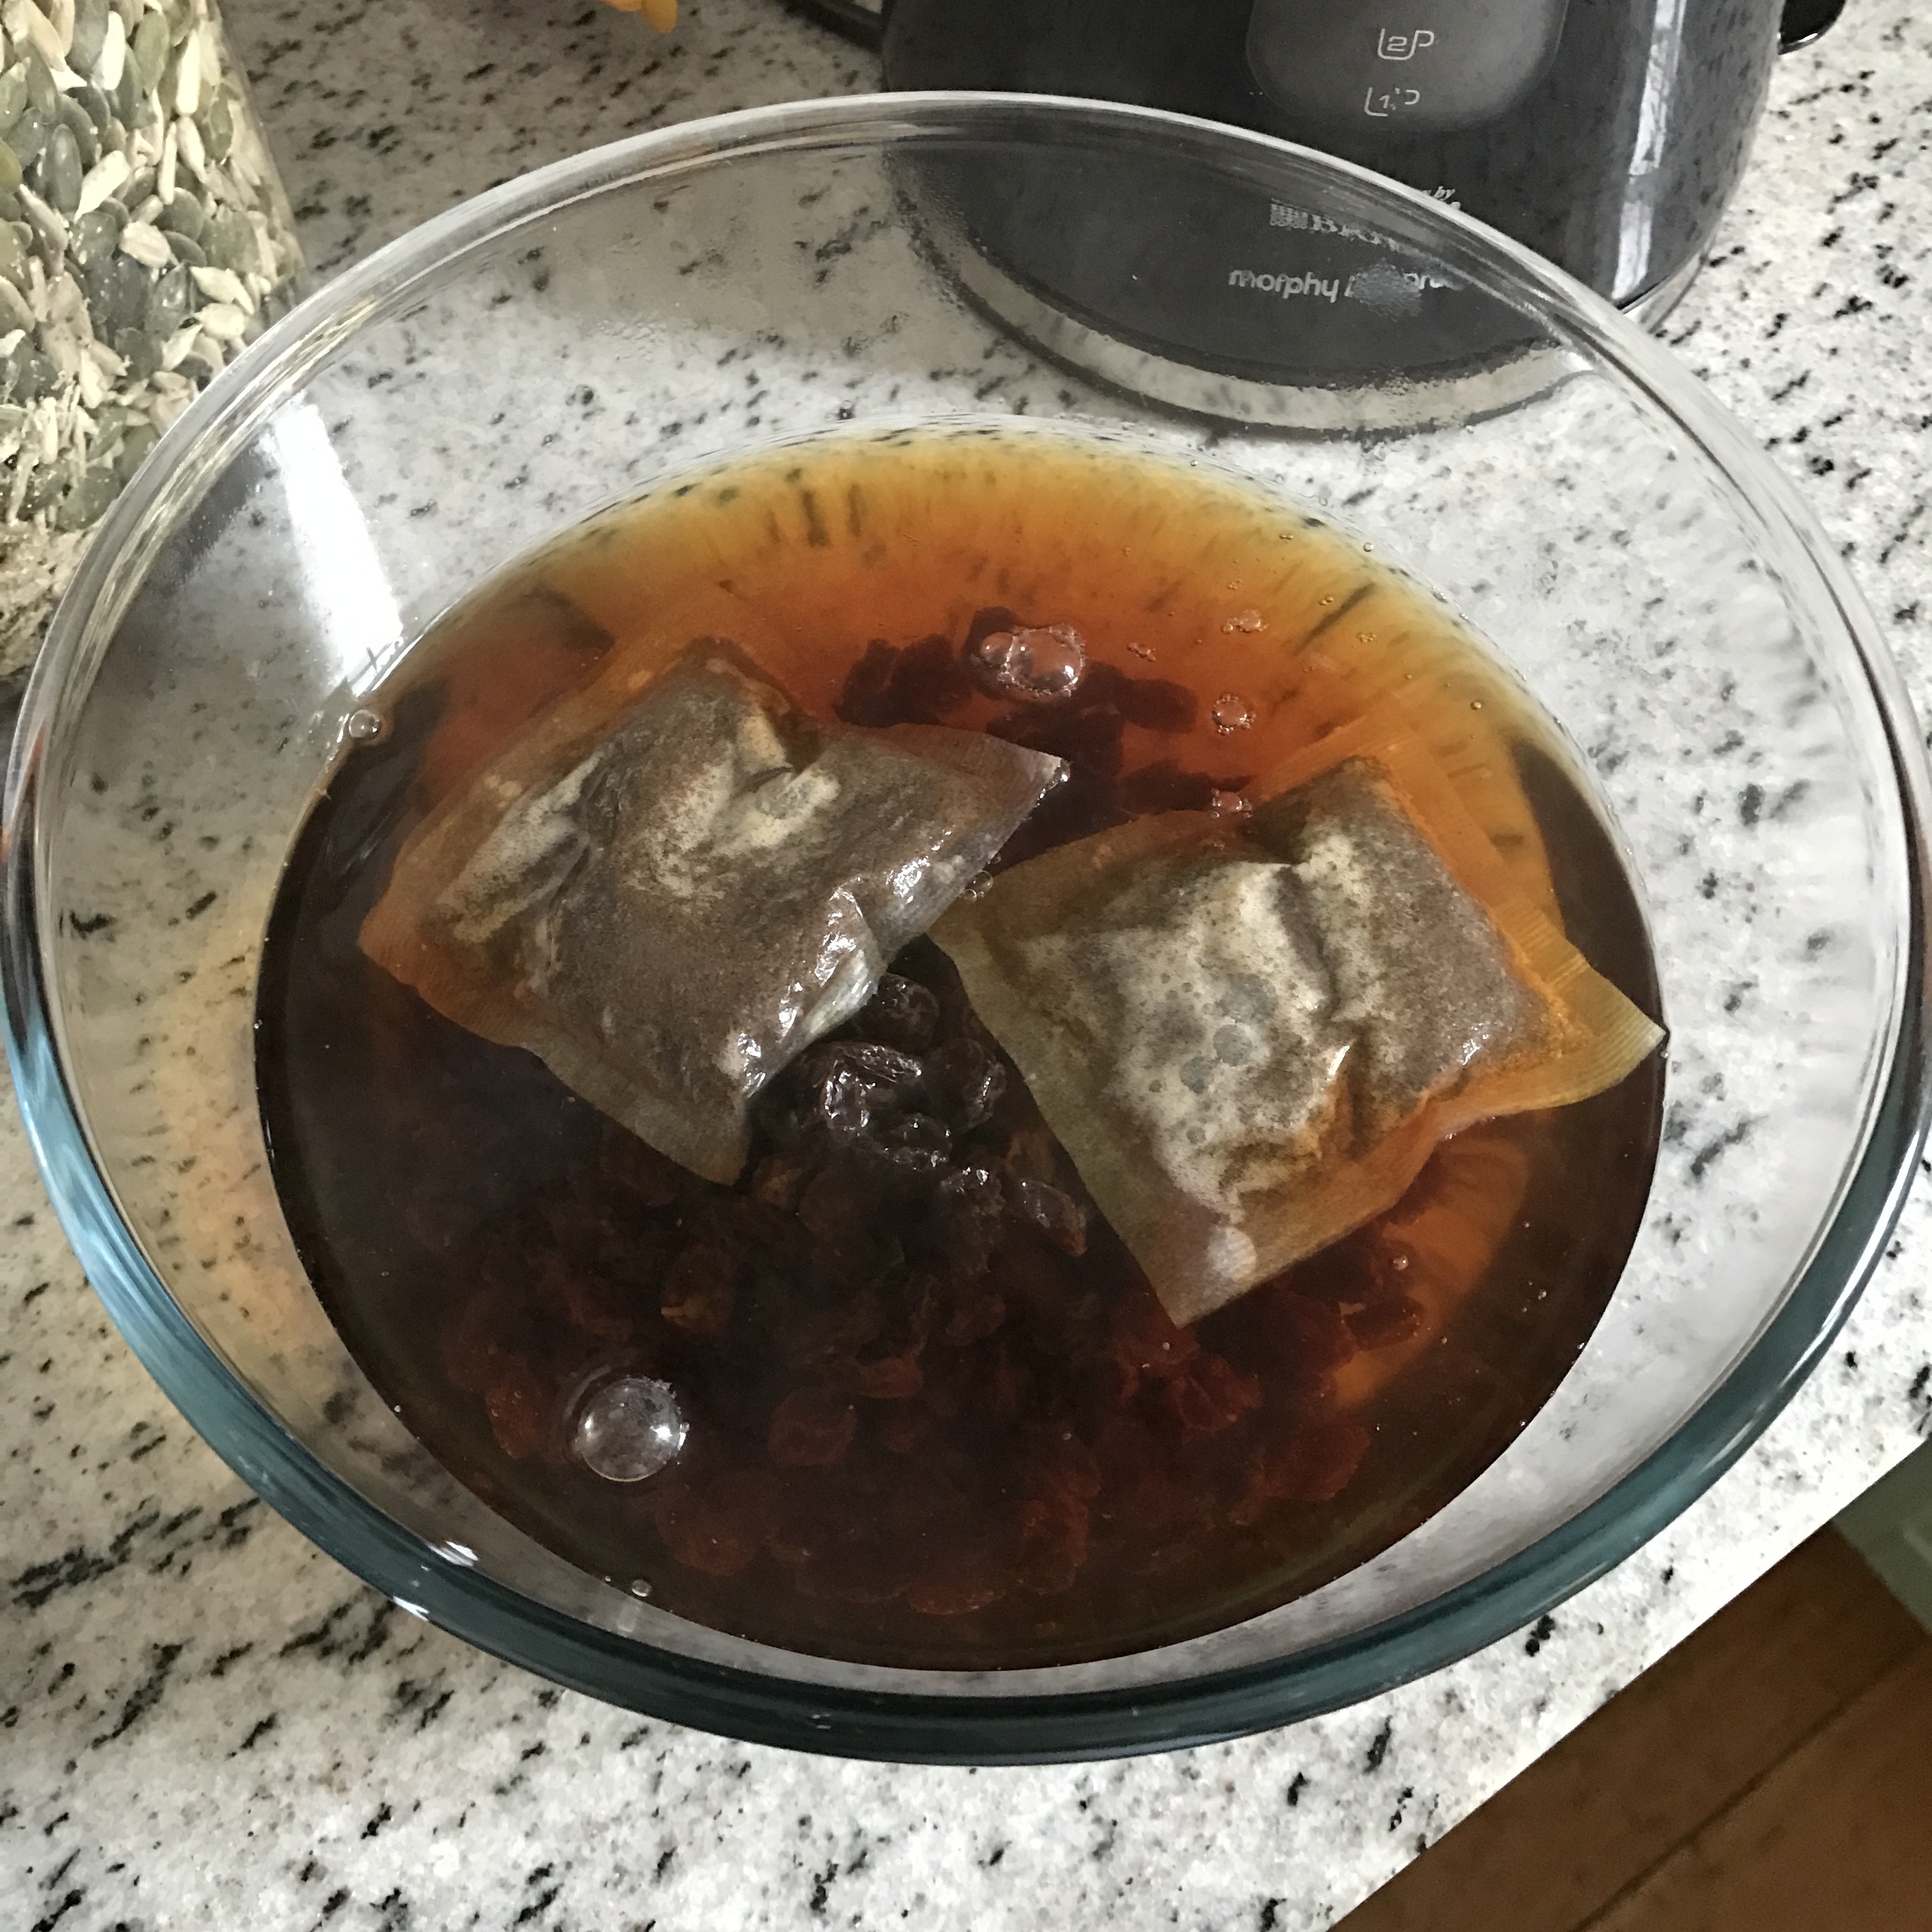
Before you’re ready to get cooking, you need to soak the raisins ahead of time in a bowl of tea to have the fruit open up and take on the additional flavouring. I’ve tried to skip this step once, mainly because I forgot, but it didn’t taste as nice as when you give the raisins the love they deserve. So boil the kettle, add a couple of tea bags and then add the raisins, 150g of them, to the hot tea mixture. I would leave it at least 20 minutes to make sure the raisins are fully rehydrated with tea goodness.
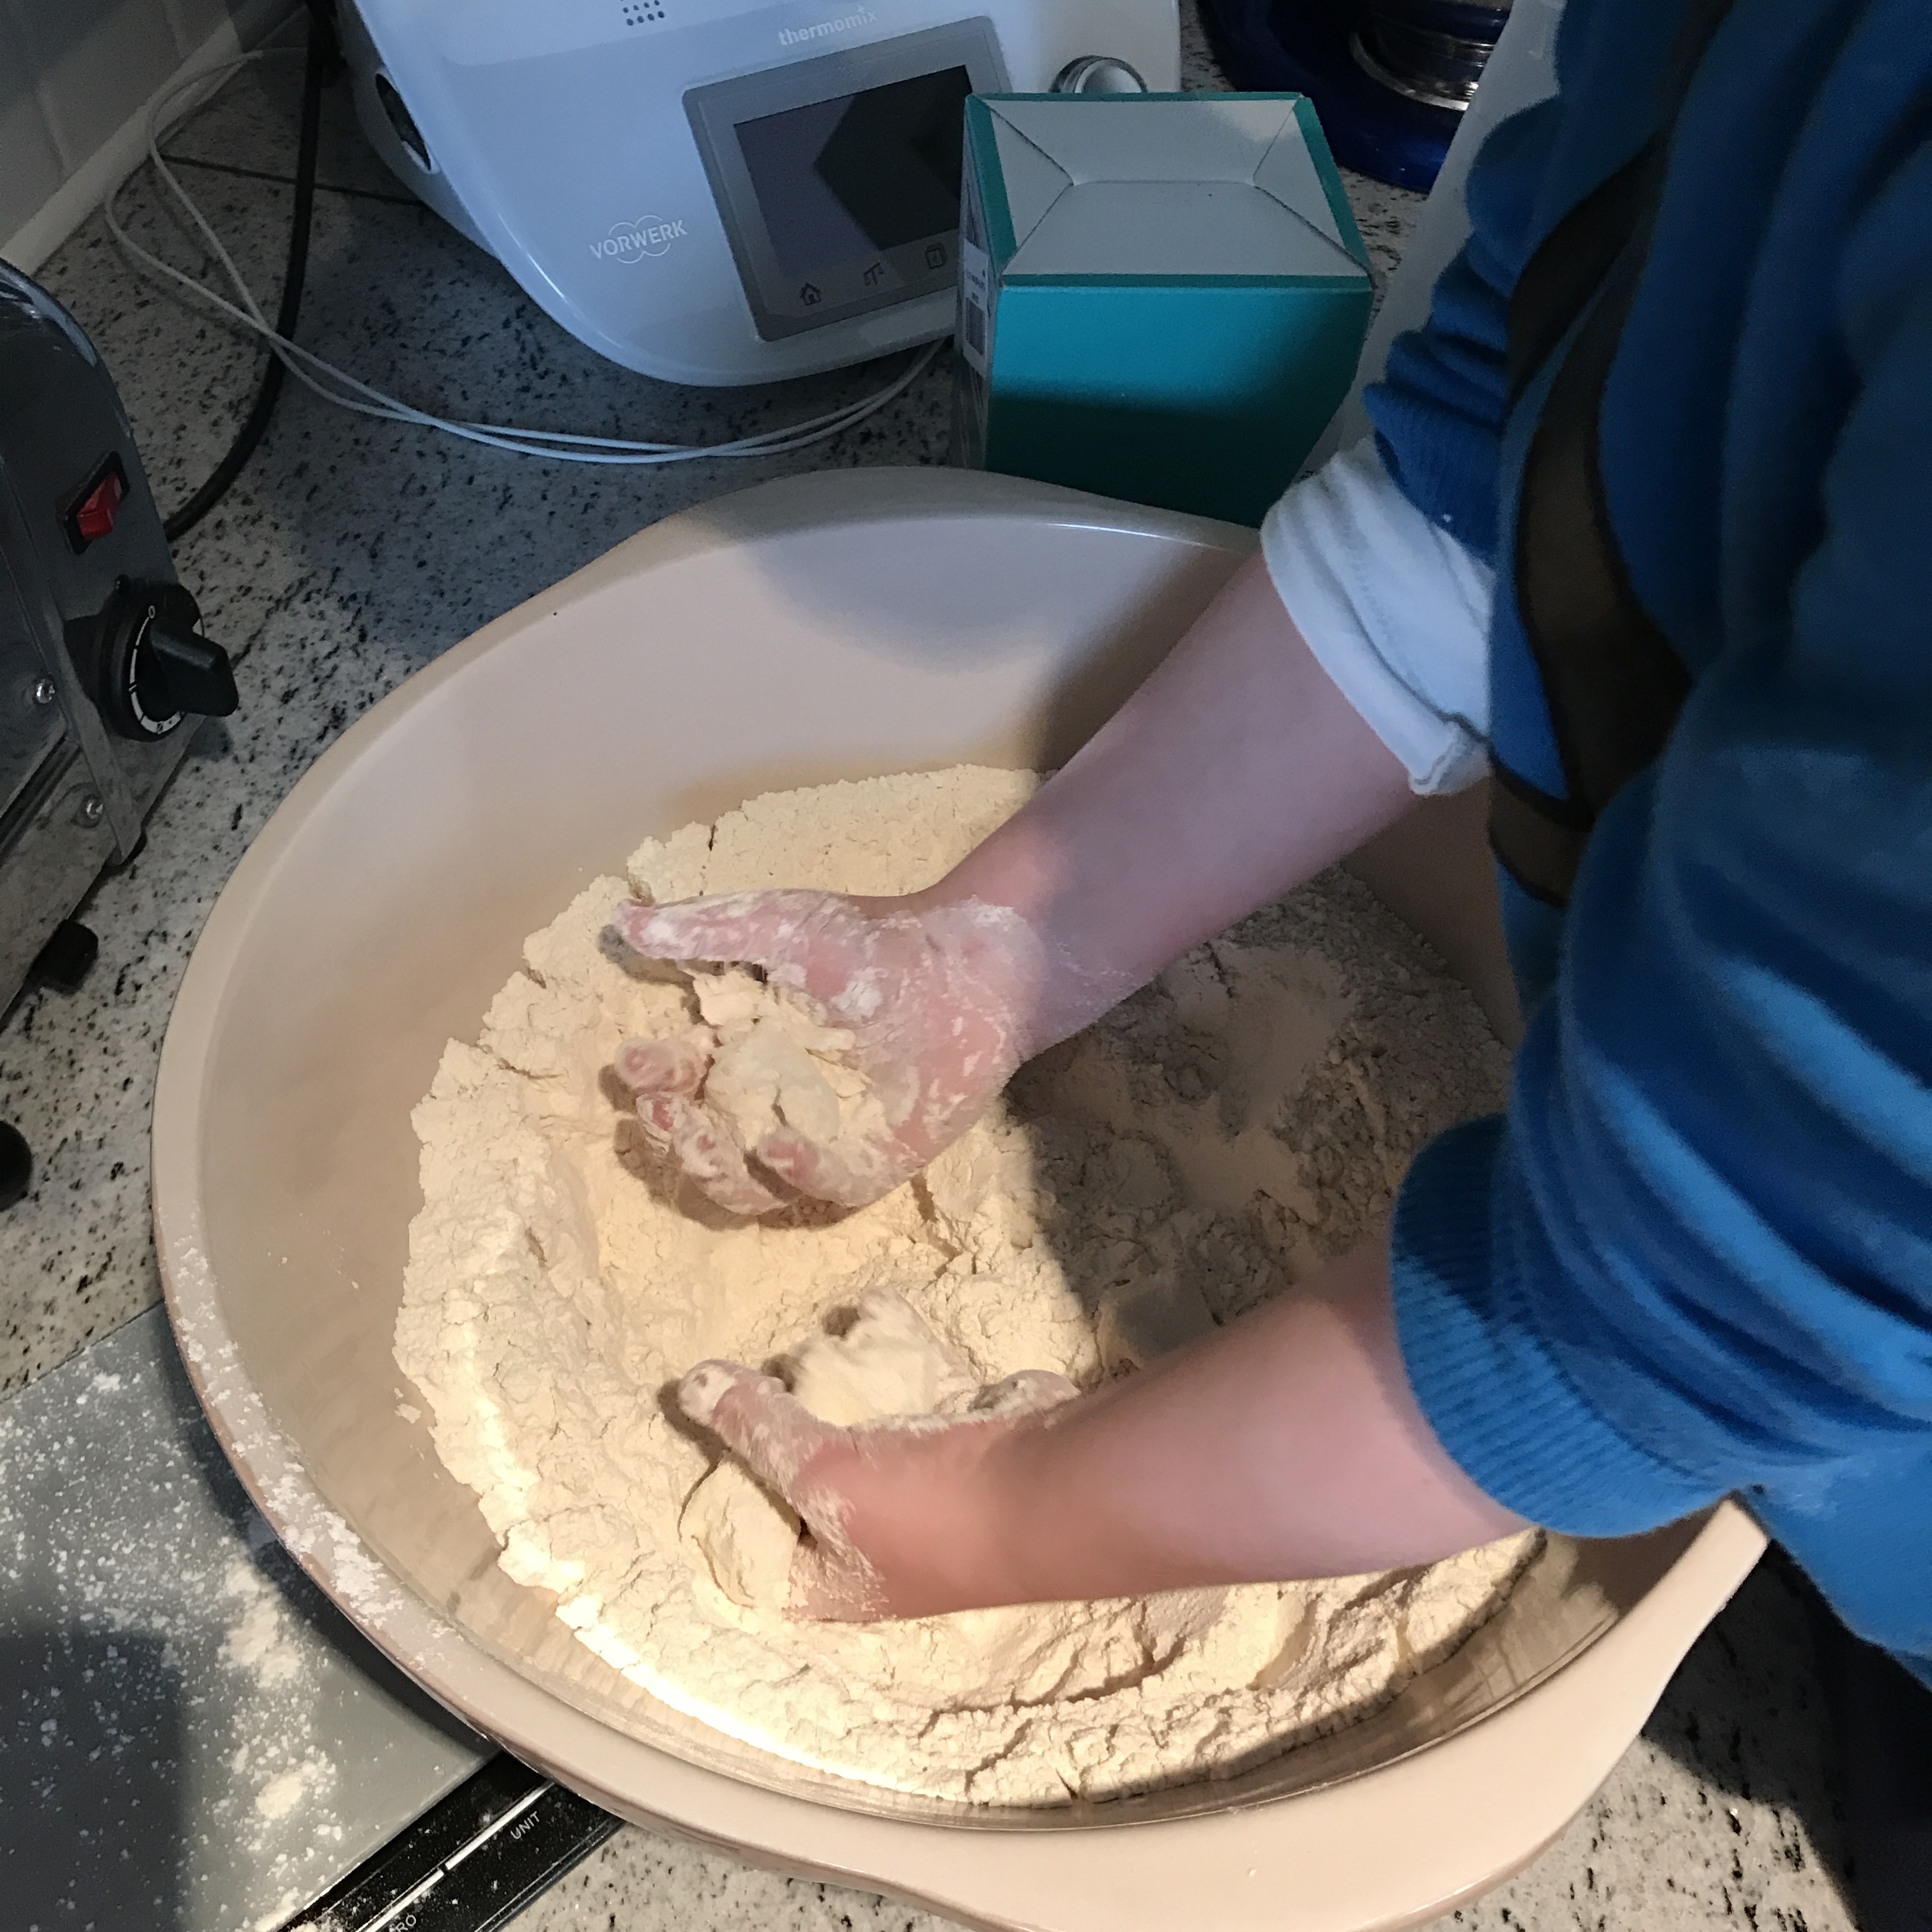
Now you’re ready to create some food magic. I’ve tried making the scone mix a number of different ways – in the KitchenAid, using a Thermomix and the good old fashioned way – by hand. By far the best scone comes from using your hands, it also fondly reminds me of the time I spent with Nan cooking when I was young. The feel of the cold butter being combined with the flour instantly takes me back to when I was 6, or 7 in my Nan’s house, a great set of memories.
So, put the oven on, for this recipe the oven needs to be set to 220C/425F/Gas mark 7. Using a big heavy bowl put the flour in then add the salt and whisk to make sure the salt is fully mixed into the flour. Cut up the butter into small cubes adding gradually into the bowl and rubbing into the flour, it is such a great way to relax and get lost in your thoughts. Once the flour resembles breadcrumbs add the baking powder and mix lightly but well with your hands.
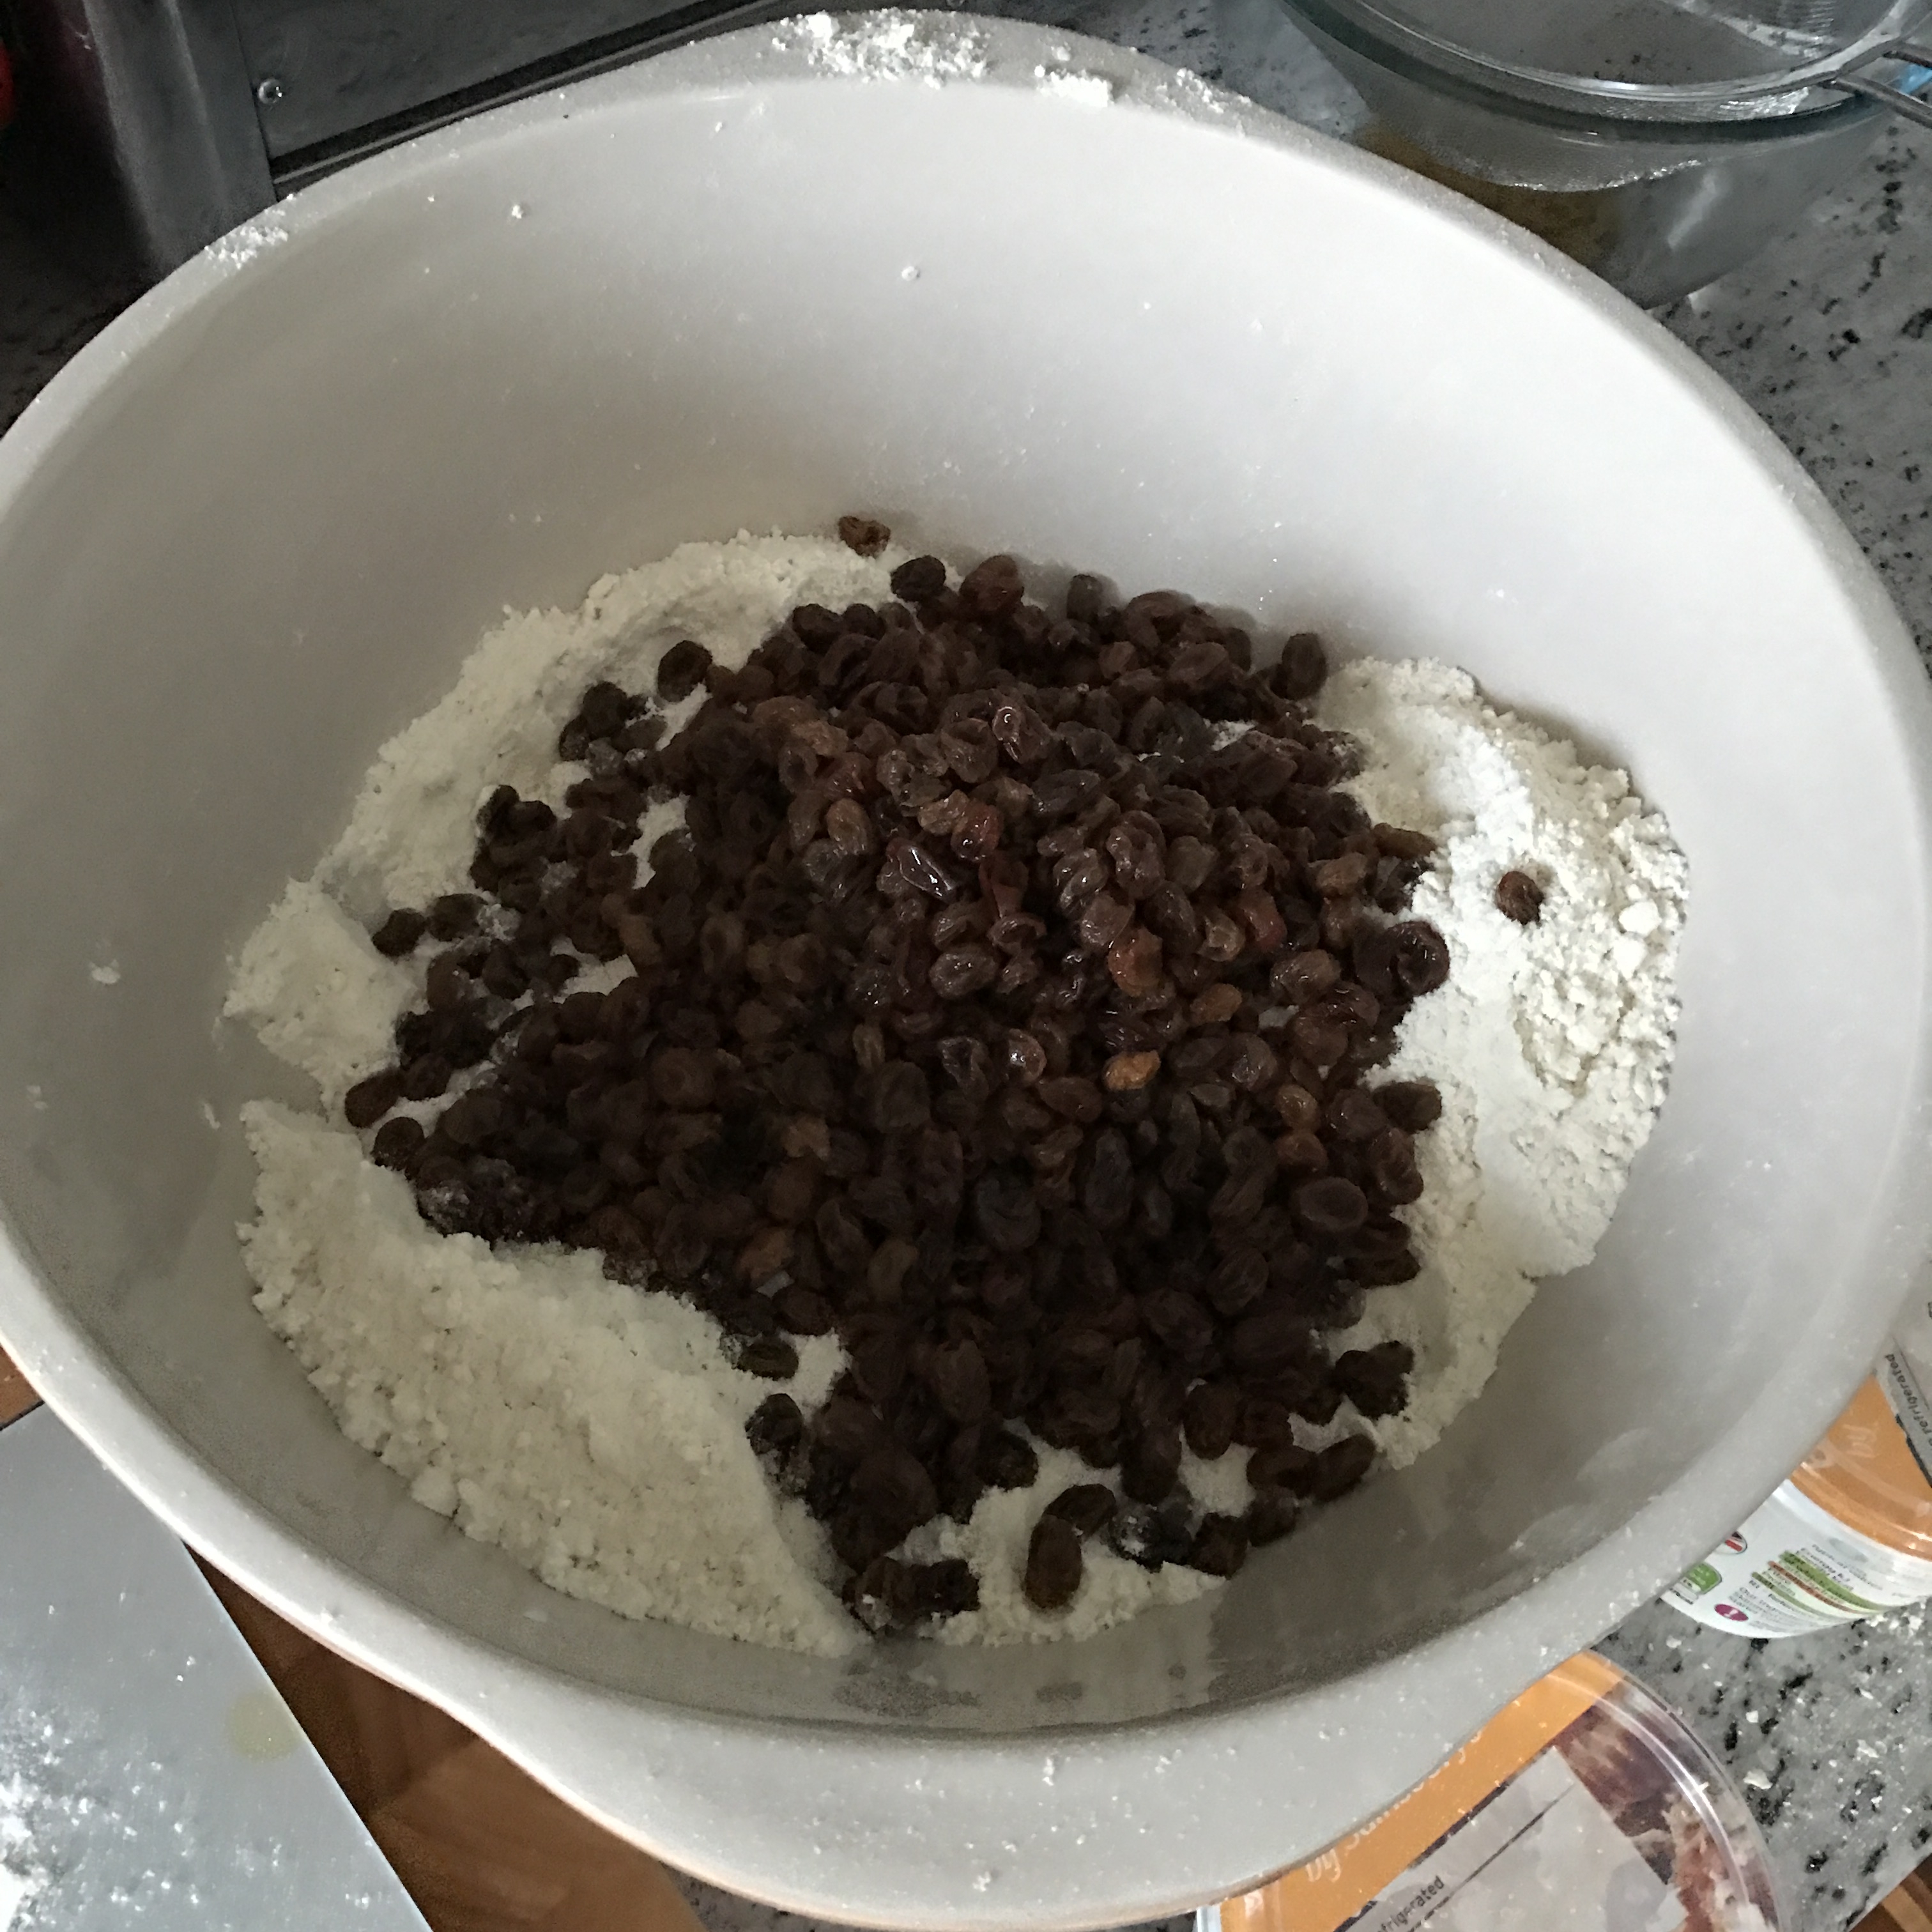
The next step is to add your buttermilk into the mixture. I remember one Sunday when we had guests from Holland staying over who asked for me to show them some of my cooking, I woke early and didn’t have any buttermilk in. So, I decided to make my own by adding the juice of a lemon to some full fat milk. What you’re looking for is the milk to curdle and the acidity of the lemon to flavour the milk. I think on balance the richness that the buttermilk adds yields a better flavour, but if you don’t have it you can use milk and lemon in a pinch. After adding your buttermilk and mixing with a spoon, you want to add in the drained raisins and mix again. The method in the book calls for you to mix until the mixture just holds together, but I much prefer a drier mix, so typically add in some more flour at this stage so it is easier to tip out and handle (it is also less messy!).
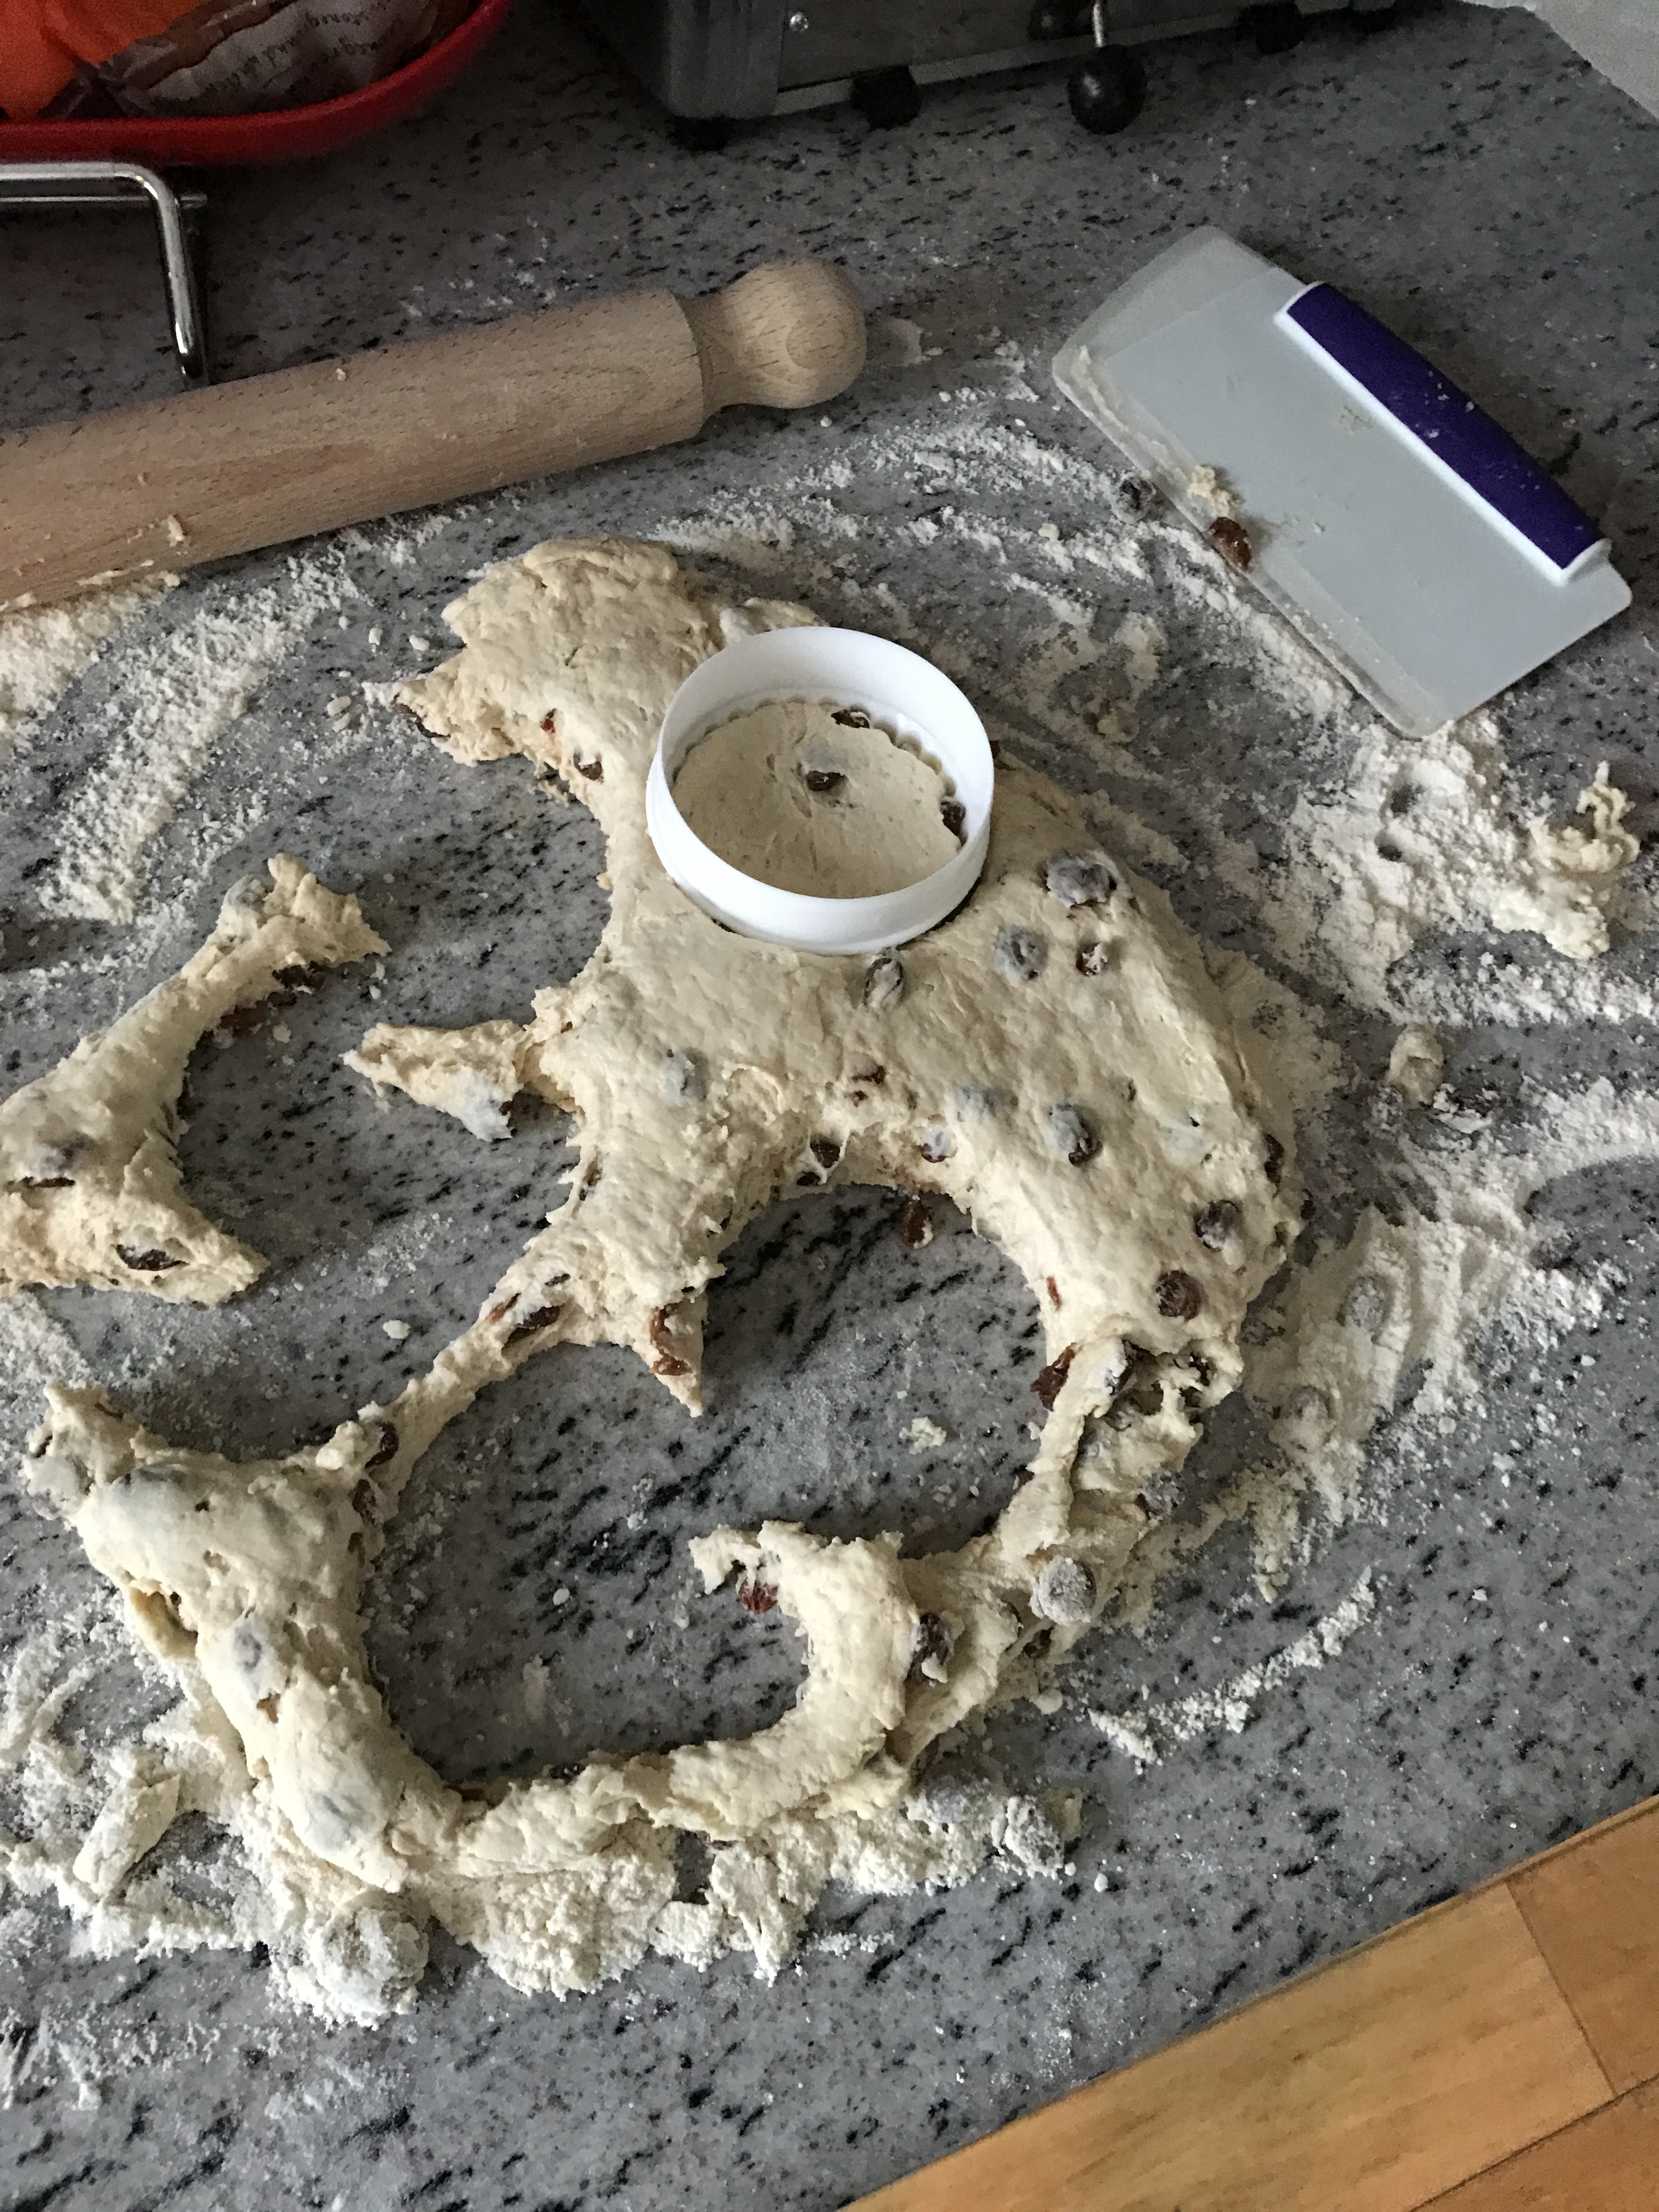
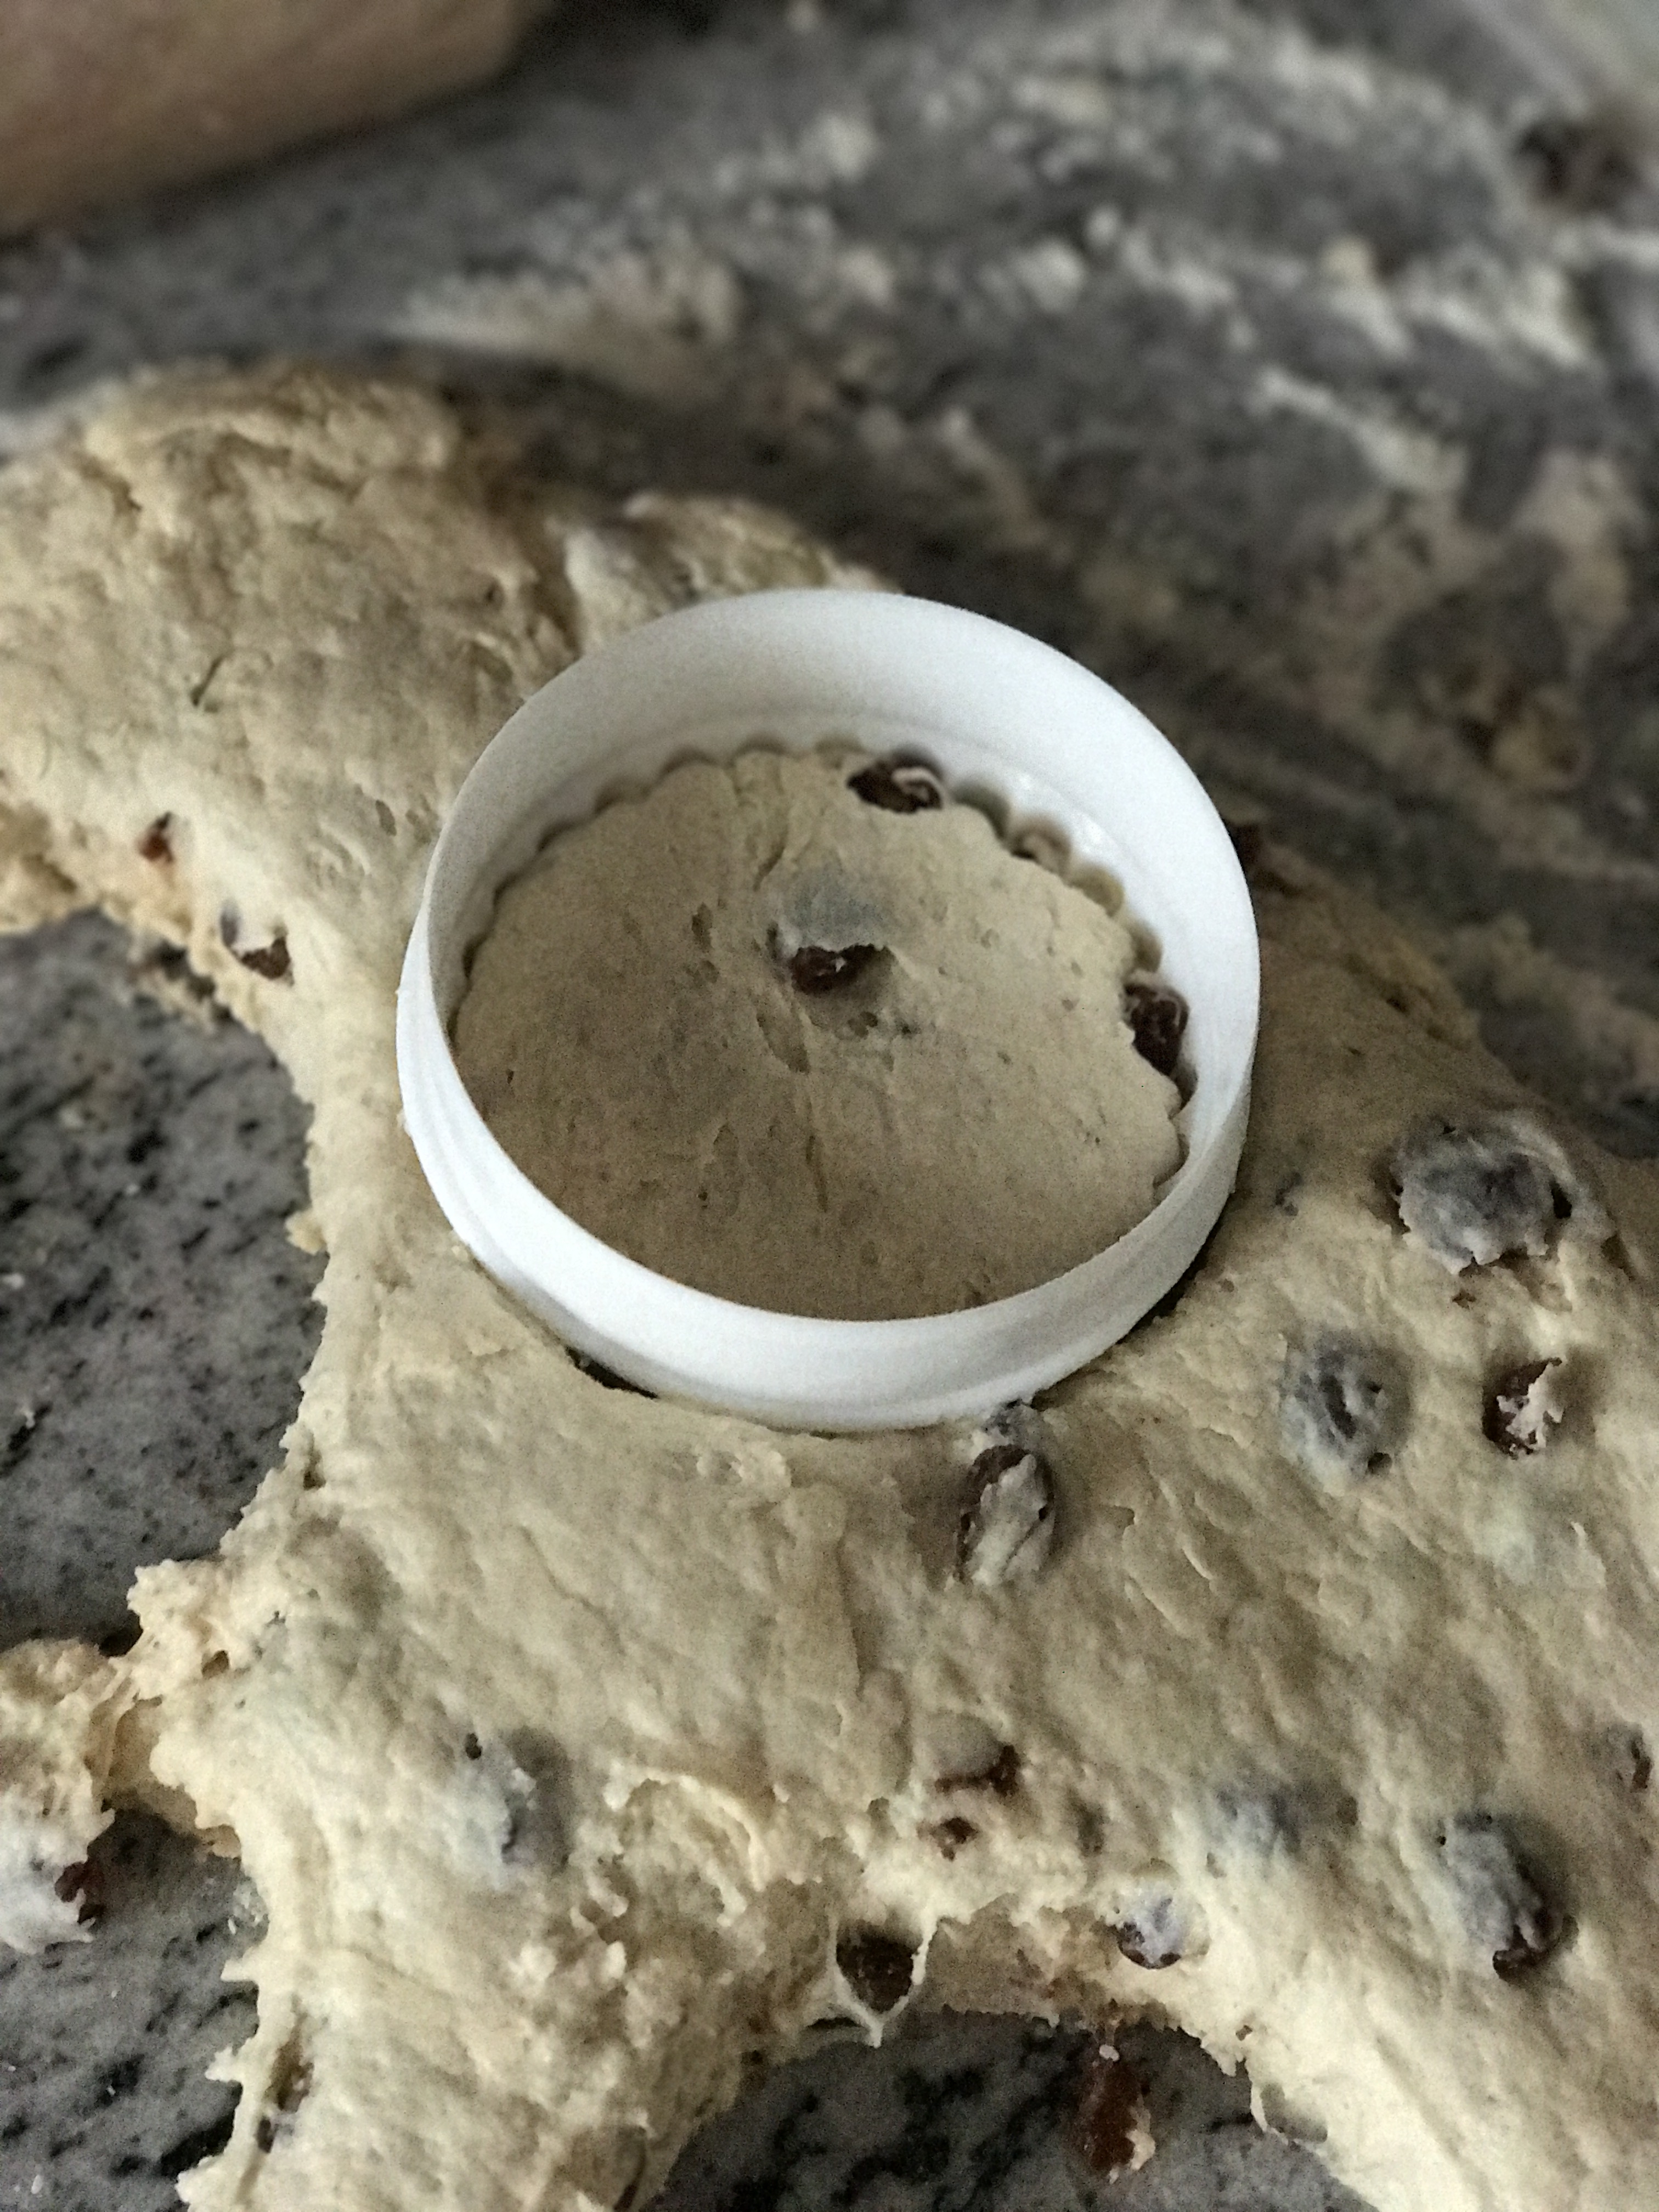
Tip the mixture out onto a floured work surface and lightly turn and knead the dough until you have a smooth ball. Don’t worry if it is sticky. Keep the worktop well floured and press the dough out with floured hands, or use a floured rolling pin to lightly roll to a thickness of 3cm/1 1/4 inches. When you have your dough all rolled out, you want to cut out each of the individual scones using a 8cm/3 inch round cutter, ideally with the scone like edging design, you can also use a knife if you don’t have a cutter. With all the off cuts of the dough, you can roll them all back together to make sure the dough goes as far as possible.
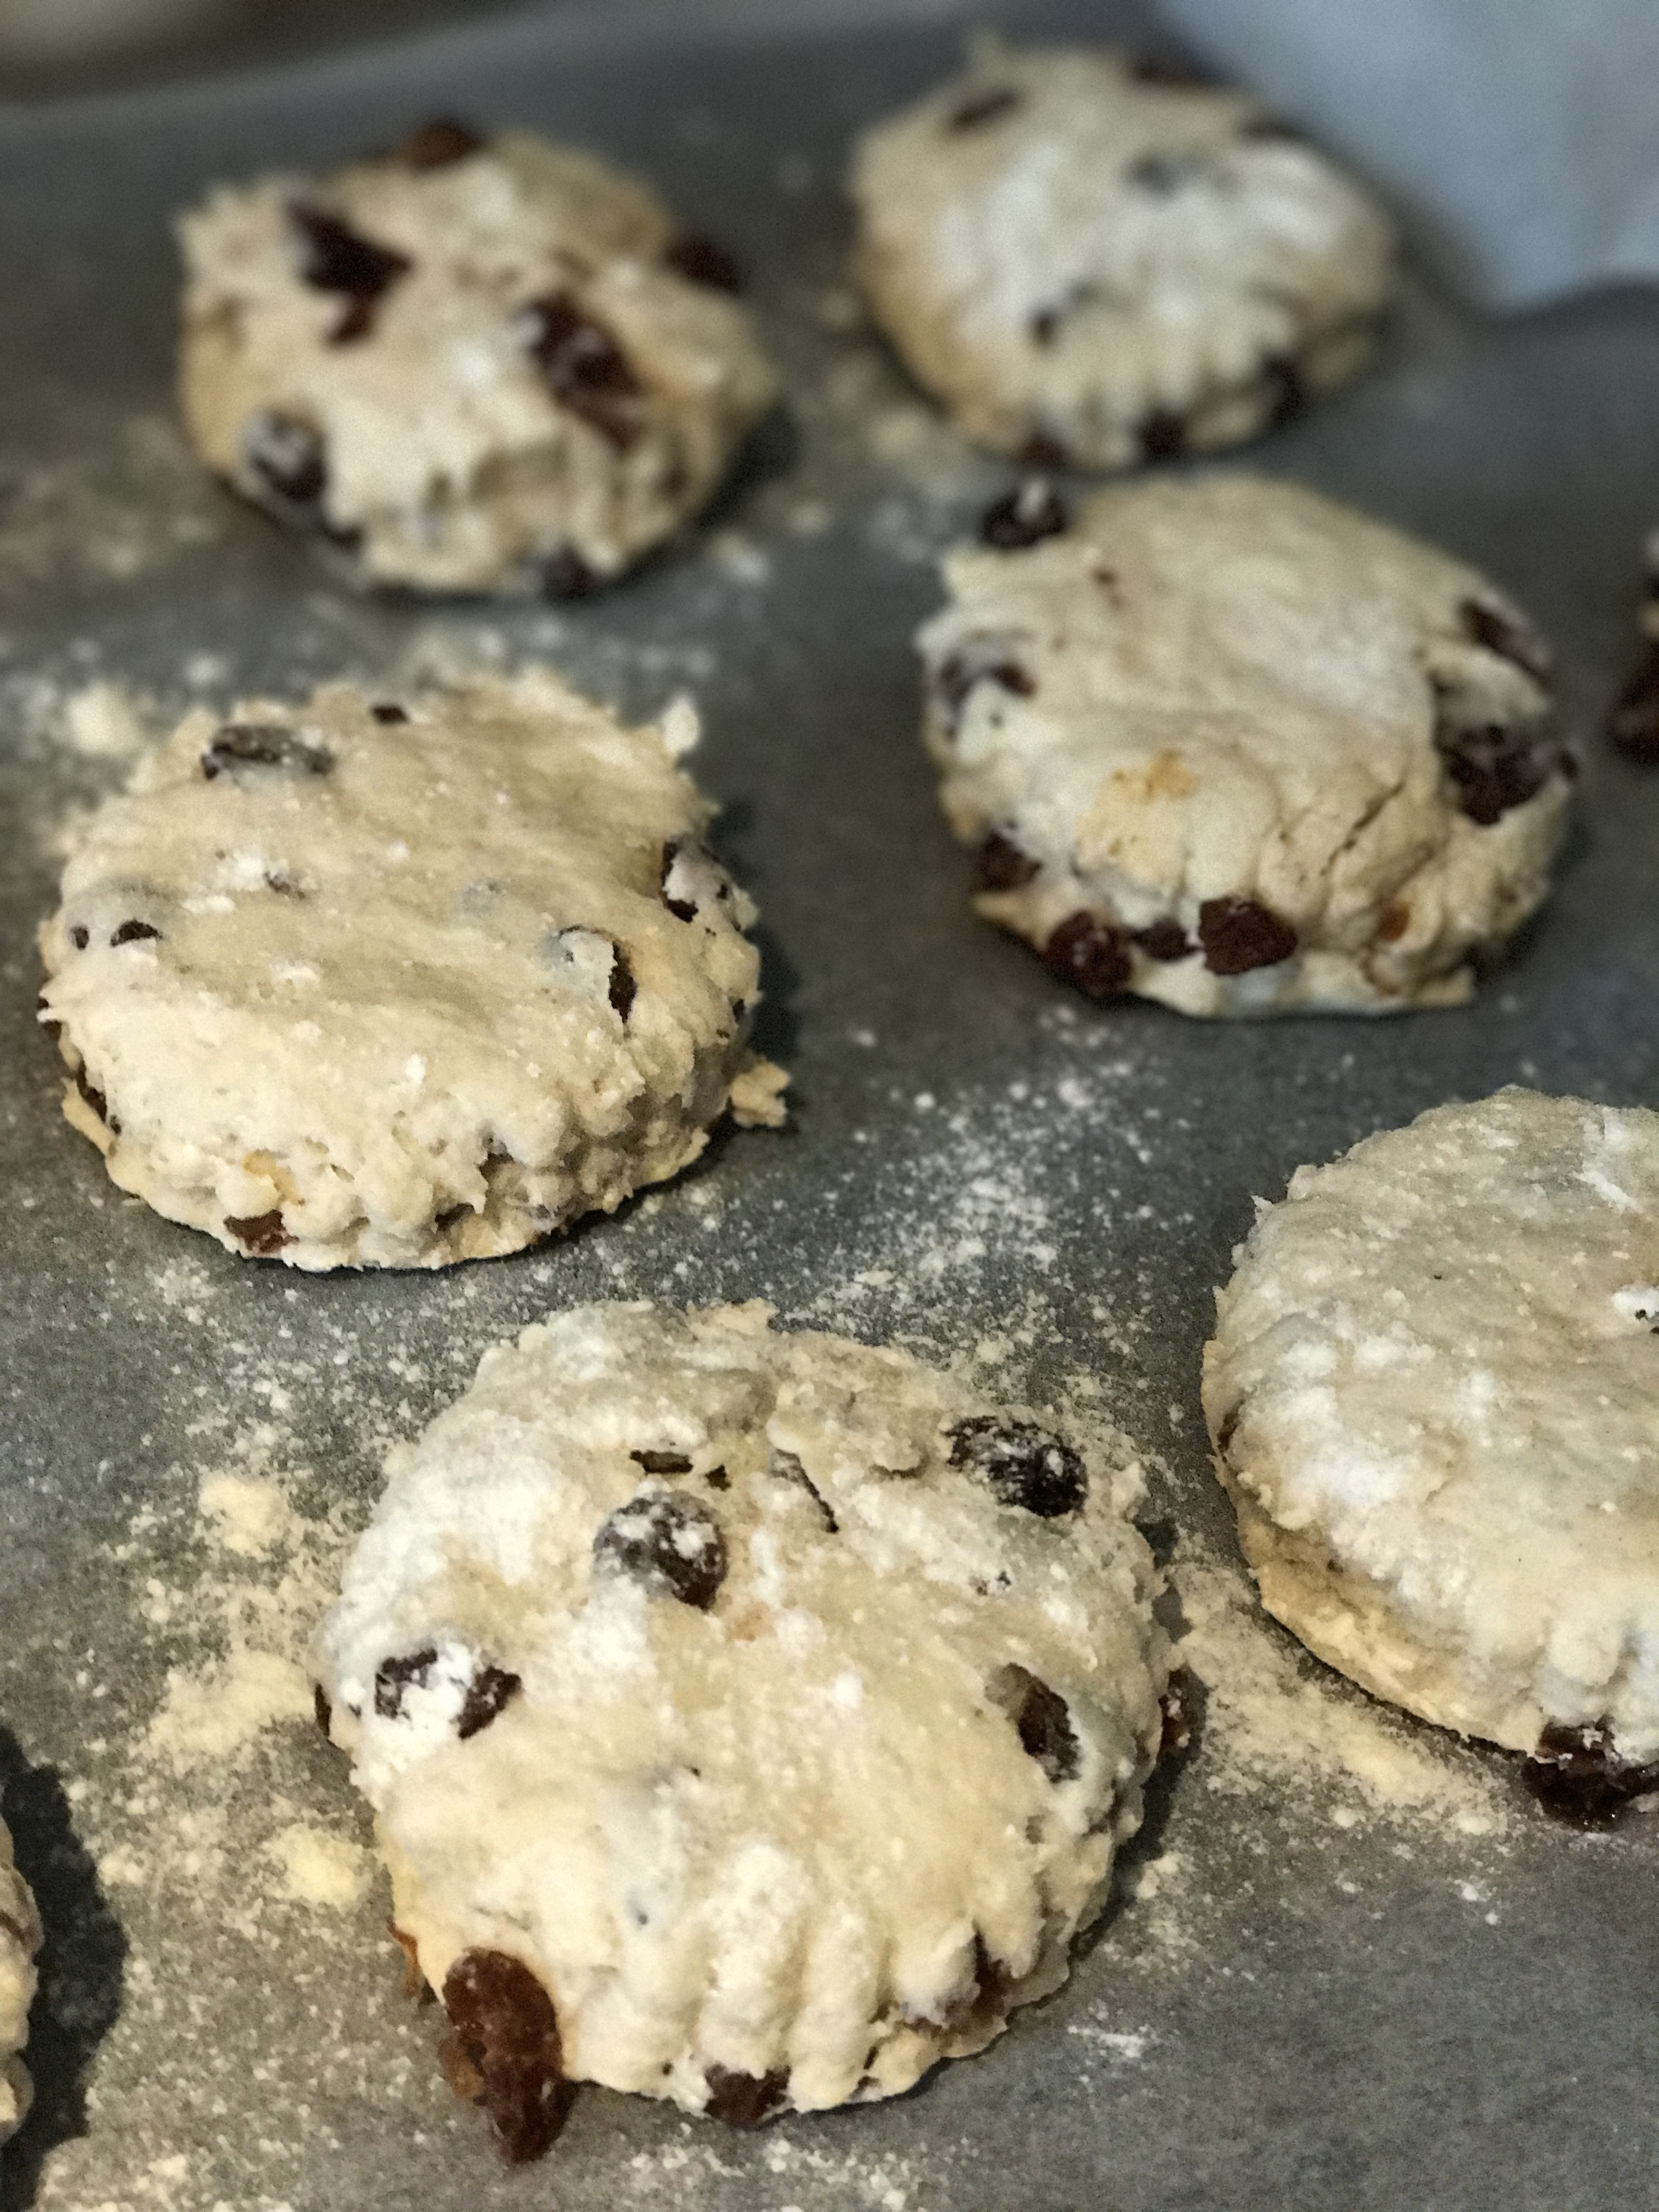
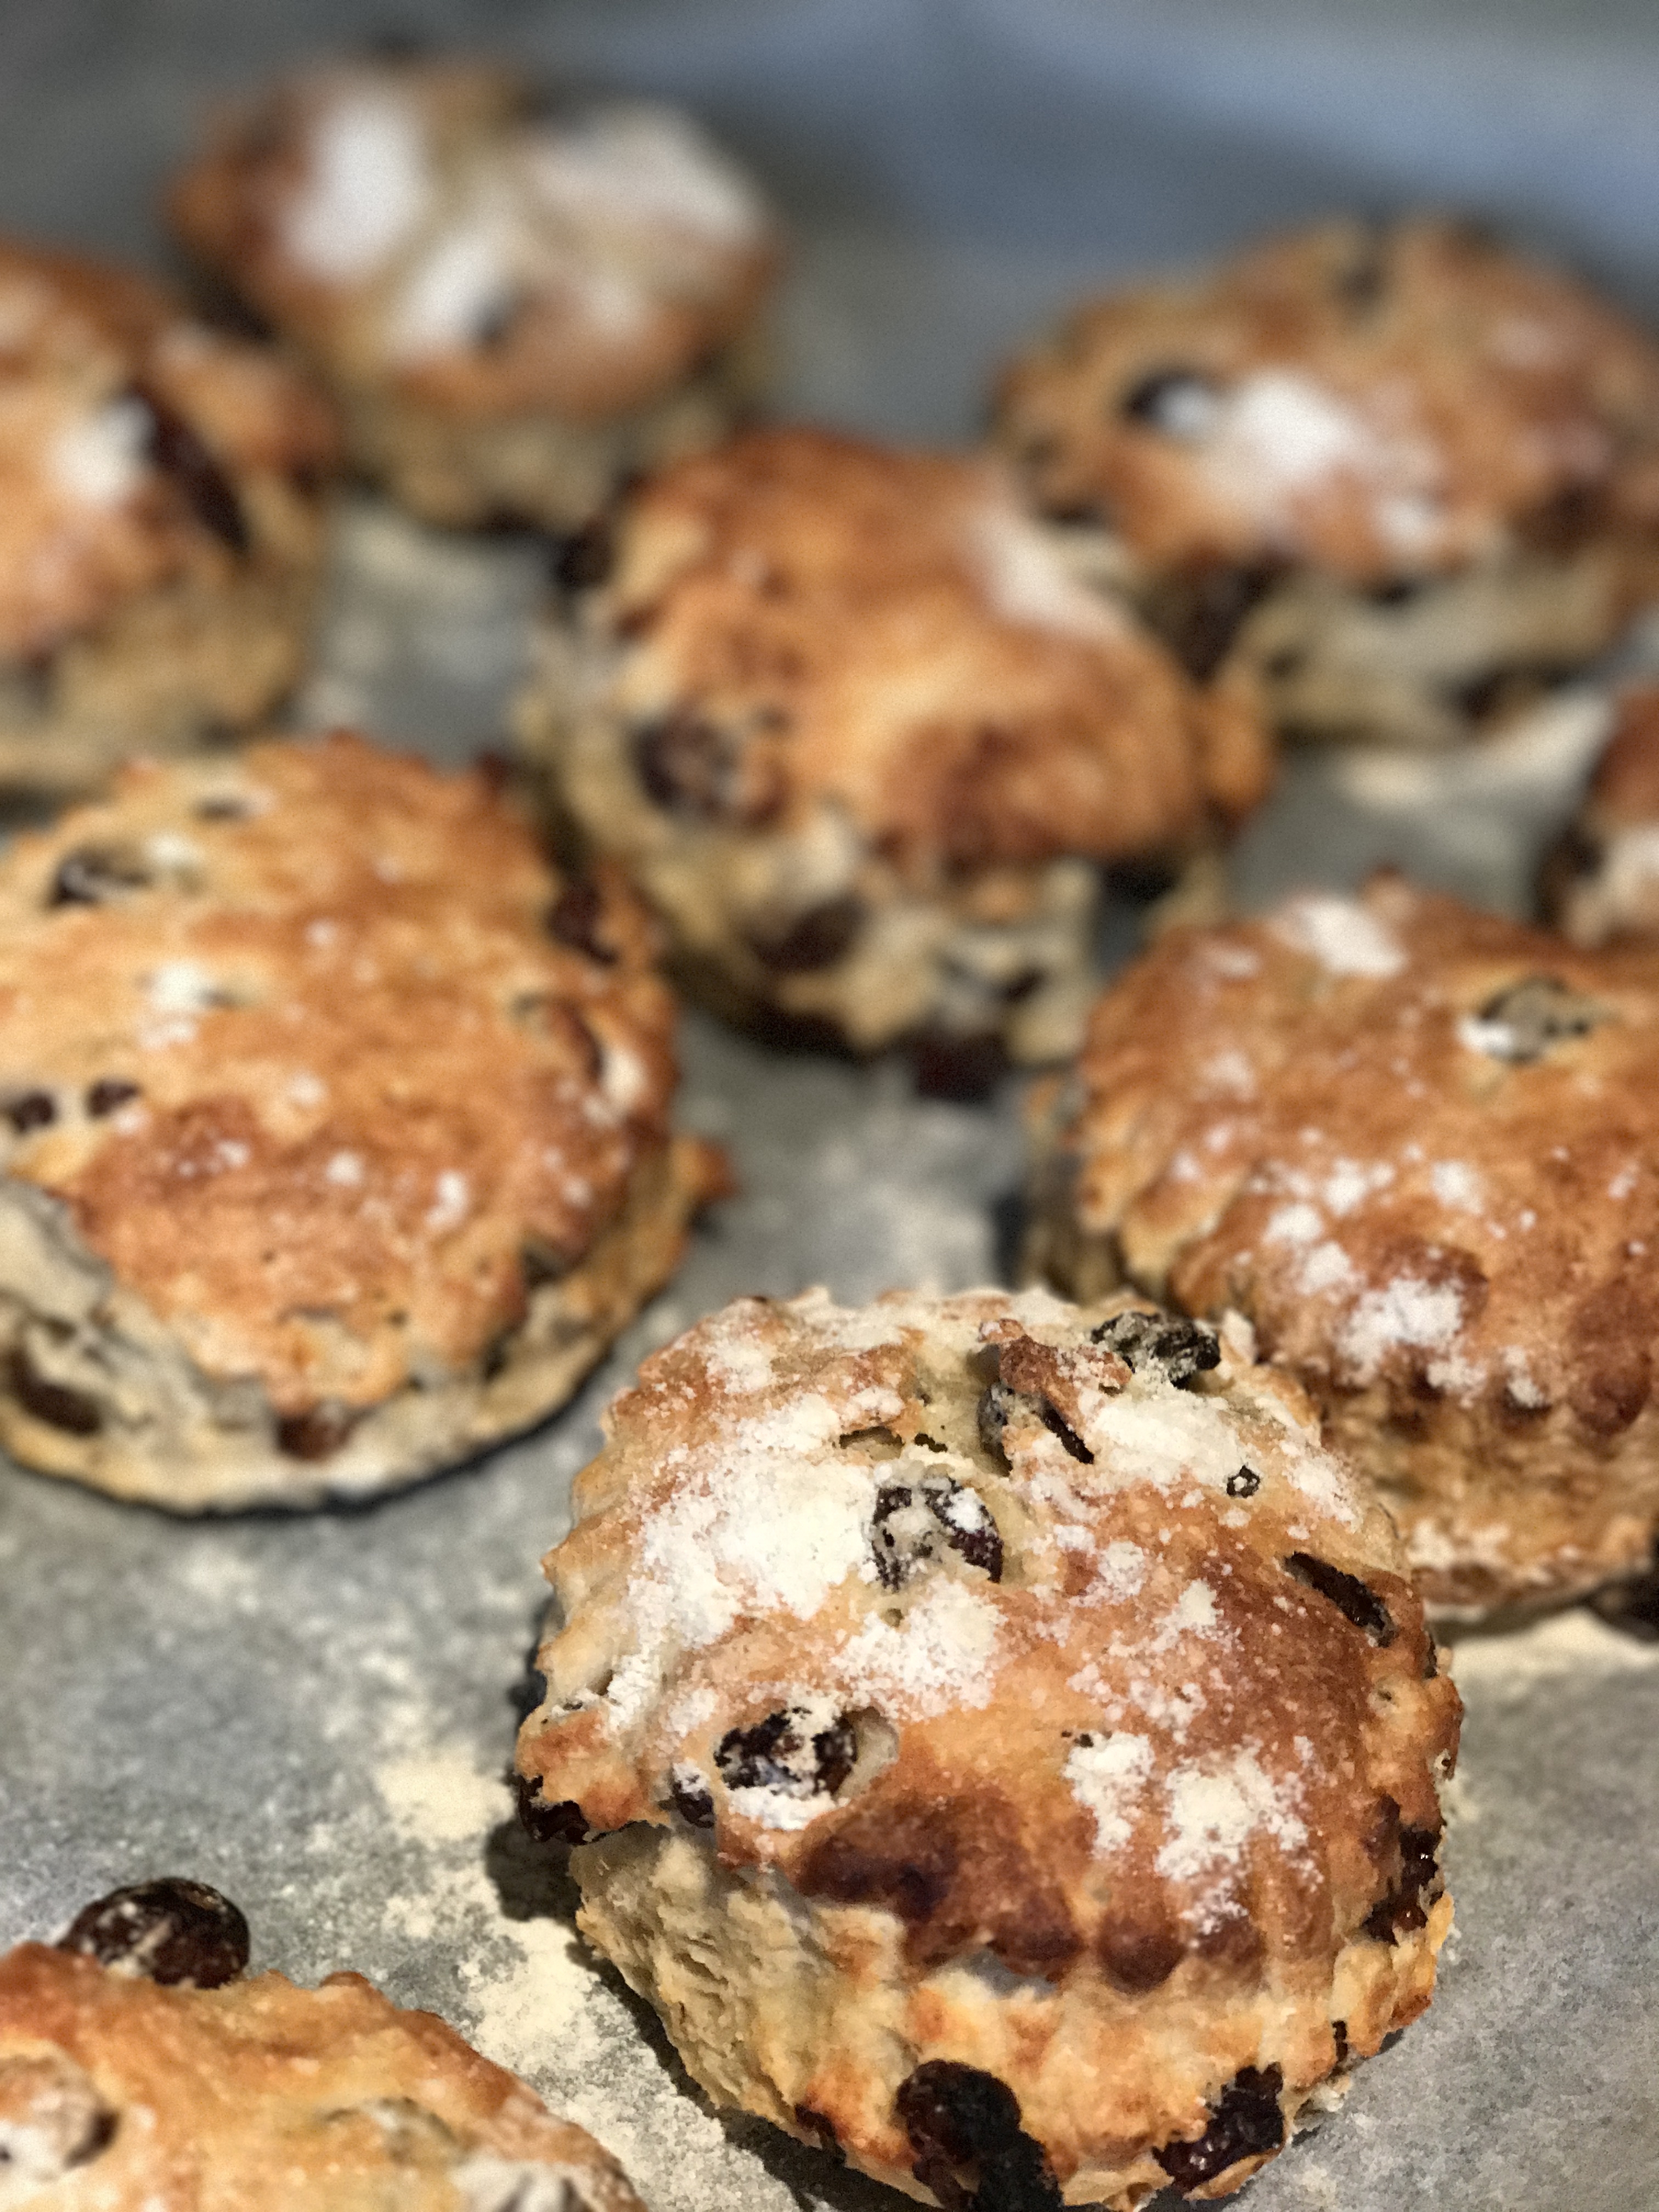
Place the scones on a baking tray lined with baking paper or parchment. I always sprinkle a little bit of flour onto the top of the scones to give them that authentic homemade look. Once all the scones are done you can whack them in the oven for about 15 minutes. I always tend to test with one of the scones, before serving lots of them, as there’s nothing worse than having a heavy doughy partially cooked scones to ruin your day.
Once they’re all cooked, put them onto a cooling rack to chill out for a bit while you get the other bits and pieces out of the fridge. The best scones by a country mile are the ones that have butter, clotted cream and strawberry jam. Go ahead and create your masterpiece while the scones are still a little bit warm, the combination of the melting butter, cream, as well as the jam on a scone is just something everyone should experience in their lifetime.
The amount of ingredients in this recipe should make between 16-20 scones, that said I tend to double up the ingredients to make sure there is enough to go round and also to take into work. I love to share and inspire others and there’s no better way to do that by sharing and letting others taste just how good something cooked can taste. I hope you enjoyed reading and really interested to hear how you get on.


0 comments on “Raisin scones, s’gone before you know it!”Add yours →