Like a lot of of my cake shaped inventions, they come from a desire to create things I think are impossible, something that Sarah loves (normally always this one to be honest!), or something that I really like. This sexy little pink treat, ticks all three boxes and was brought into sharp focus when it was the object of technical challenge on The Great British Bake Off.
The only real reference point I had before I did a quick Google search for a recipe, was the exceptionally processed version that Mr Kipling provides in convenient bite size portions. I used to eat these when I was small and also when I was not so small (a little chubby some would say). The recipe I found was fittingly by Mary Berry and pretty easy to follow, by my word is it messy. Sarah always teases me that I am the messiest cook she has ever seen and although she loves the food I create, she is not a massive lover of the mess I create. Well, I was about to surpass the mess levels and raise it up a notch!
For the sponge
The simplest part for sure (and the cleanest) is the sponge, but to a degree is the most important part of the recipe is the sponge. Once you’ve sink your teeth through the fondant packed outer layer, you need to make sure the sponge is light, not dense and moist. Fondant can cover most things, but if you’re eating a fondant covered rock, you’re not going to want to go back in for another one. List of ingredients is as follows:
- 225g self-raising flour
- 225g butter (left out for an hour, or quickly blasted in the microwave on high for 20 seconds)
- 225g caster sugar
- Rind of 1 whole lemon (careful not to go into the pith)
- 4 eggs
First start by preheating the oven to 160C/325F/Gas mark 3 and line a square tin (approximately 20cm / 8 inches) and make sure it is well covered with soft butter to ensure your sponge doesn’t stick to the paper (the most annoying thing ever, though okay as you can always hide the mistake with lots of fondant!). With the lining, I always tend to cut two long strips and them overlap like an + in the tin. Make sure they are long as it makes it easy to lift the sponge from the baking tin and onto the cooling rack.
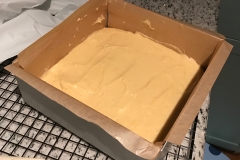
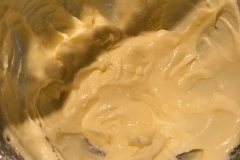
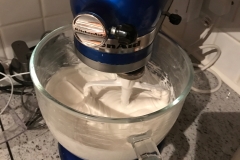
Take all the ingredients and bang them into a food processor together, I always use our KitchenAid, but my Nan would do it in a massive ceramic mixing bowl. To be honest, if I have time I will always mix things with a whisk in this way and also great when doing things with children as they love getting their hands dirty! Mix together all the sponge ingredients on a medium speed until smooth (take a look at the pictures to see what I mean). Once done, tip the cake mixture into the tin and tap lightly to level out.
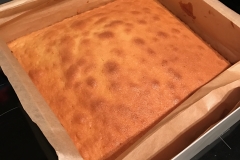
Put the mixture into the oven for about 40 minutes, or until a metal skewer inserted in the middle comes out clean. Before I got serious about cooking I used to use a skewer that we used to cook kebabs with on the BBQ, but when I grew up and realised that was student behaviour, I invested in a simple cake tester – no not one of my children – one that is a thin bit of metal and it is obvious to see if the cake is done, or still not quite done.
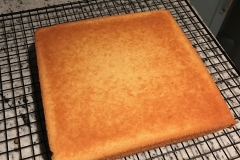
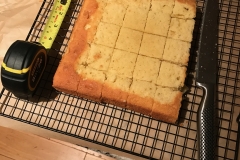
Before you tip onto the rack, allow to cool in the tin for 10 minutes, it ensures that you get the cake out all together rather than bits falling off. Once ready, turn out and allow to cool completely on a wire rack, before putting in the fridge to chill (or alternatively place in the freezer for a few minutes until chilled but not frozen). Well, that’s the easy and clean bit done, get ready for the mess!
For the buttercream
- 250g unsalted butter, softened
- 200g icing sugar
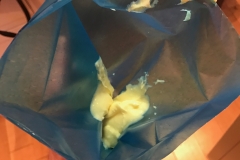
While the cake is chilling, make the buttercream. Maybe just me, but I always thought it was hard to make something that tastes so good, but turns out that buttercream is just a combination of butter and icing sugar. Amazing! To make it, beat together the softened butter and icing sugar in a bowl until lighter in colour, and smooth. It is incredibly hard to stop a 5 year old from eating most of the contents of the bowl, but if you’re successful in saving some of the buttercream, then put 100g of it into a piping bag and put it safe and sound in the fridge. The reason you put it in the fridge is to firm the mixture up is so you’re able to pipe onto the top of the sponge for the signature nipple like quality, without the cold it is a bit too fluid. The rest of the buttercream, keep in the bowl ready for covering the sides of the squares of goodness before dipping in the fondant.
For the marzipan topping (Optional)
- 3 tbsp apricot or raspberry jam
- 200g marzipan
For the marzipan topping, heat the jam in a small saucepan and sieve it into a bowl. Brush the top of the cake with the sieved apricot jam. Roll the marzipan out very thinly, cover the top of the cake and chill again. The reason why I say this bit is optional is because not everyone loves almonds/marzipan, Sarah is not a massive fan so I skipped this stage. I think when I do them again, I will make one half with marzipan and one half without as I personally love anything almond – frangipane, marizpan, etc. But, did I miss it without the marzipan, not really, so jury is out whether I would use still I think.
Cut the cake into 25 equal squares (each 4cm/1½ inch square). You may need to cut off the edges if they have rounded and pulled away from the sides of the tin – all the edges must be straight and neat. I took this bit directly from the Mary Berry method, but to be honest, unless you’re a ninja in the kitchen, your cakes aren’t going to be accurate like a slide rule, they are going to be messy and pretty imperfect looking like a normal person would create.
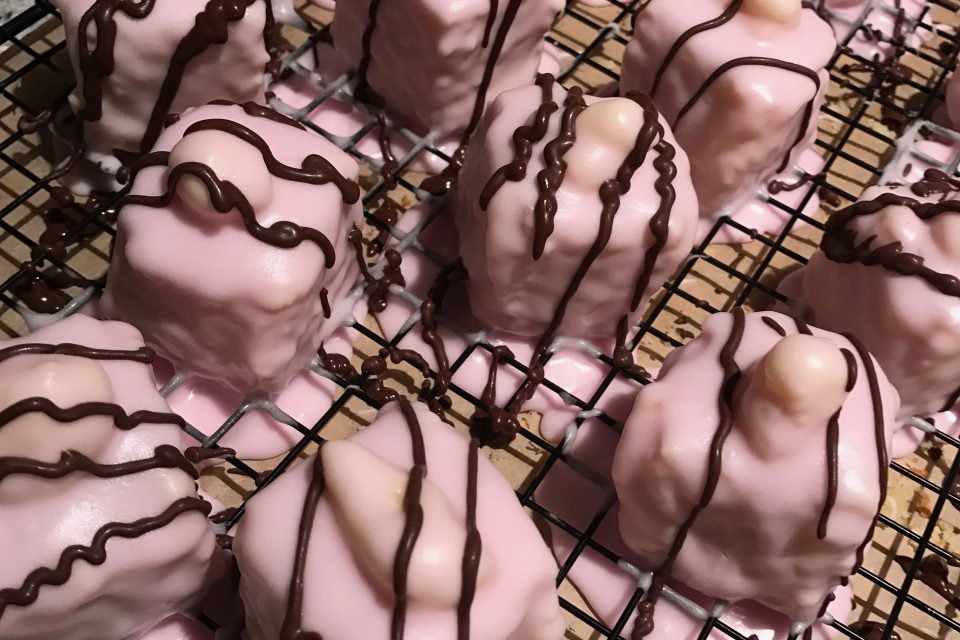
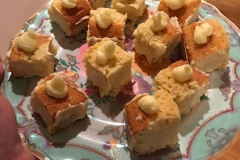
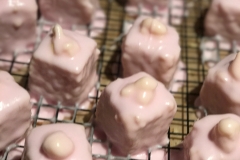
Cover four sides of each square with buttercream (not the marzipan top or the base). Using the buttercream in the piping bag, pipe a blob in the centre of each square on top of the marzipan – try as hard as possible to create a good rounded blob, as this ultimately defines the fancy. Once you’ve piped each cube, leave to set in the fridge for 20 minutes as it makes the dipping of the squares easier and the butter less prone to melting, or just merging with the covering.
For the Fondant icing
- 1 kg white fondant icing (think block of icing sugar in a box – found in Sainsbury, Waitrose, etc. in the cooking aisle)
- 150ml water (may need more if the icing is drier)
- Food colouring (any colour, but pink and yellow are the best for sure)
- Flavouring (any flavouring – I discovered that strawberry [for the pink ones] and vanilla [for the yellow ones] worked really well)
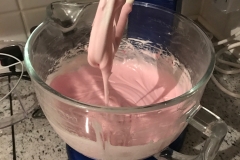
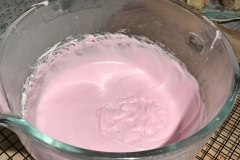
For the icing and decoration, cut the fondant icing into small cubes (too big and it gives the food processor too much of a work out). Place in the mixer with a paddle (the beater attachment for the KitchenAid). Churn the icing until it stars to break down, adding a splash of water if it’s too hard. The icing will become smooth and more liquid. Don’t be too quick with the water, otherwise you’ll have a liquid, rather than a fondant, which when you dip the sponge into it, will be too thin to cover the outside and looks a bit rubbish to be honest. With that in mind, don’t feel you need to use all of the water, or indeed if you need more, then don’t be afraid to add more, as not all fondant icing is made equal.
Add flavouring and food colouring to taste – be careful not to add too much at once, you can always add more but can’t undo it! The way I do it normally is to do the colouring first and then the flavouring after. With the colour, I do one drop at a time and allow the mixture to mix for a minute to see how things are looking. The same is true of the flavour, but I normally have a little helper to tell me how it tastes, they are definitely the most honest as to if it tastes rubbish, though having said that Sarah is pretty frank!
Take the cakes out of the fridge and place one onto a fork. Get ready for the mess, maybe pour your significant other a champagne at this stage to numb the pain.
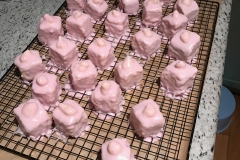
Dip each square into the icing one at a time and carefully set onto a cooling rack, with parchment underneath to catch the drips, or in my case just let it drip everywhere. Try not to get finger prints on them – for this reason it is best to insert the fork at an angle so that you can slide the cake off onto the cooling rack easily.
Leave the fondant to set, but do not put in the fridge as the icing will lose its shine.
the chocolate drizzle
- 100g white or dark chocolate, or you can get a little chocolate sealed in a plastic piping container
Mary says to melt the chocolate earlier so it has a chance to cool down and be a bit more formed, but to be honest I am not a massive fan of doing a million things at once. Maybe that’s because I’m a man and can’t multi-task, or maybe it is because I’m not a crack cook able to keep an eye on twenty things (or even two) at once. Either way, I like a bit of time to get things right and not feel I’m rushing about like a nutter.
The choice of chocolate used for me is all about contrast, if you have a pink fondant, dark chocolate really pops over the cakes, but if you have a darker colour, white offsets the darkness. Dark chocolate is better than milk as it is more bitter and doesn’t fade into the background of the cake.
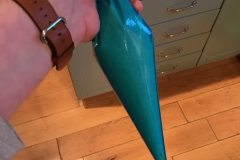
Melt the chocolate either in the microwave or in a heatproof bowl set over a pot of simmering water. My personal is to use a glass bowl set over some boiling water as you have more control over when the mixture is ready. Transfer the melted chocolate in piping bag and set aside for a couple of minutes so it cools down a little and is easier to pipe without burning your fingers! Time saving tip: If you have one of those little those piping containers that you can drop into boiling water from a kettle, it is so much simpler and saves a couple of minutes and a little bit of washing up.
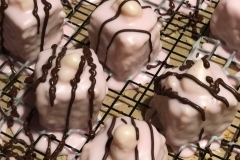
Using the piping bag of melted chocolate, drizzle the chocolate over each fancy in a zig-zag pattern (see the photo for what not to do).
Leave to set and then place on a cake stand to serve, or just eat them all before someone else does. Whatever you do, please do share how you get on and if this recipe worked for you.


0 comments on “Fondant fancy that”Add yours →