This particular experiment was undertaken in 2014 during a rare holiday spent at home when the children were at nursery/school, it was the spark of exploring what’s possible when you put your mind to it in the culinary world. Credit goes to Seb Walker for the inspiration and direction!
The idea came about when I developed an addiction for biltong, especially from the theSavanna inside Liverpool Street before hopping on the train. I always had the best intention of saving some for later, but it all went very quickly as it is so moreish.
One night it dawned on me that maybe I could make some of my own biltong. However, with the UK weather only offering up a handful of predictable sunny days, I took creating an environment, which would emulate the perfect conditions. This post gives you a feel for the journey I went on, I hope it inspires you.
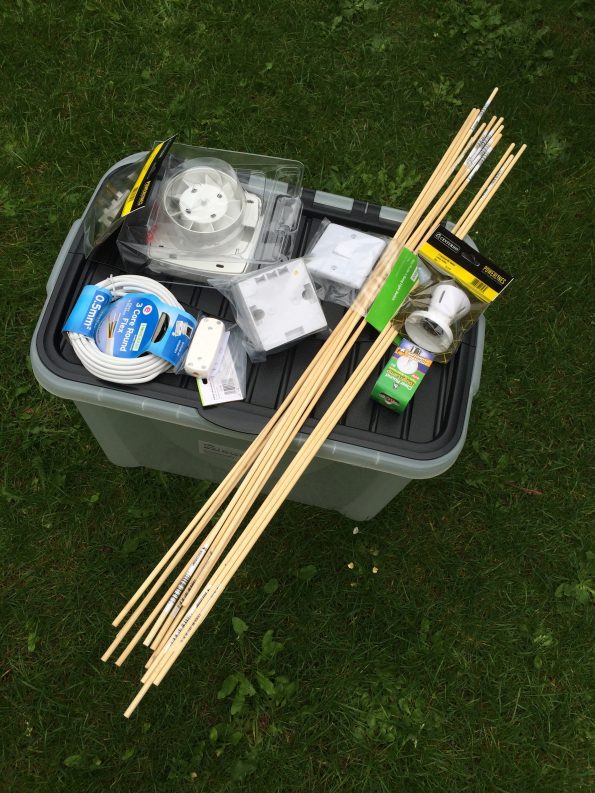
So, first the list of ingredients used in creating the perfect atmosphere for biltong yumminess…
- Container – I used a plastic storage tub with a lid to keep things hygienic, it was also handy as it can be wiped down after making the biltong
- 7-8 wooden dowels/canes cut to size – these will be used to hang your pieces of silverside
- Light fitting & 40W bulb – to create the pleasant heat. No more than a 40W bulb otherwise the beef dries too quickly
- Bathroom extractor fan – used to provide a steady stream of warm air, sat above the light fitting
- Electrical wiring – to wire up the extractor fan and light
- Three pin plug – to provide the electric to power the contraption!
- A switch (optional) – to turn the electric on and off, rather than relying on the electrical outlet
If you’re more visual, then here’s the ingredients shown all together in a photo.
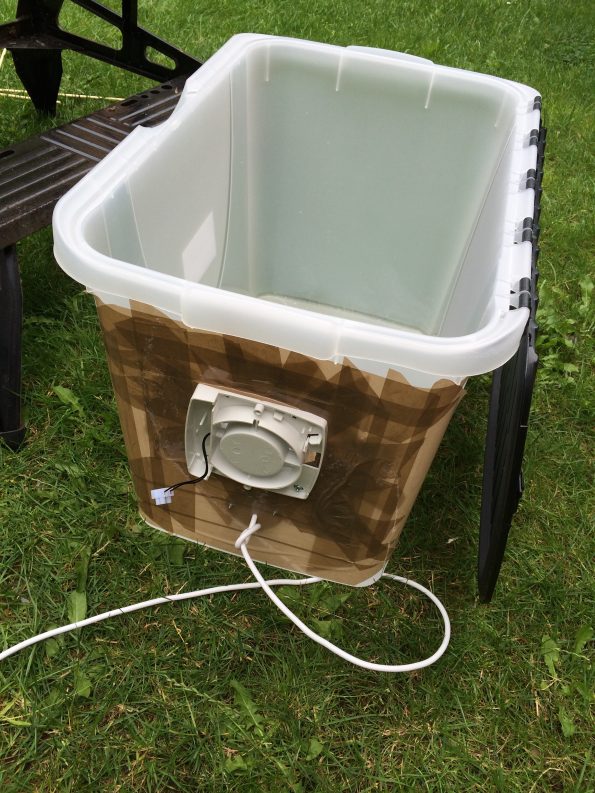
Start by creating a hole in one end that is able to seat the extractor fan. This can be a challenge depending on the material your box is made from. A lot of the tape requirement was to cover up the plastic cracking in the wrong place!
When you’ve created the hole, secure your fan in place with some screws. Make sure you have the fan blowing into the container, rather than out.
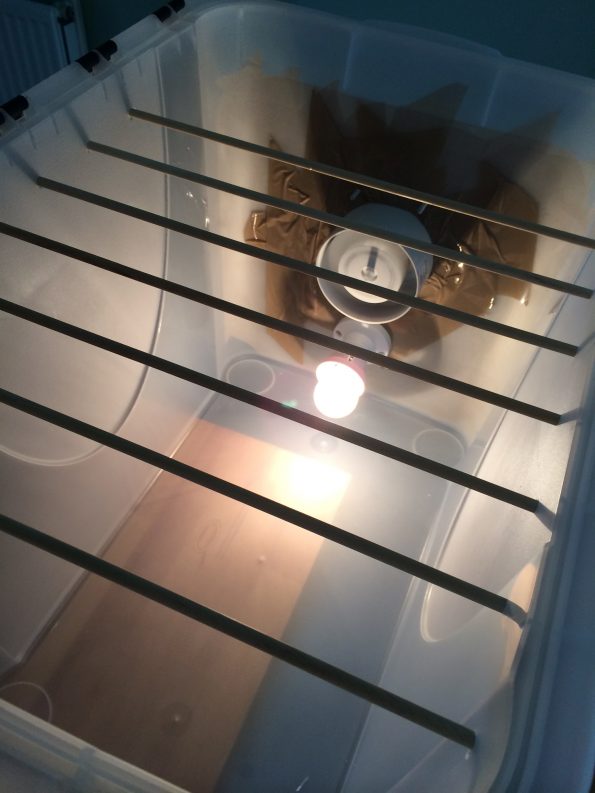
Then fit the light underneath the fan.
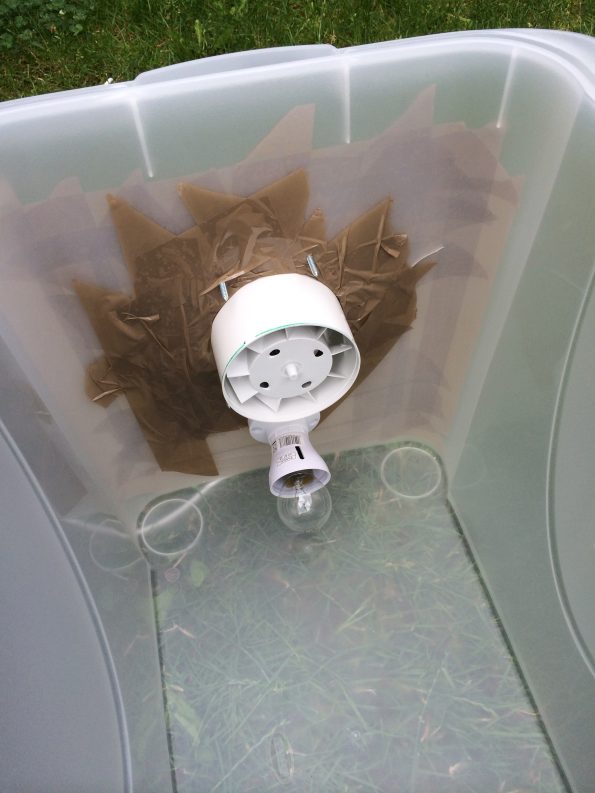
You then want to measure out the holes for your wooden poles. You want to make sure you have enough of a gap between the light and extractor fan to have good airflow and also make sure the meat isn’t going to stick to the side or the light!
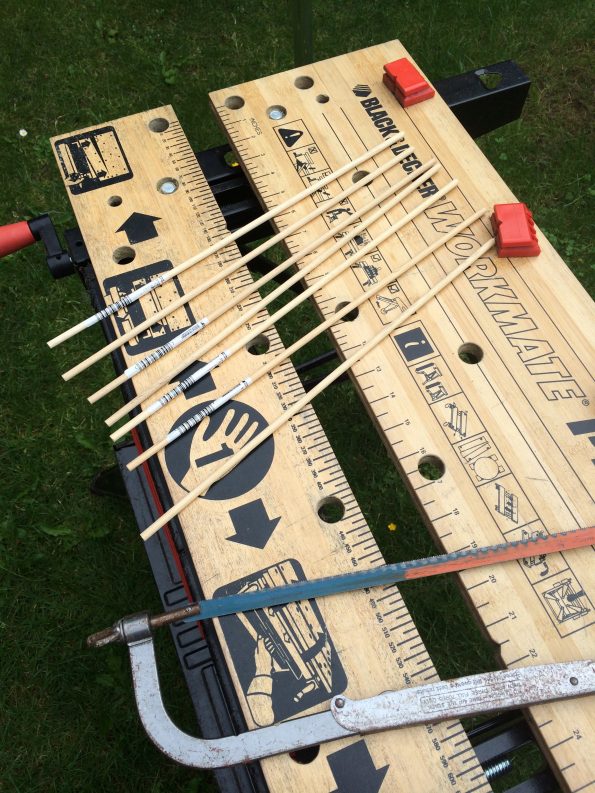
Once you know the number of sticks you need, cut the required number to size. Use a workbench to ensure you get a good finish (maybe by own OCD?) and allow a little bit of an overhang so they’re not forever falling out.
Using a sharp drill bit, punch holes through the sides of the container to allow you to fit the sticks. Then, slide each of the poles through the box.
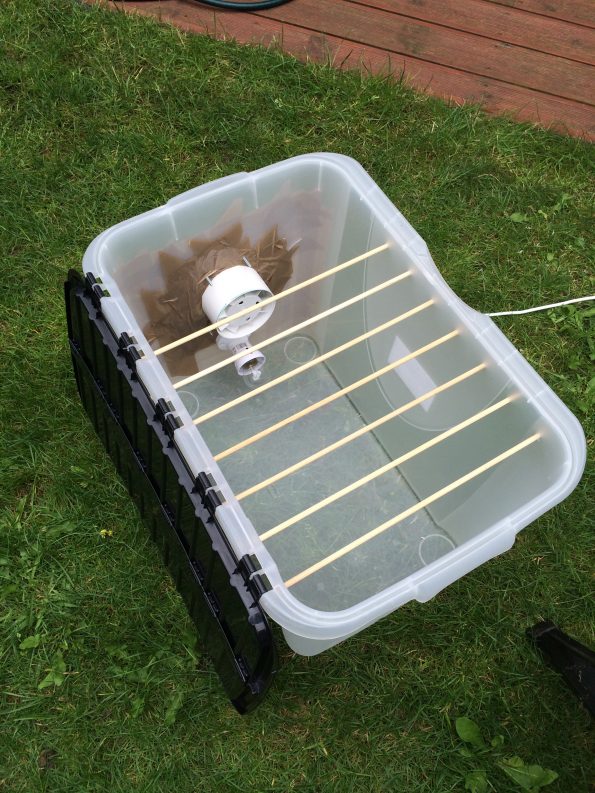
Once that is done, your box is pretty much complete. The last thing to do is to wire up the electrics for the lamp and fan and then test it. If the lamp lights and fan spins the job is a good’un.
So, what’s next? Preparing the meat for the lovely warm environment is next. As with the previous steps, the ones that follow are equally simple.
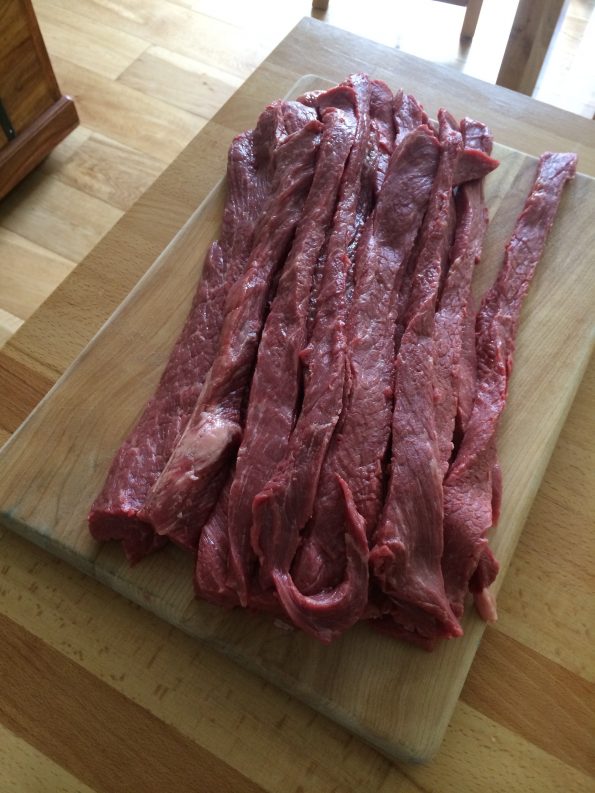
First the meat (a 500g – 2kg silverside of beef dependent on the size of your box, I went for 2kg)…
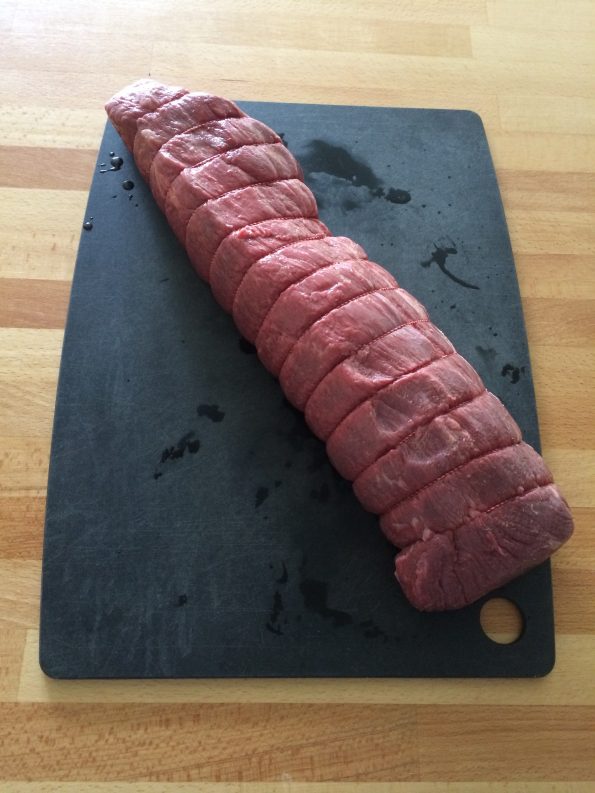
Cut the meat into strips length ways, you don’t have to be scientific about this, but make sure they aren’t too thin.
Now comes the spices to marinade the beef. I went for the following when doing a quick trawl of the internet for killer spice mixes.
- 2 tbs of brown vinegar
- 1 tbs of Worcestershire sauce
- Some good quality coarse salt (about a cup should do)
- 1 tbs of soft brown sugar
- White pepper
- 1 tsp of chilli powder or peri-peri spice
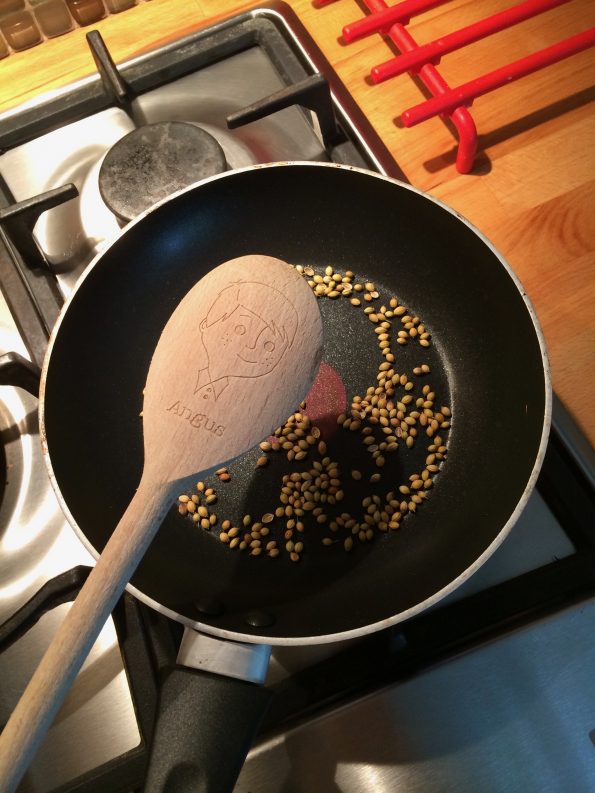
- Handful of coriander seeds (a really important spice in biltong so be liberal!!)
Start off by toasting the coriander seeds…
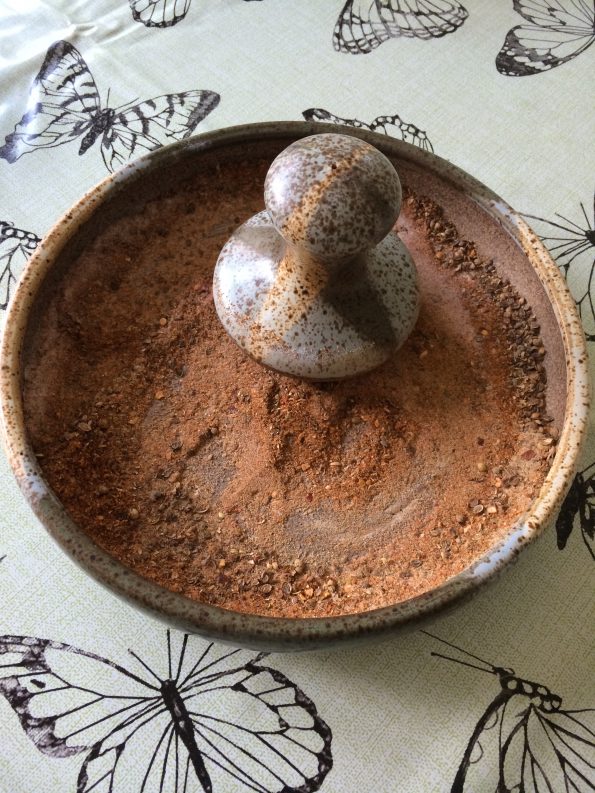
…and then add them to the rest of spices and pestel and mortar them all together…
After you’ve added the wet ingredients, stack the pieces of meat on top of each other and build up the layers adding the spice mix generously at each layer…
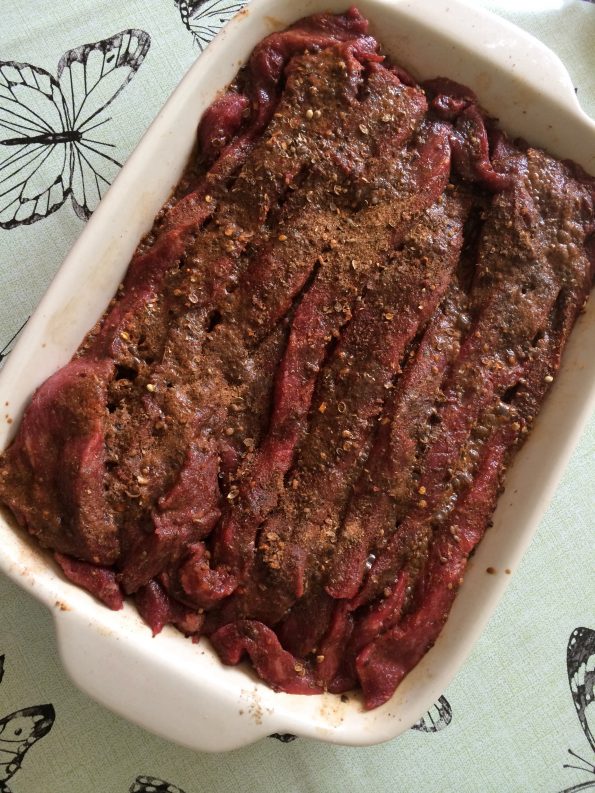
Leave it for an hour to marinade in the fridge. It doesn’t have to be exact as the spices will stick to the meat and continue to marinade when they are air drying.
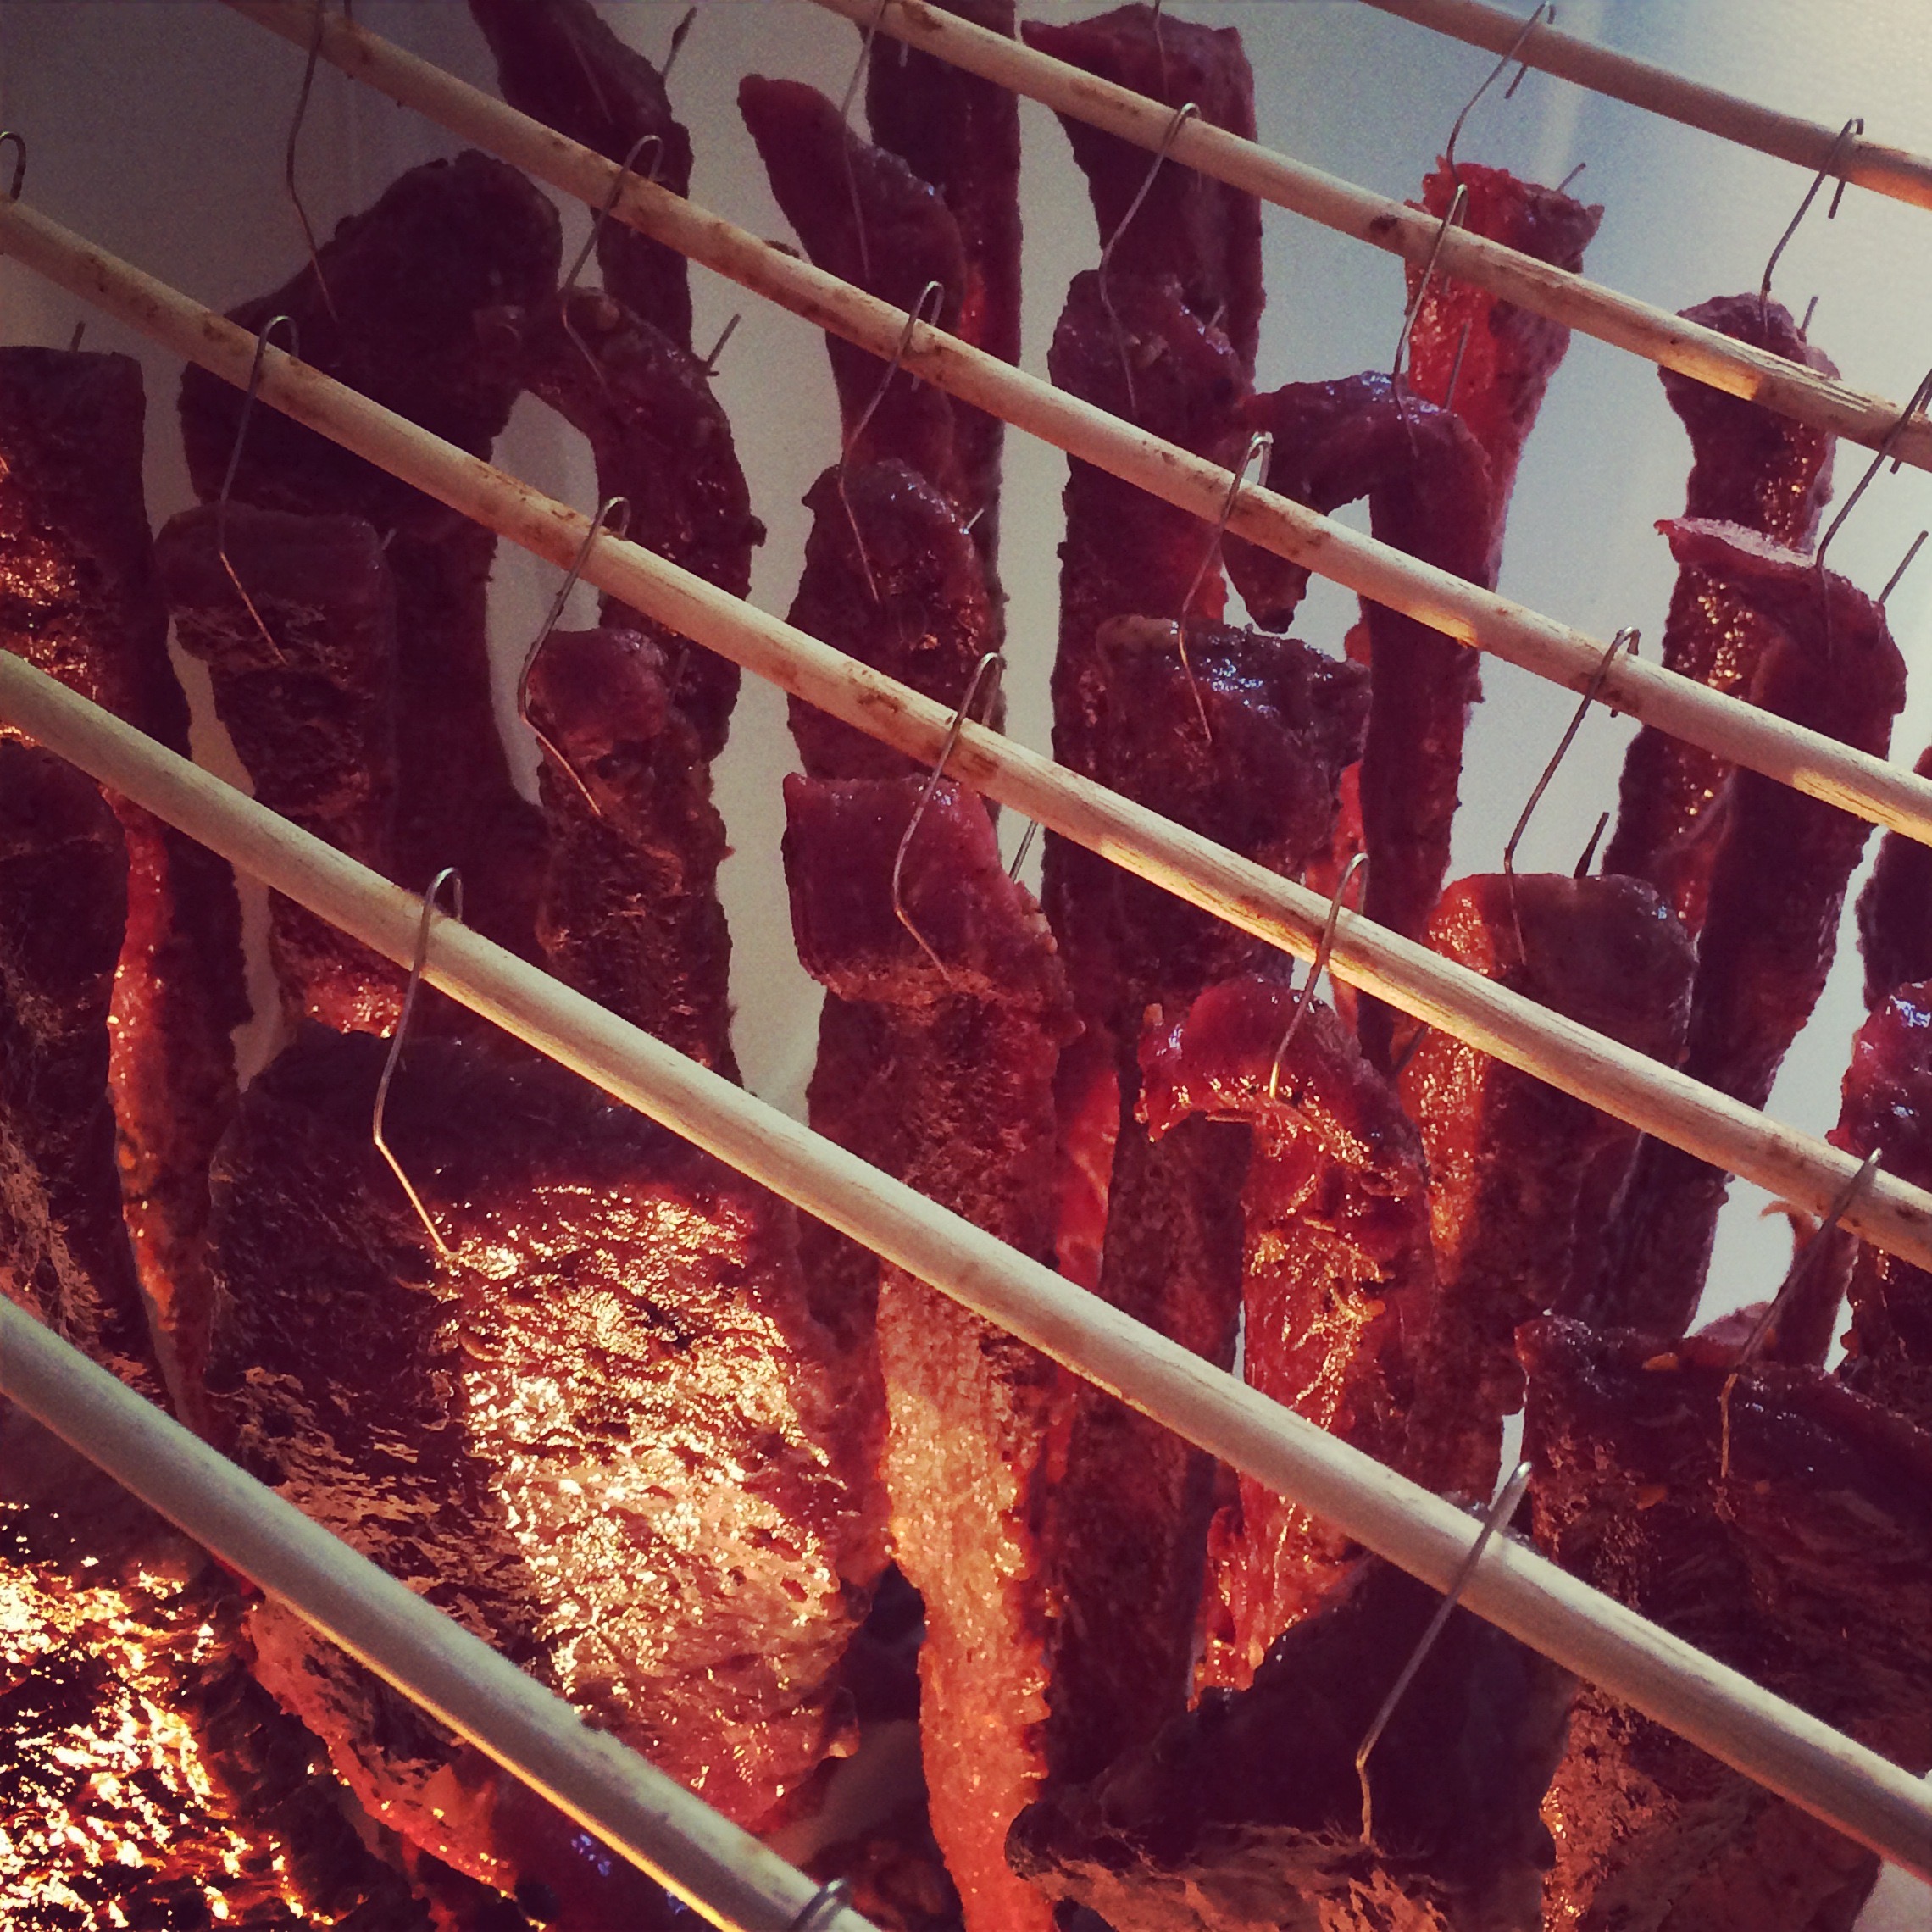
Using a bulldog clip, or in my case a paperclip, hang each piece of meat in your airer. Allow space between each piece so the airflow is uniform and pieces dry consistently. You will want to move the pieces around (from the front to the back) to ensure that pieces are all done at the same time.
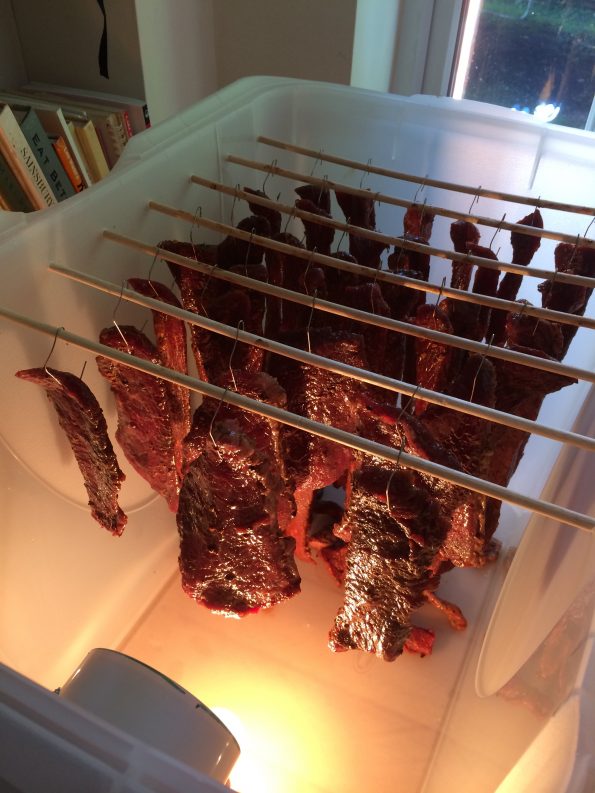
After about 3-4 days your biltong will be ready…

Slice some of the bigger bits so you get biltong bites and share the love with family and friends. Enjoy!
I hope I’ve inspired you to channel your inner Macgyver.
0 comments on “Homemade biltong, channelling my inner Macgyver”Add yours →