
I baked mille feuilles from scratch for Mother’s Day as it is Sarah’s favourite thing to eat in the World (yes also goes by the name custard slice!). I’m not sure which took longer, the making of it, or getting around to writing the ingredients and the method! The lesser known meaning of mille feuille is pain in the arse, which of course it isn’t, but it felt like it. The real meaning of mille feuille is a million layers, which refers to the signature crispy layers of the puff pastry, which are stuffed full of pastry cream in this recipe (yes also called creme patisserie / creme pat) that you bite through when eating one.
In writing the recipe up, it made sense to break out a few repeatable parts, which are useful for other recipes, namely the pastry cream/creme patisserie and puff pastry. This way it saves me time next time, when I write up a recipe that uses one of these gorgeous component parts. I hope it all hangs together nicely when reading, if it doesn’t please let me know and I’ll update with your suggestions.
Ingredients
Okay, so you have all the ingredients you need to buy in one place, please see below for the various bits that make up the mille feuilles and their individual ingredients.
For the Puff Pastry
- 250g plain flour
- 50g unsalted butter, chilled and cubed
- 1 teaspoon salt
- 150 ml cold water
For the Beurrage
- 200g butter, cut into small pieces and at room temperature
- 30g plain flour
- Additional flour for rolling
For the Pastry cream
- 450ml whole milk
- 35g cornflour
- 200g caster sugar
- 4 large egg yolks (if you’re making the royal icing, reserve two egg whites)
- 2 large eggs
- 60g unsalted butter, cut into cubes
- 2 teaspoons vanilla essence
For the Mille Feuilles
- 1 x batch puff pastry
- 1 x batch pastry cream
For the Royal Icing and chocolate glaze
- 250g icing sugar (sifted)
- 2 teaspoons lemon juice
- 2 large egg whites
- 80g dark chocolate
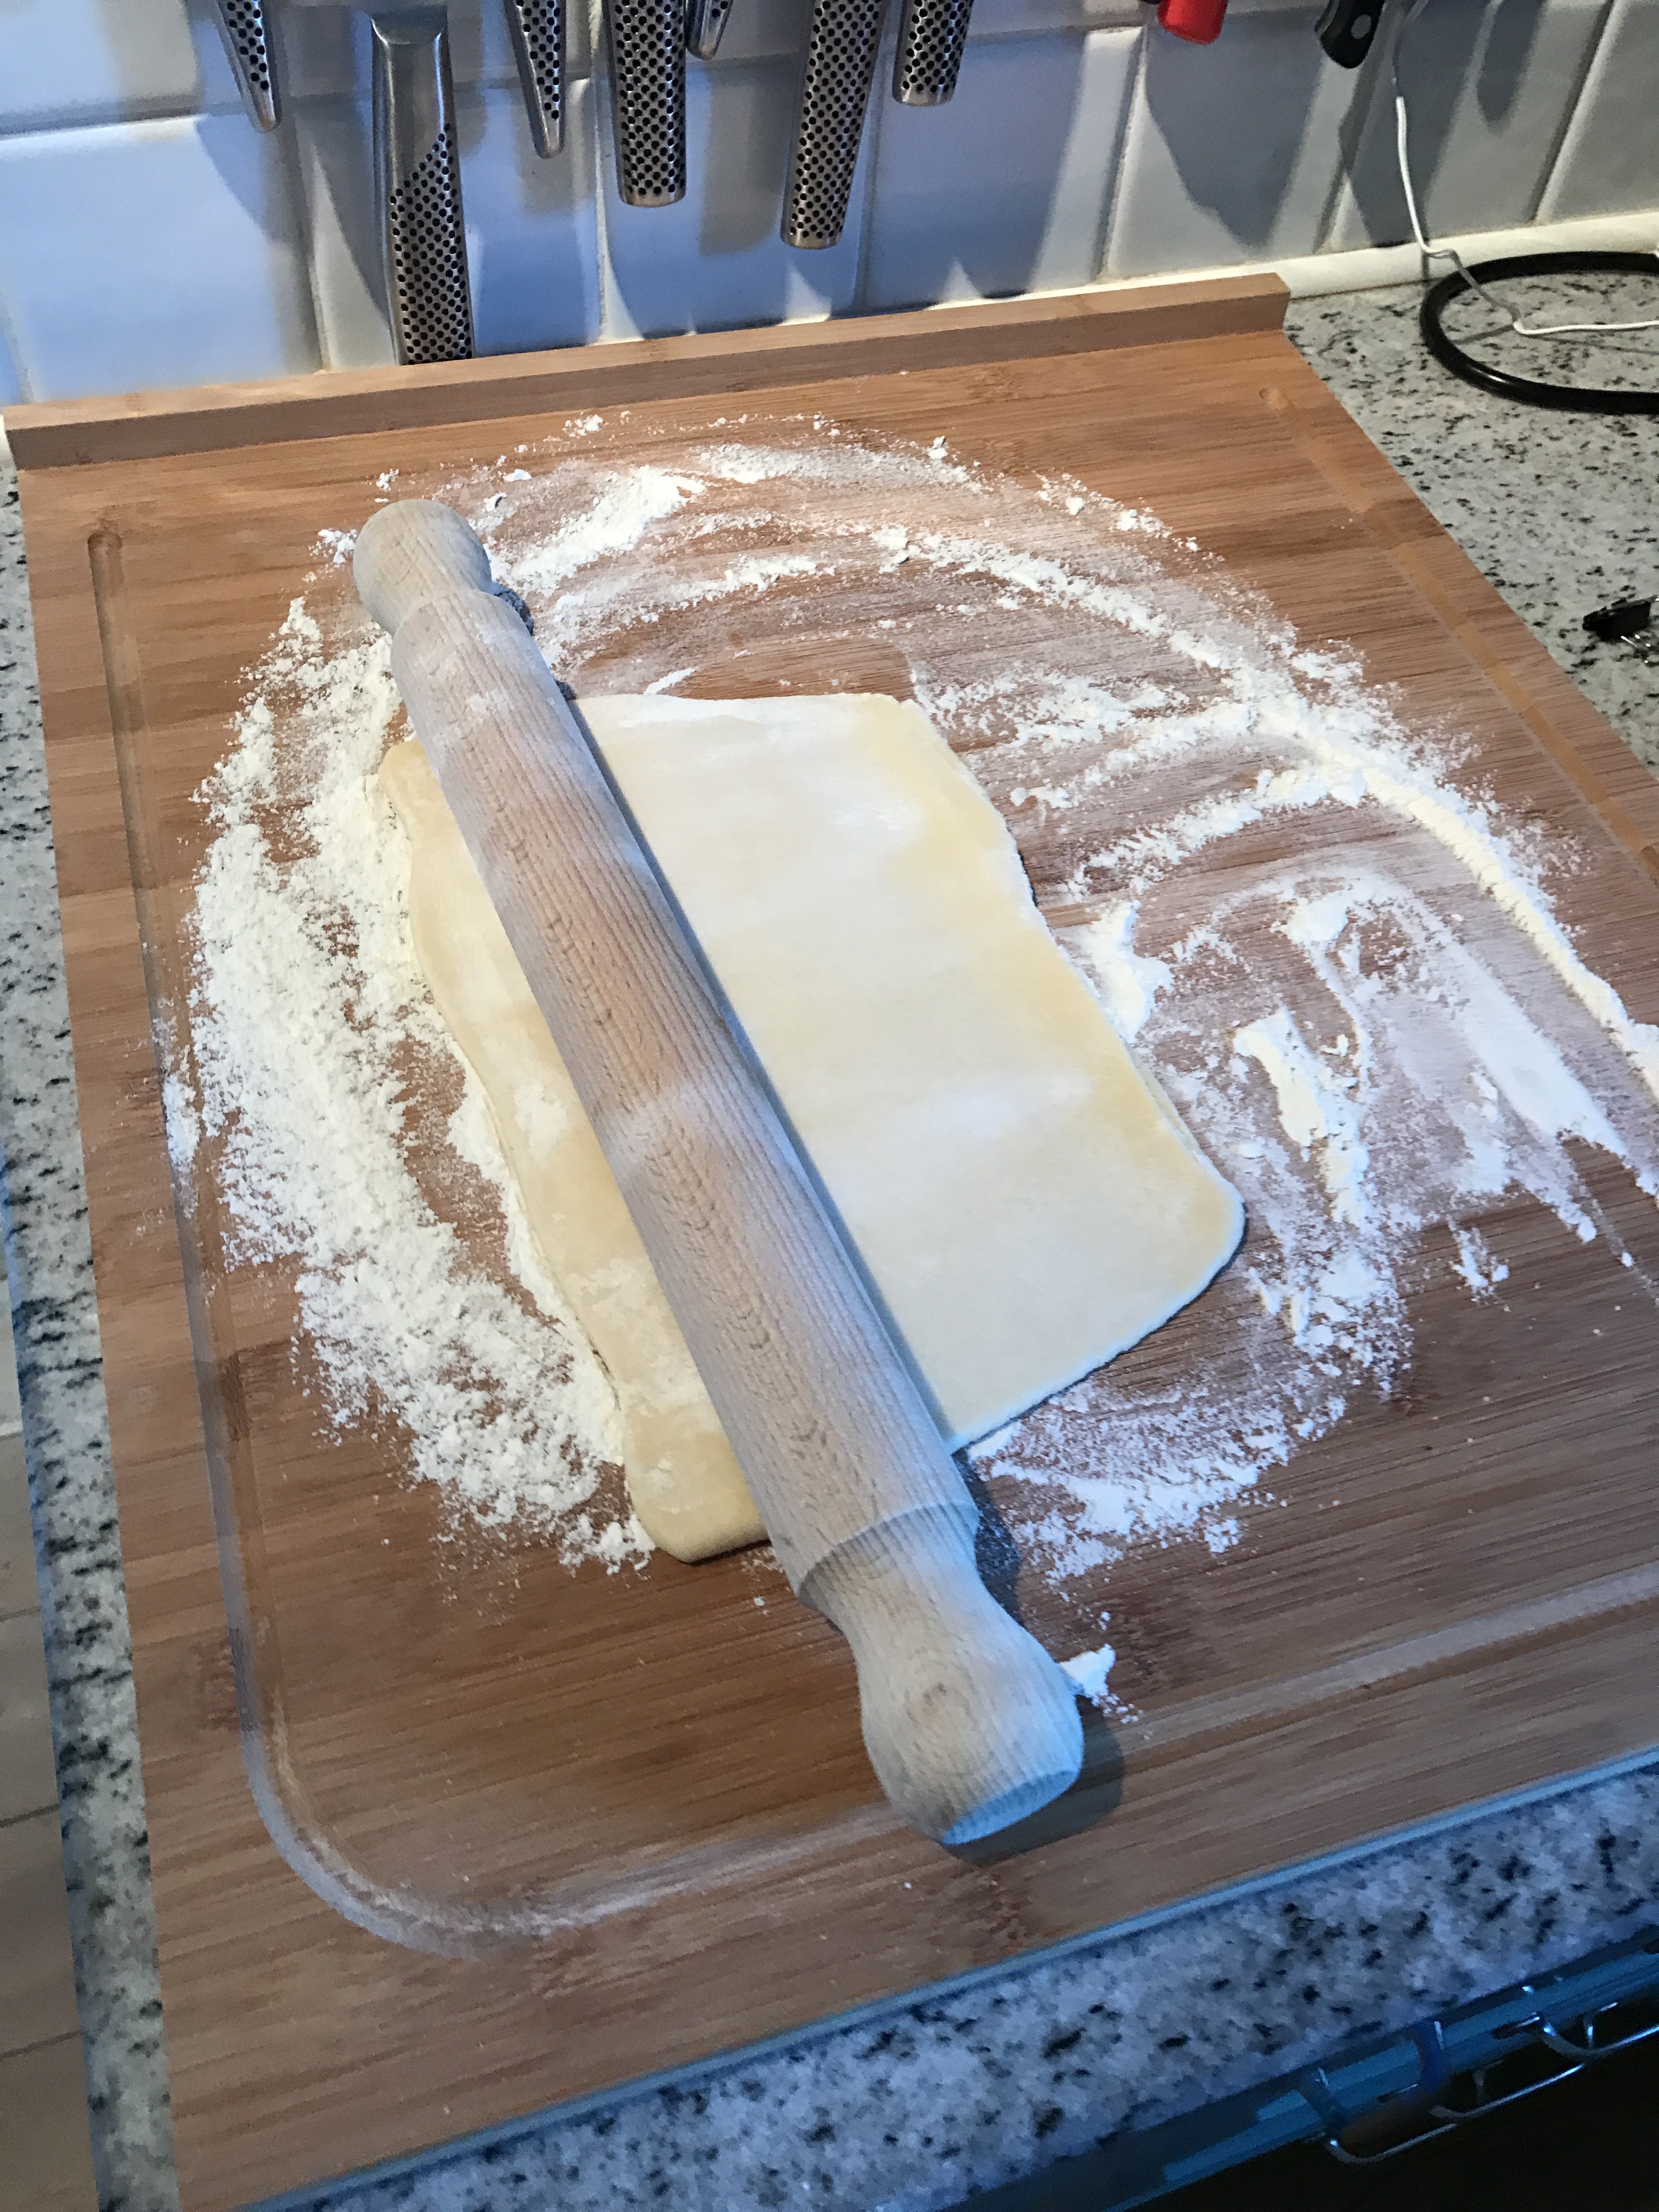
The puff pastry
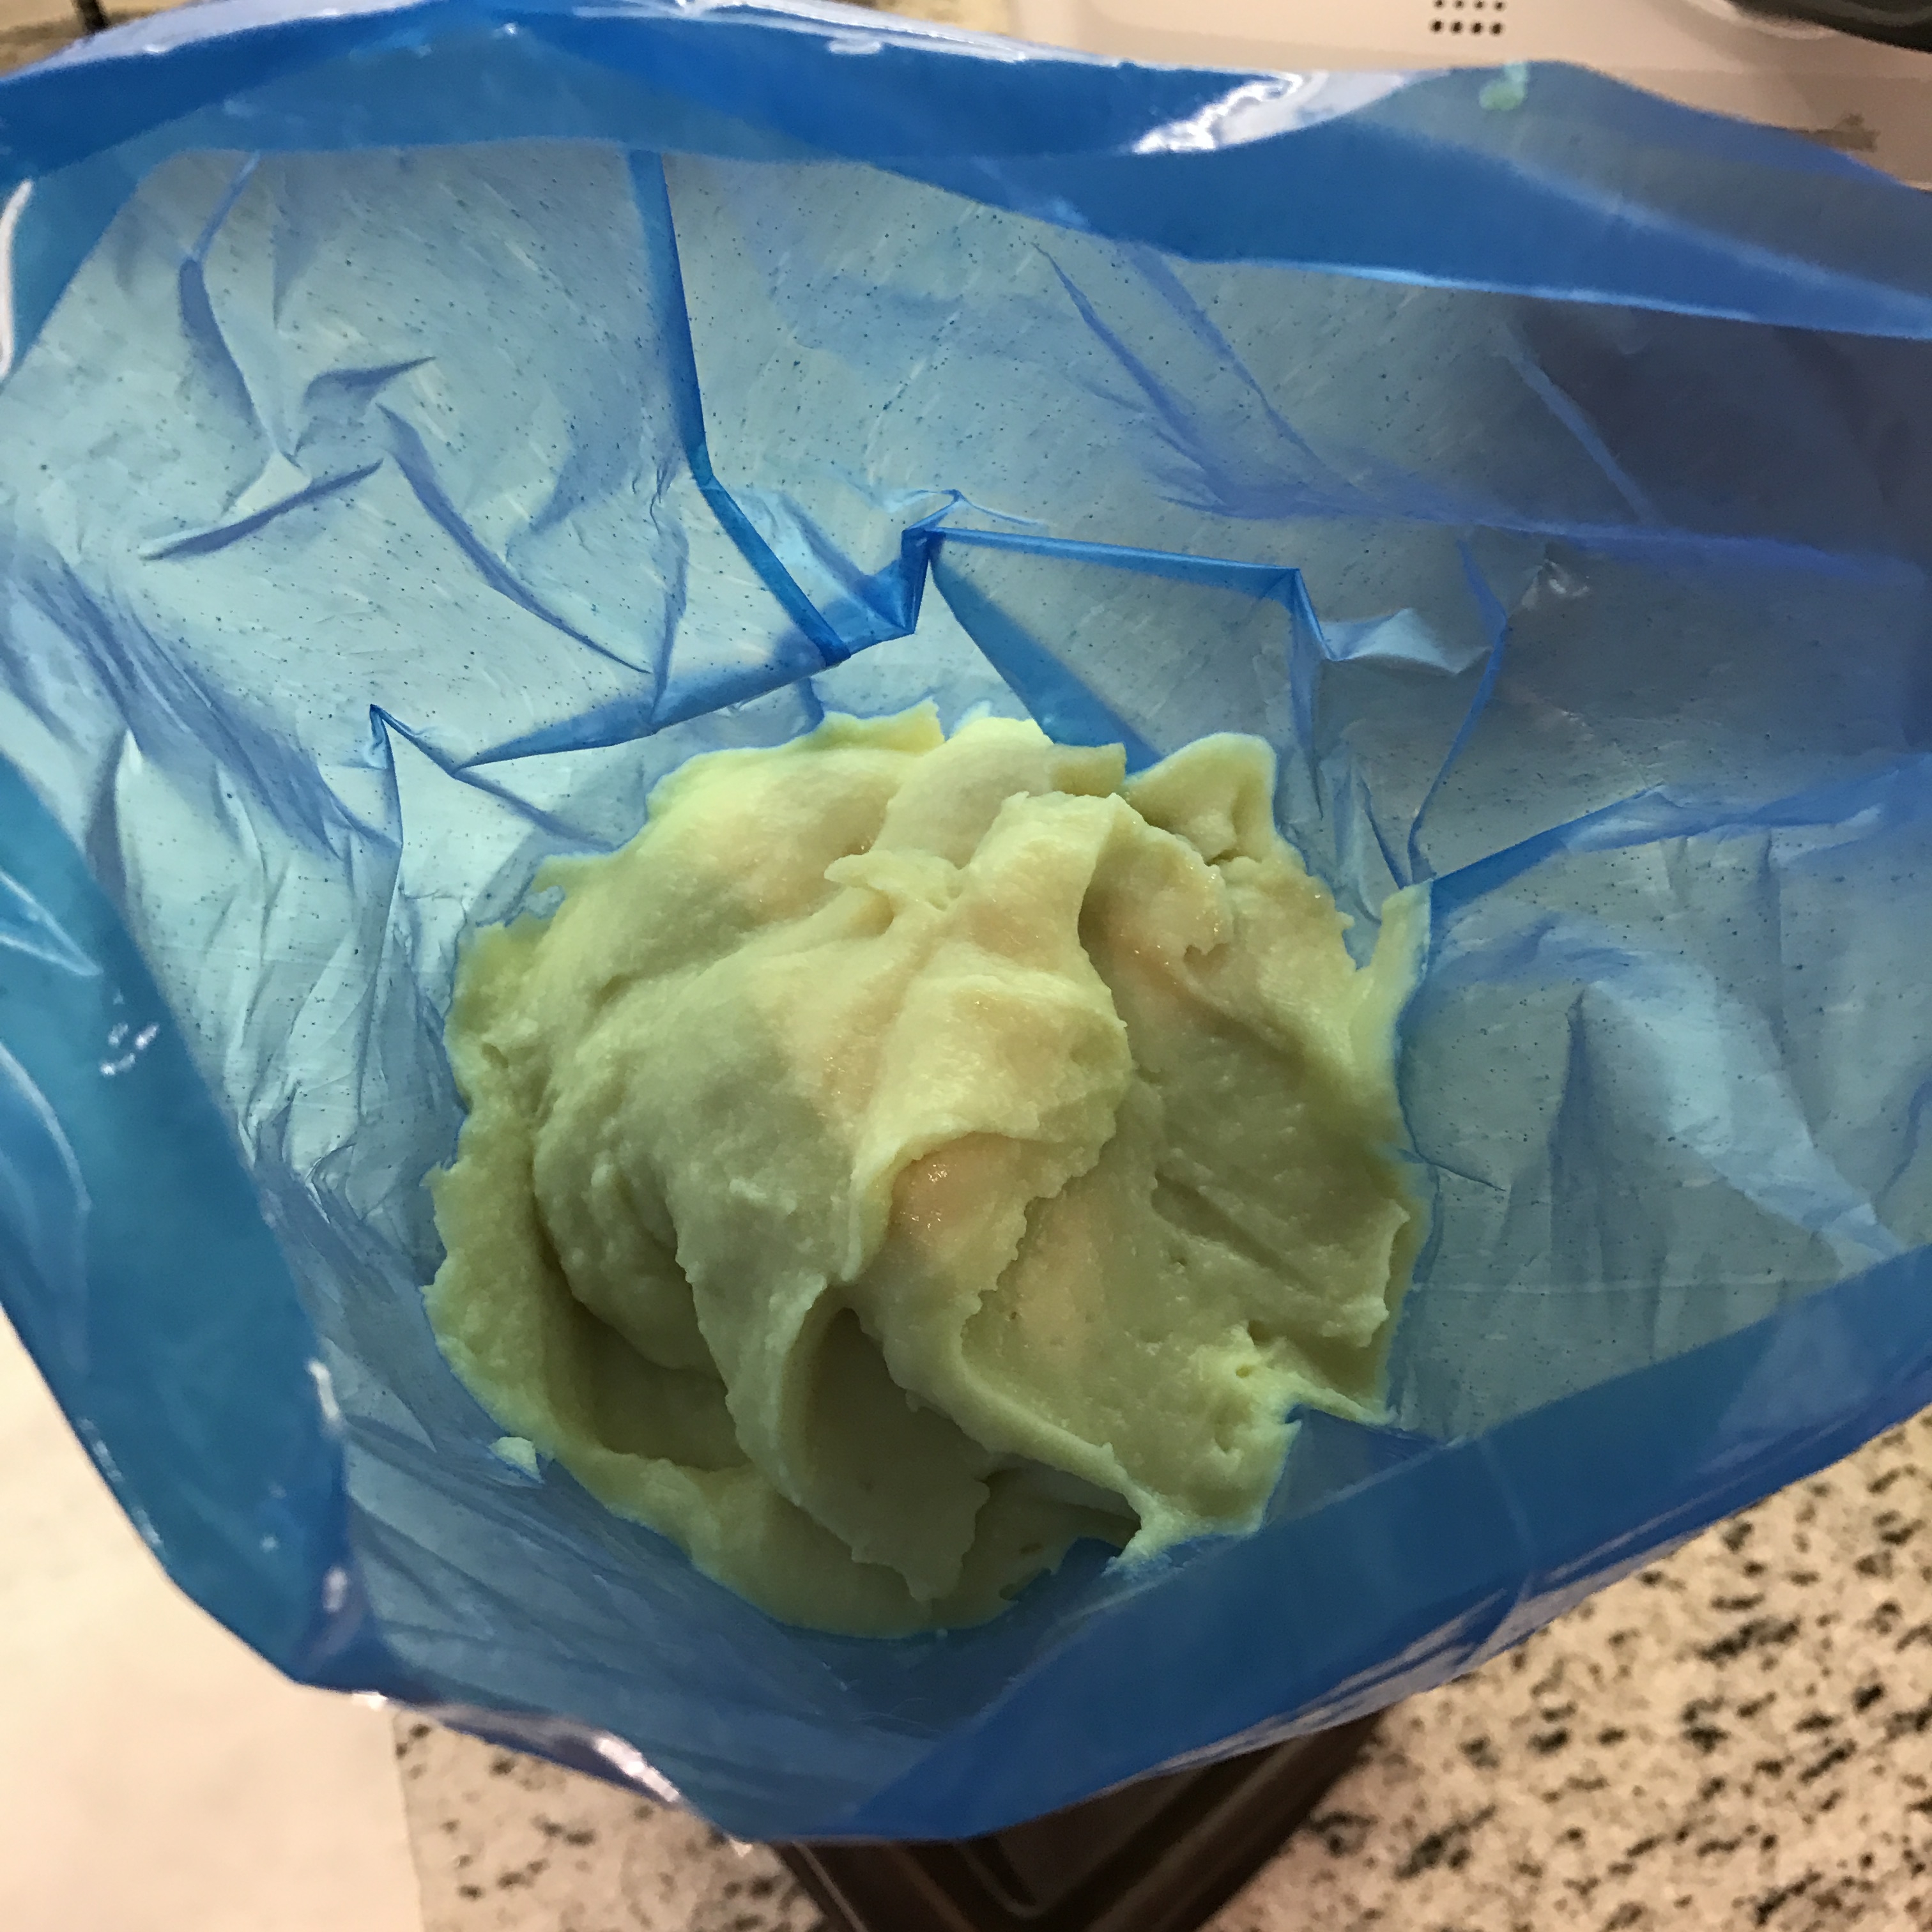
The creme patisserie
Mille feuille assembly (A military operation)
- Preheat oven to moderately hot 200C/400F/gas mark 6.
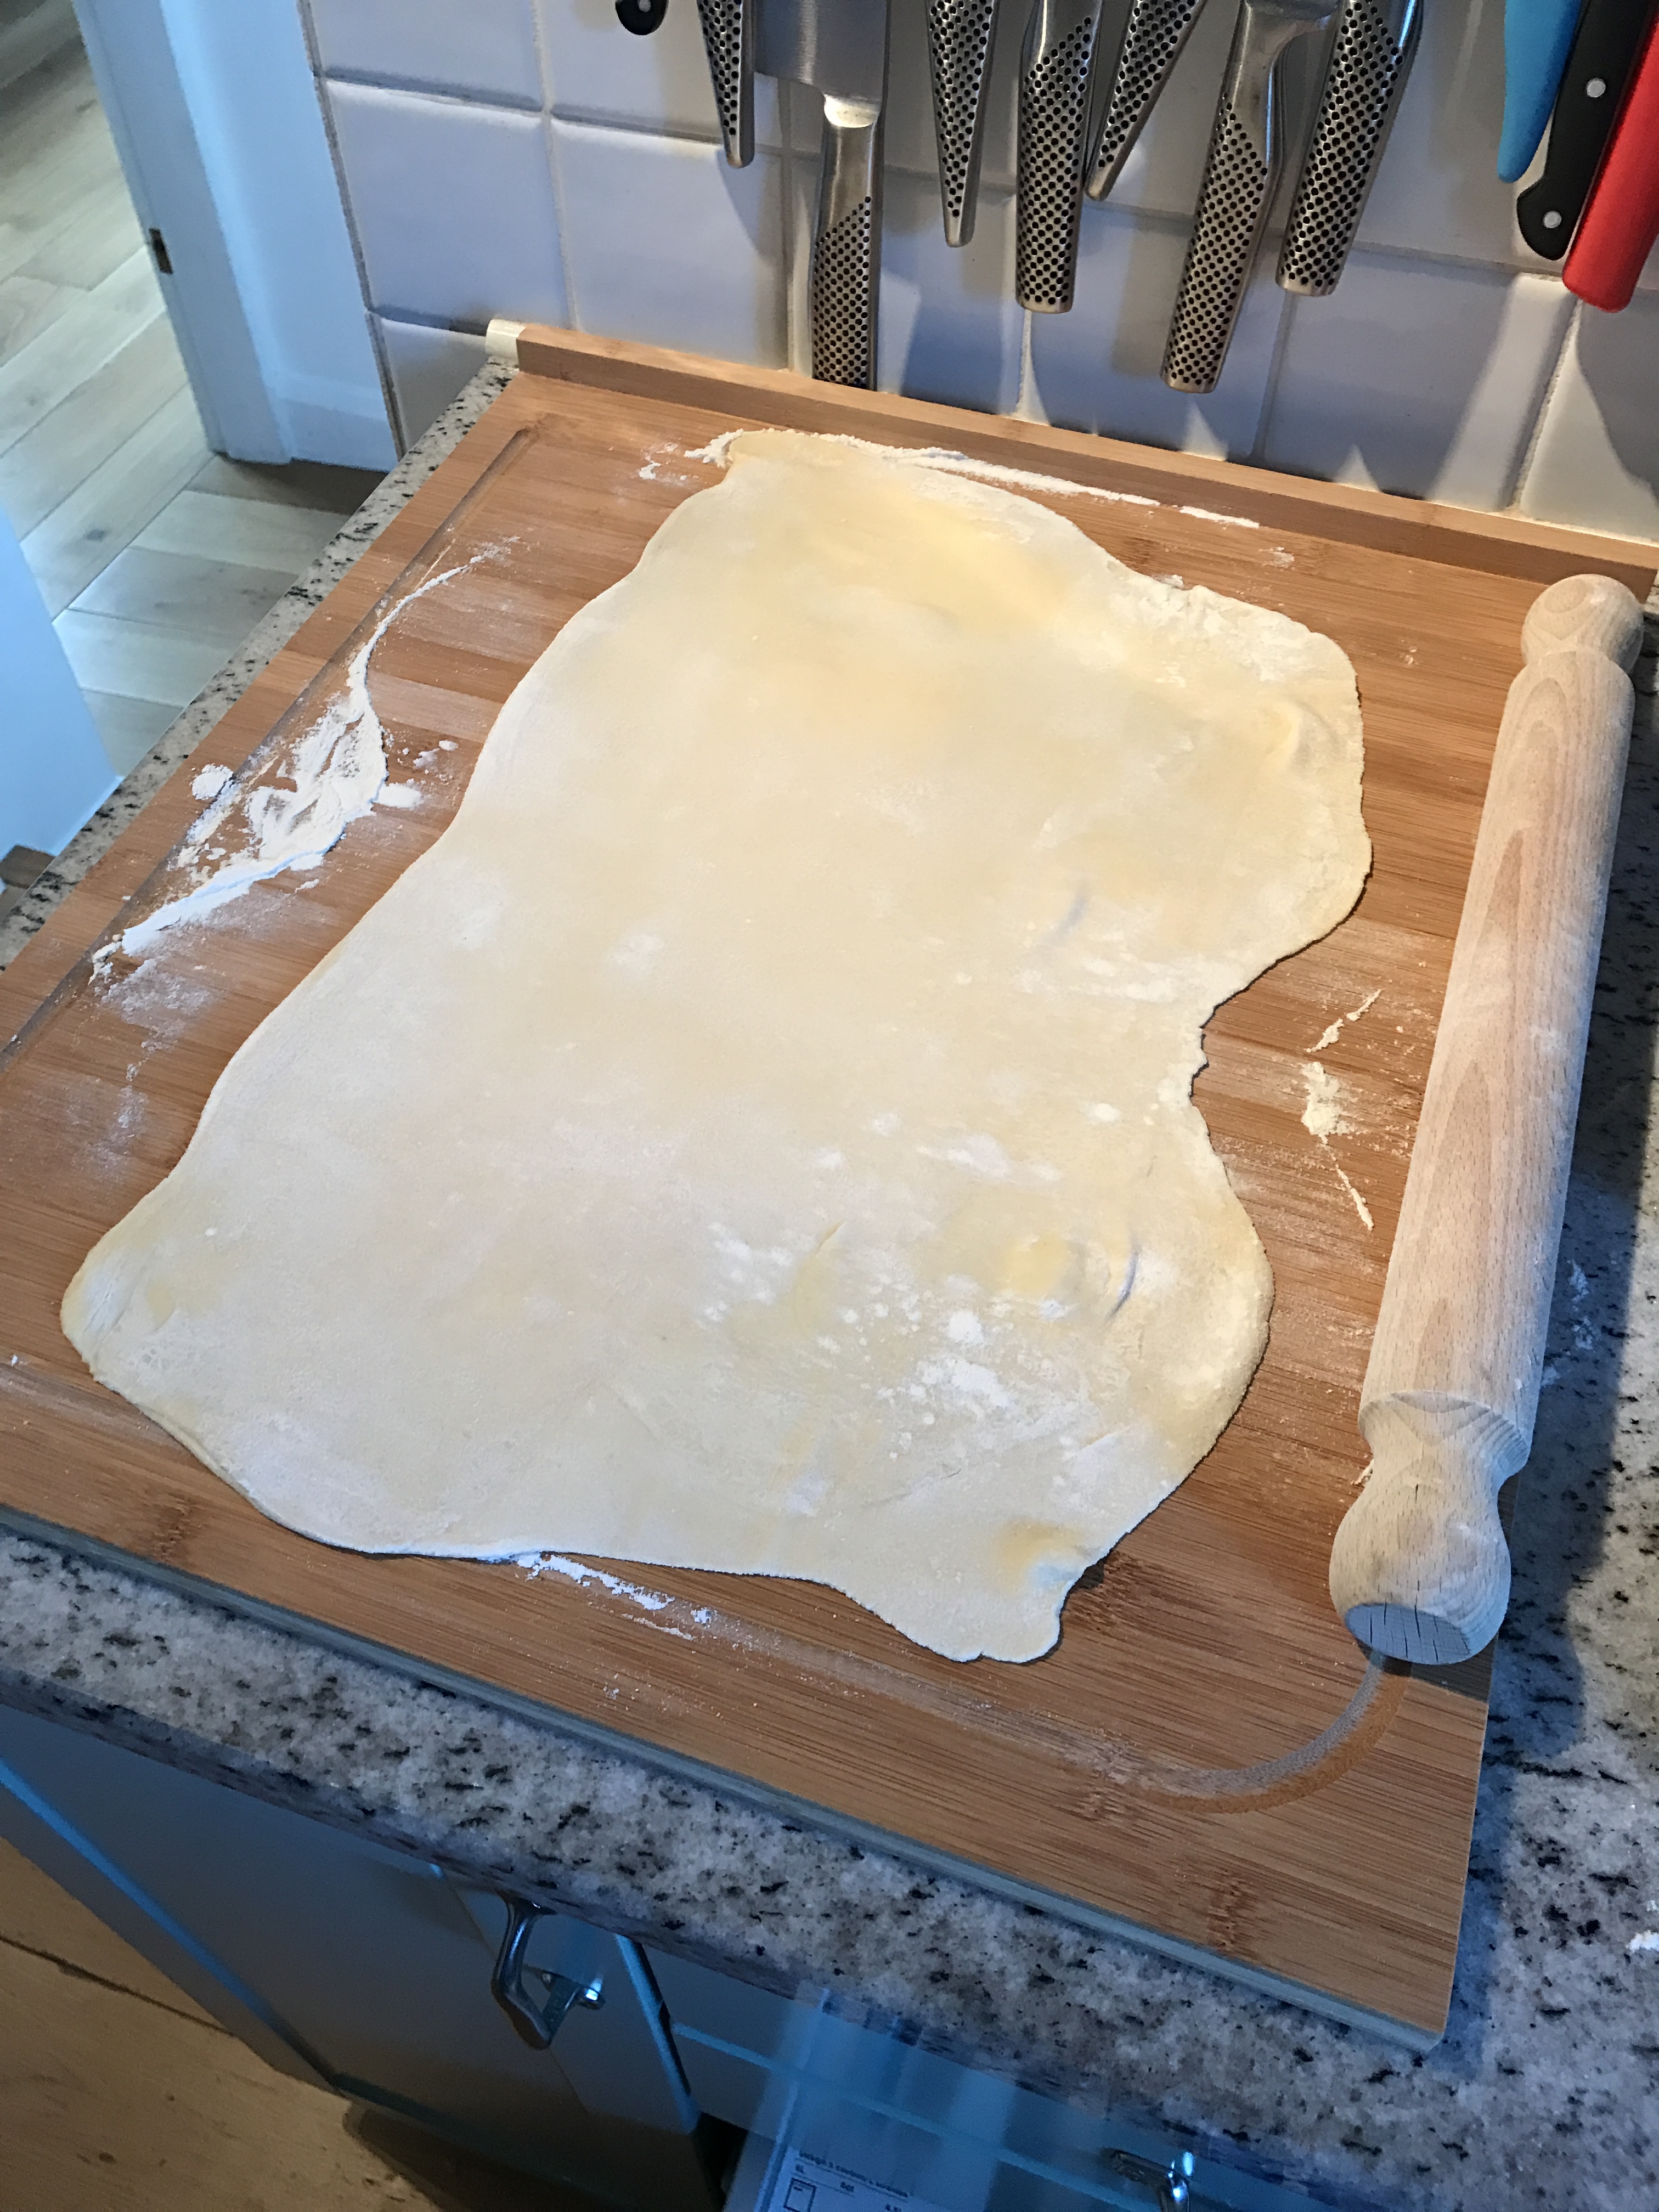
- Lightly dust your work space with flour and remove your dough from the fridge.
- Roll into a large rectangle, the thickness of cardboard, about 12”/30cm x 18”/46cm.
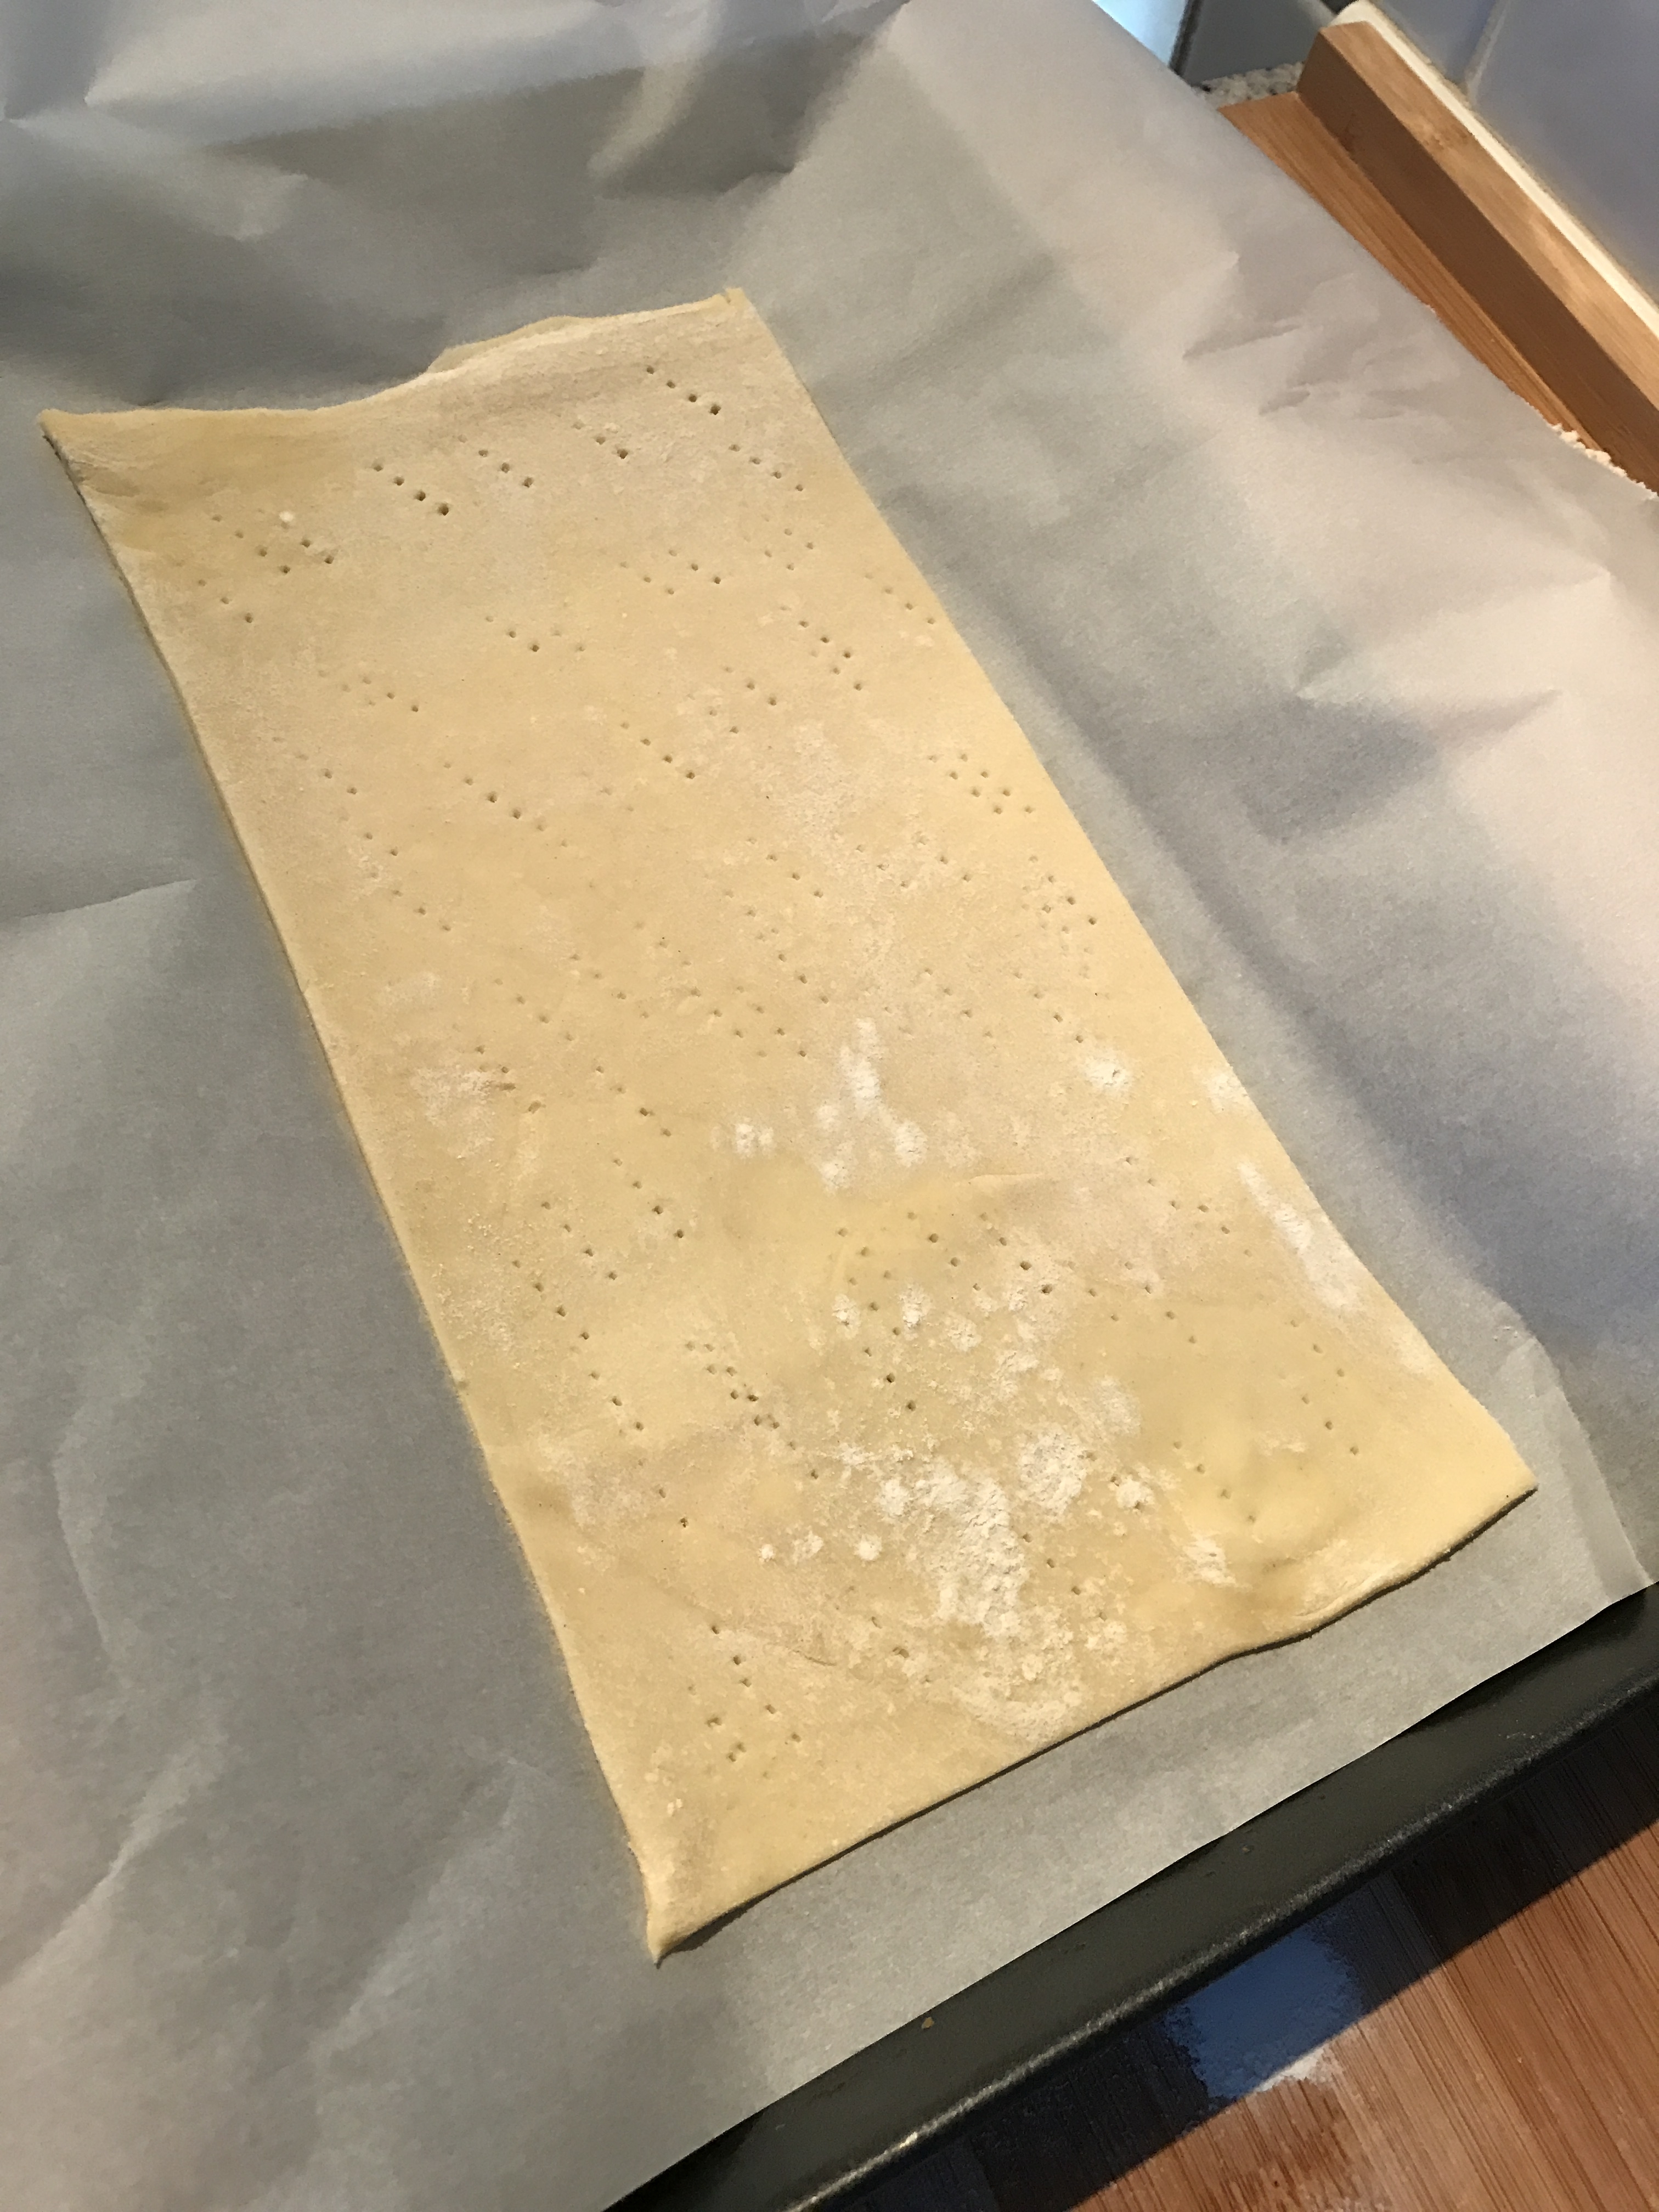
- Cut into three equal pieces and place on a baking tray. If you don’t have space for all three, you can bake them separately. But whatever you do, try to get them the same shape, otherwise the presentation suffers.
- Prick the pastry sheets all over with a fork, this will make them puff up nicely in the oven.
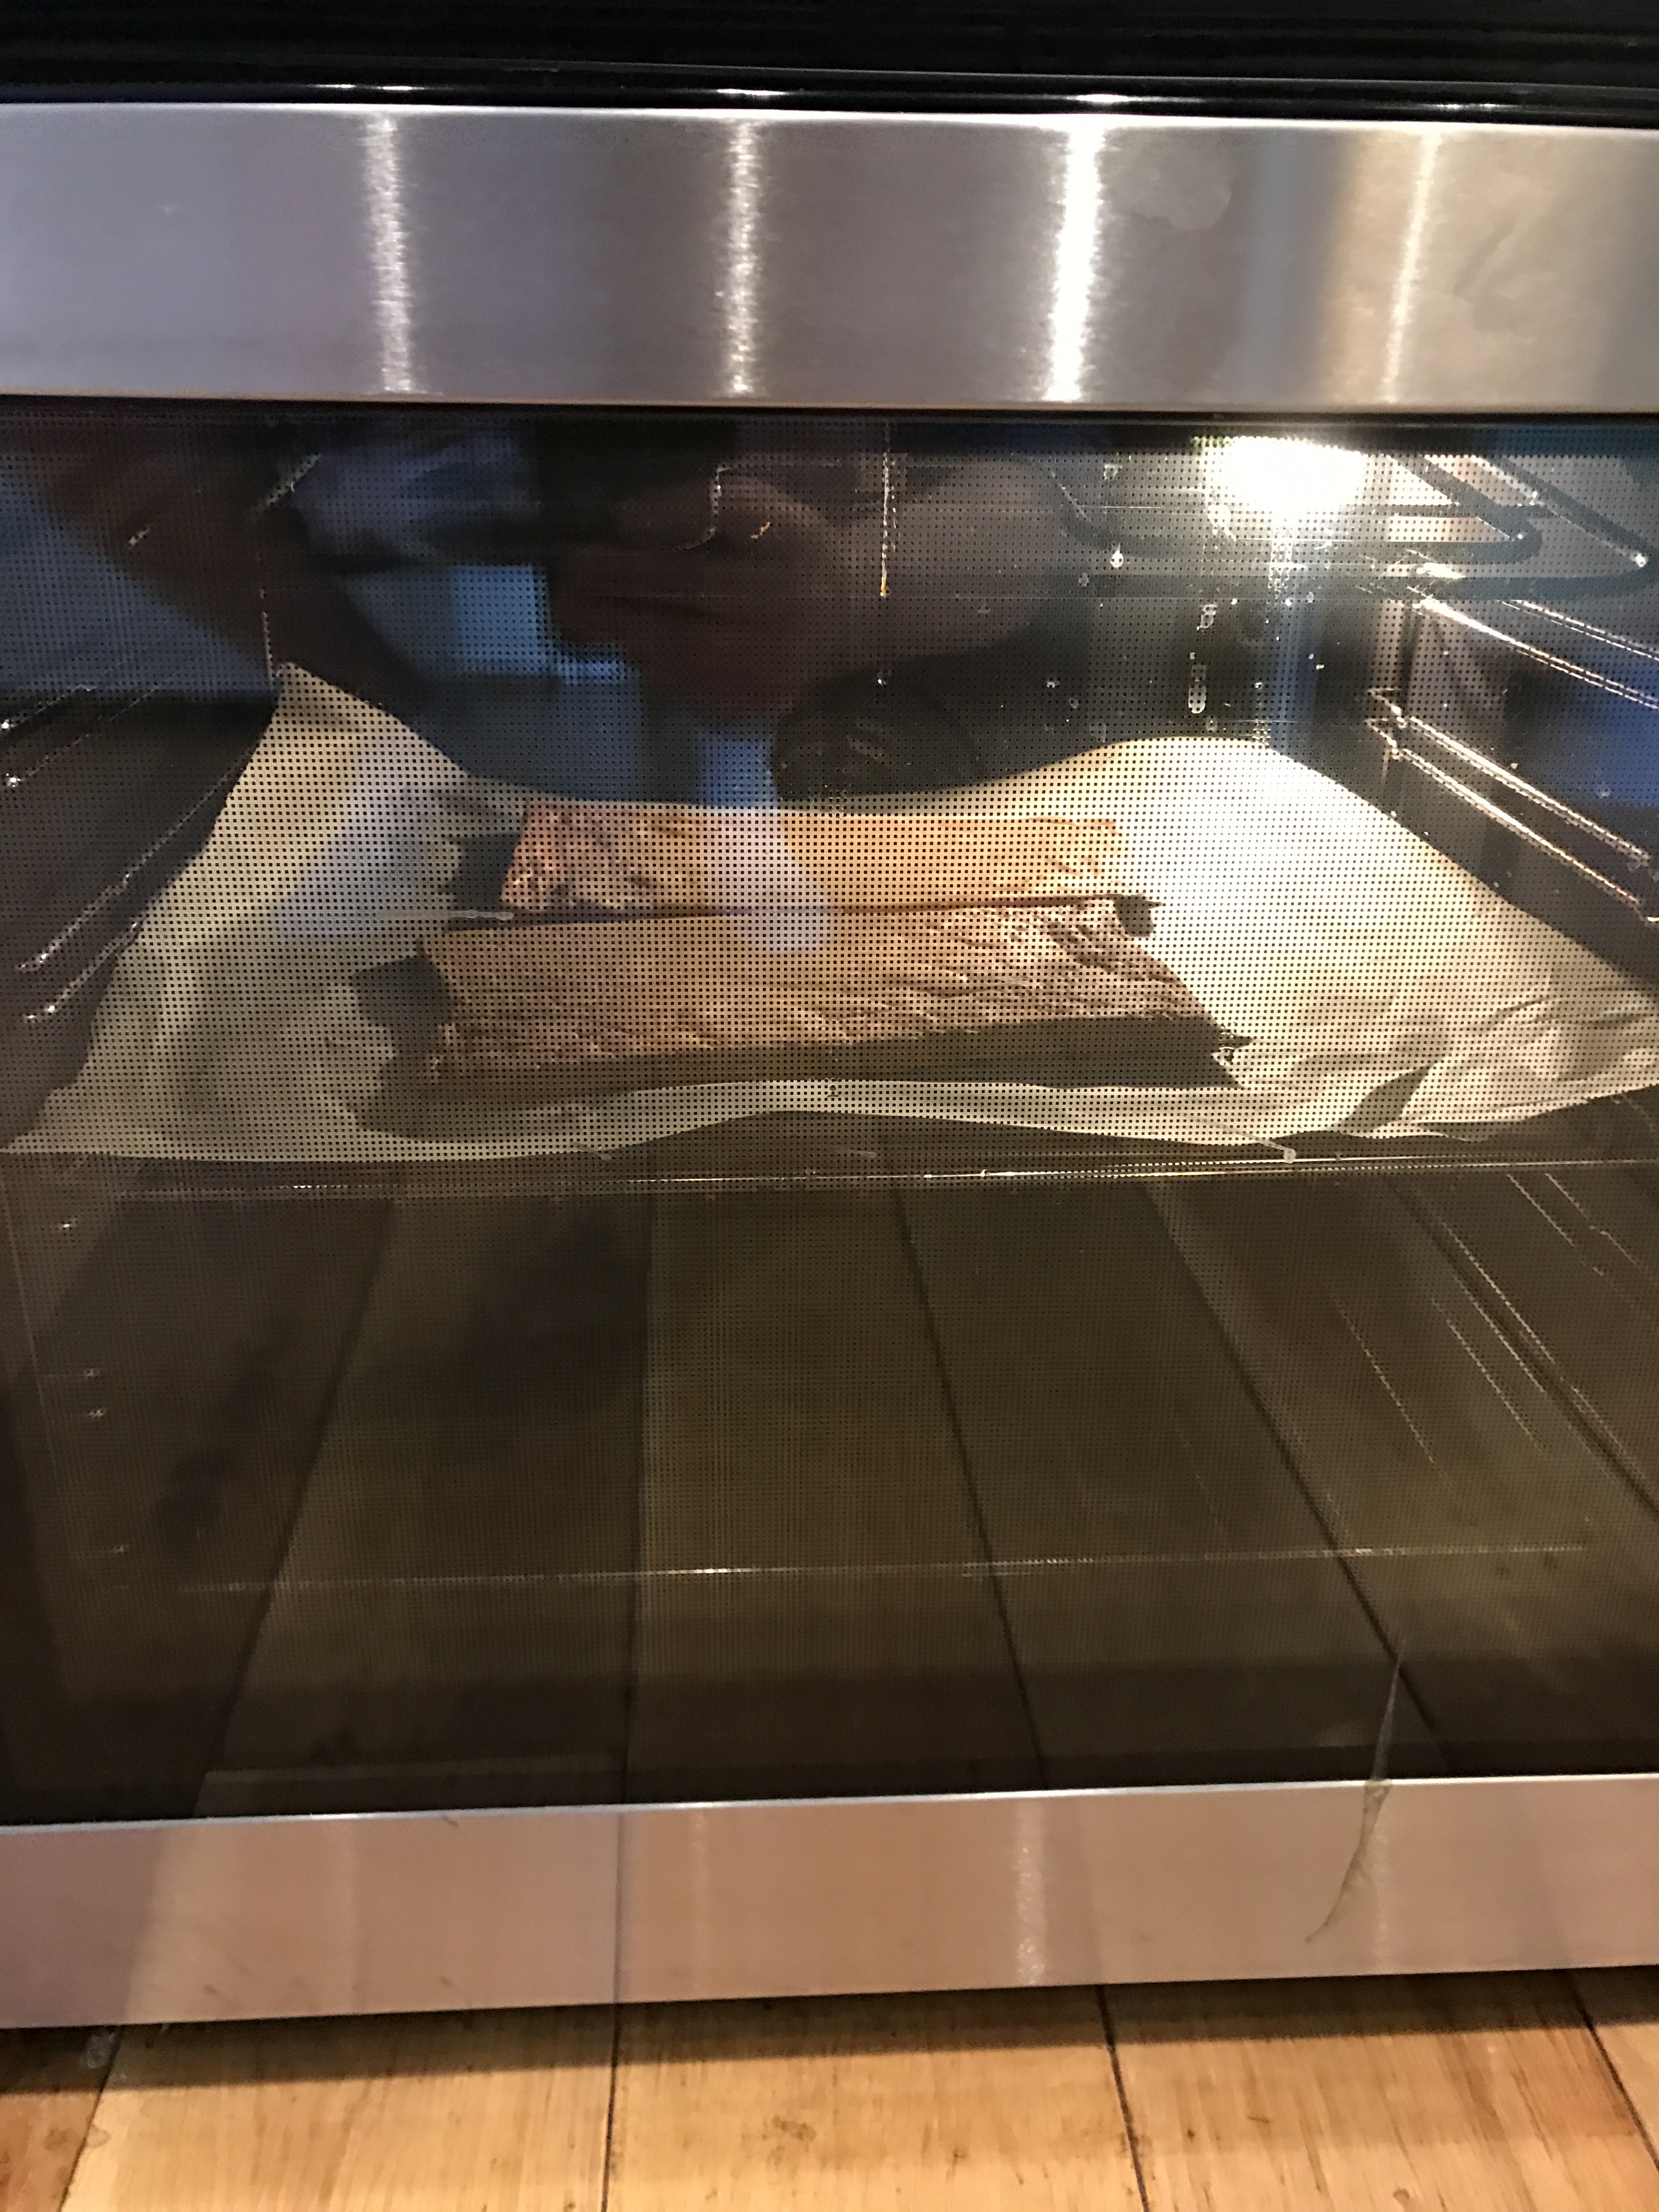
- Place another sheet of greaseproof paper over the top and then a heavy baking tray. This will prevent the layers from puffing up too much.
- For even more weight, you can put a pyrex dish on top. I didn’t do this when I tried the recipe the first time, but I definitely will next time as it was a bit more puffy than I wanted.
- Bake each sheet for about 25 minutes in the oven, removing the top layer of greaseproof paper/tray 10 minutes before the end for the tops to brown. Keep an eye on them and lower the temperature if you think they’re browning too much. It is definitely a watching the oven like telly moment, as you definitely don’t want to burn them after all the effort to make it!
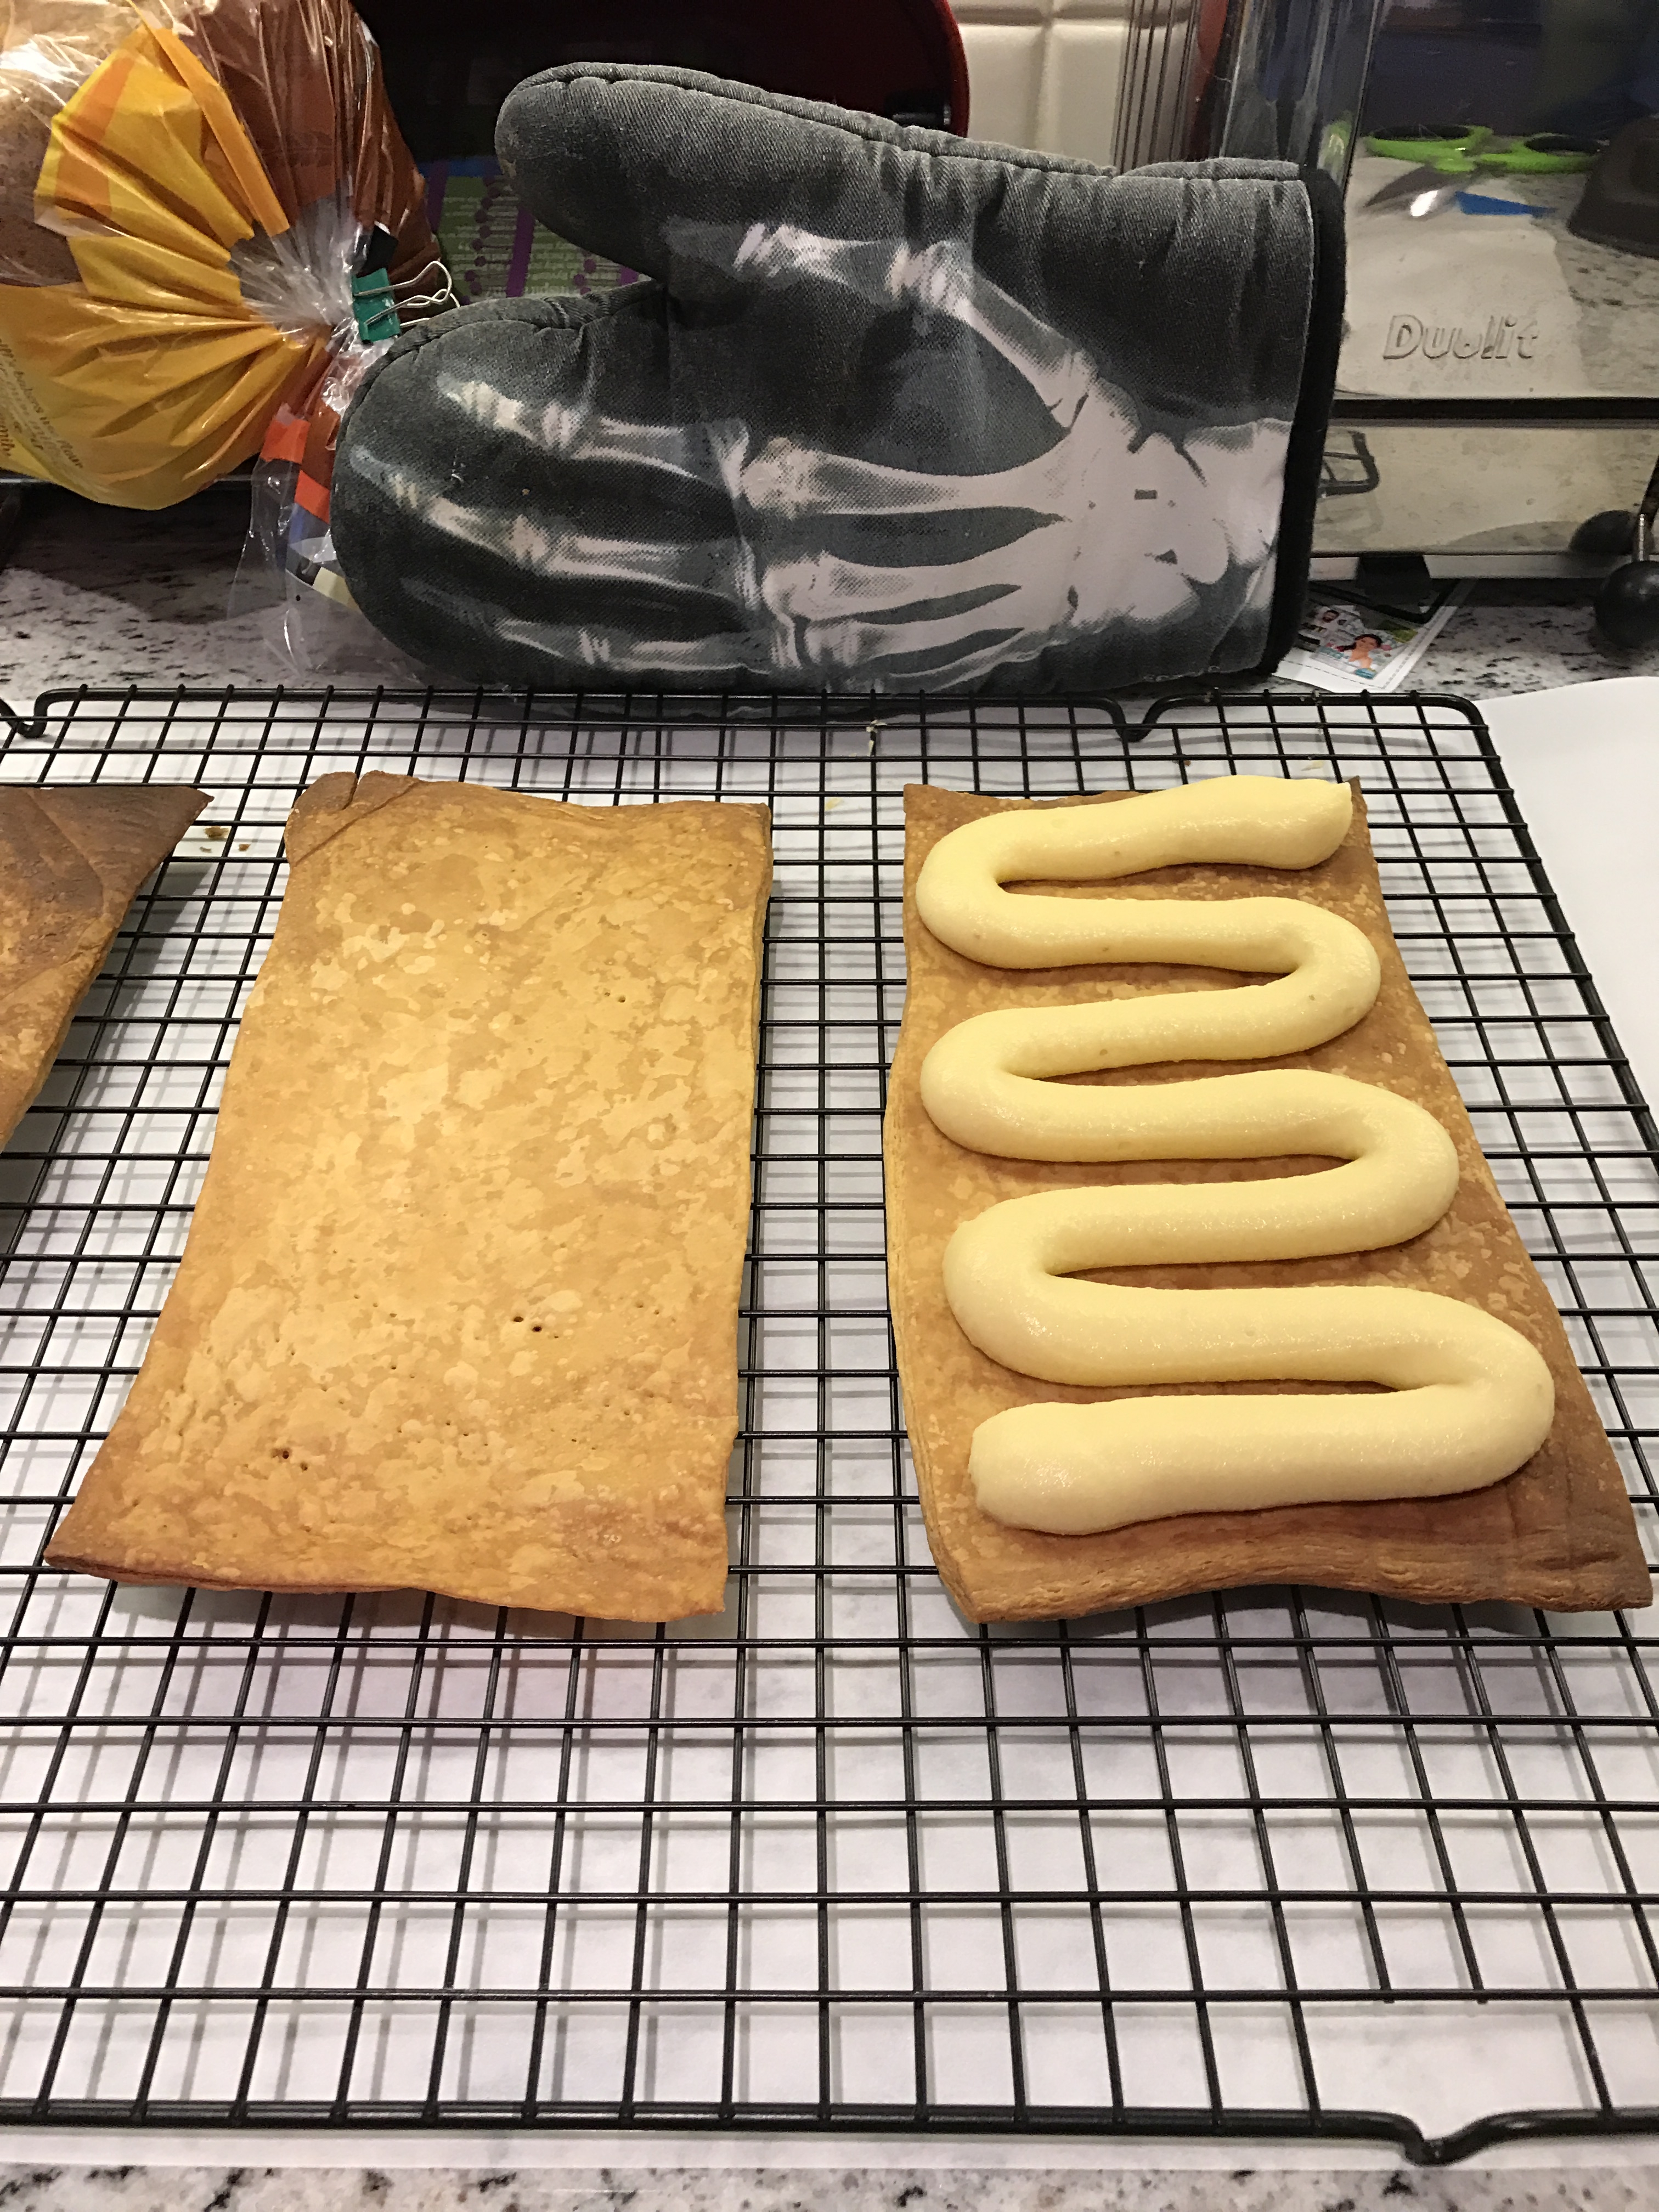
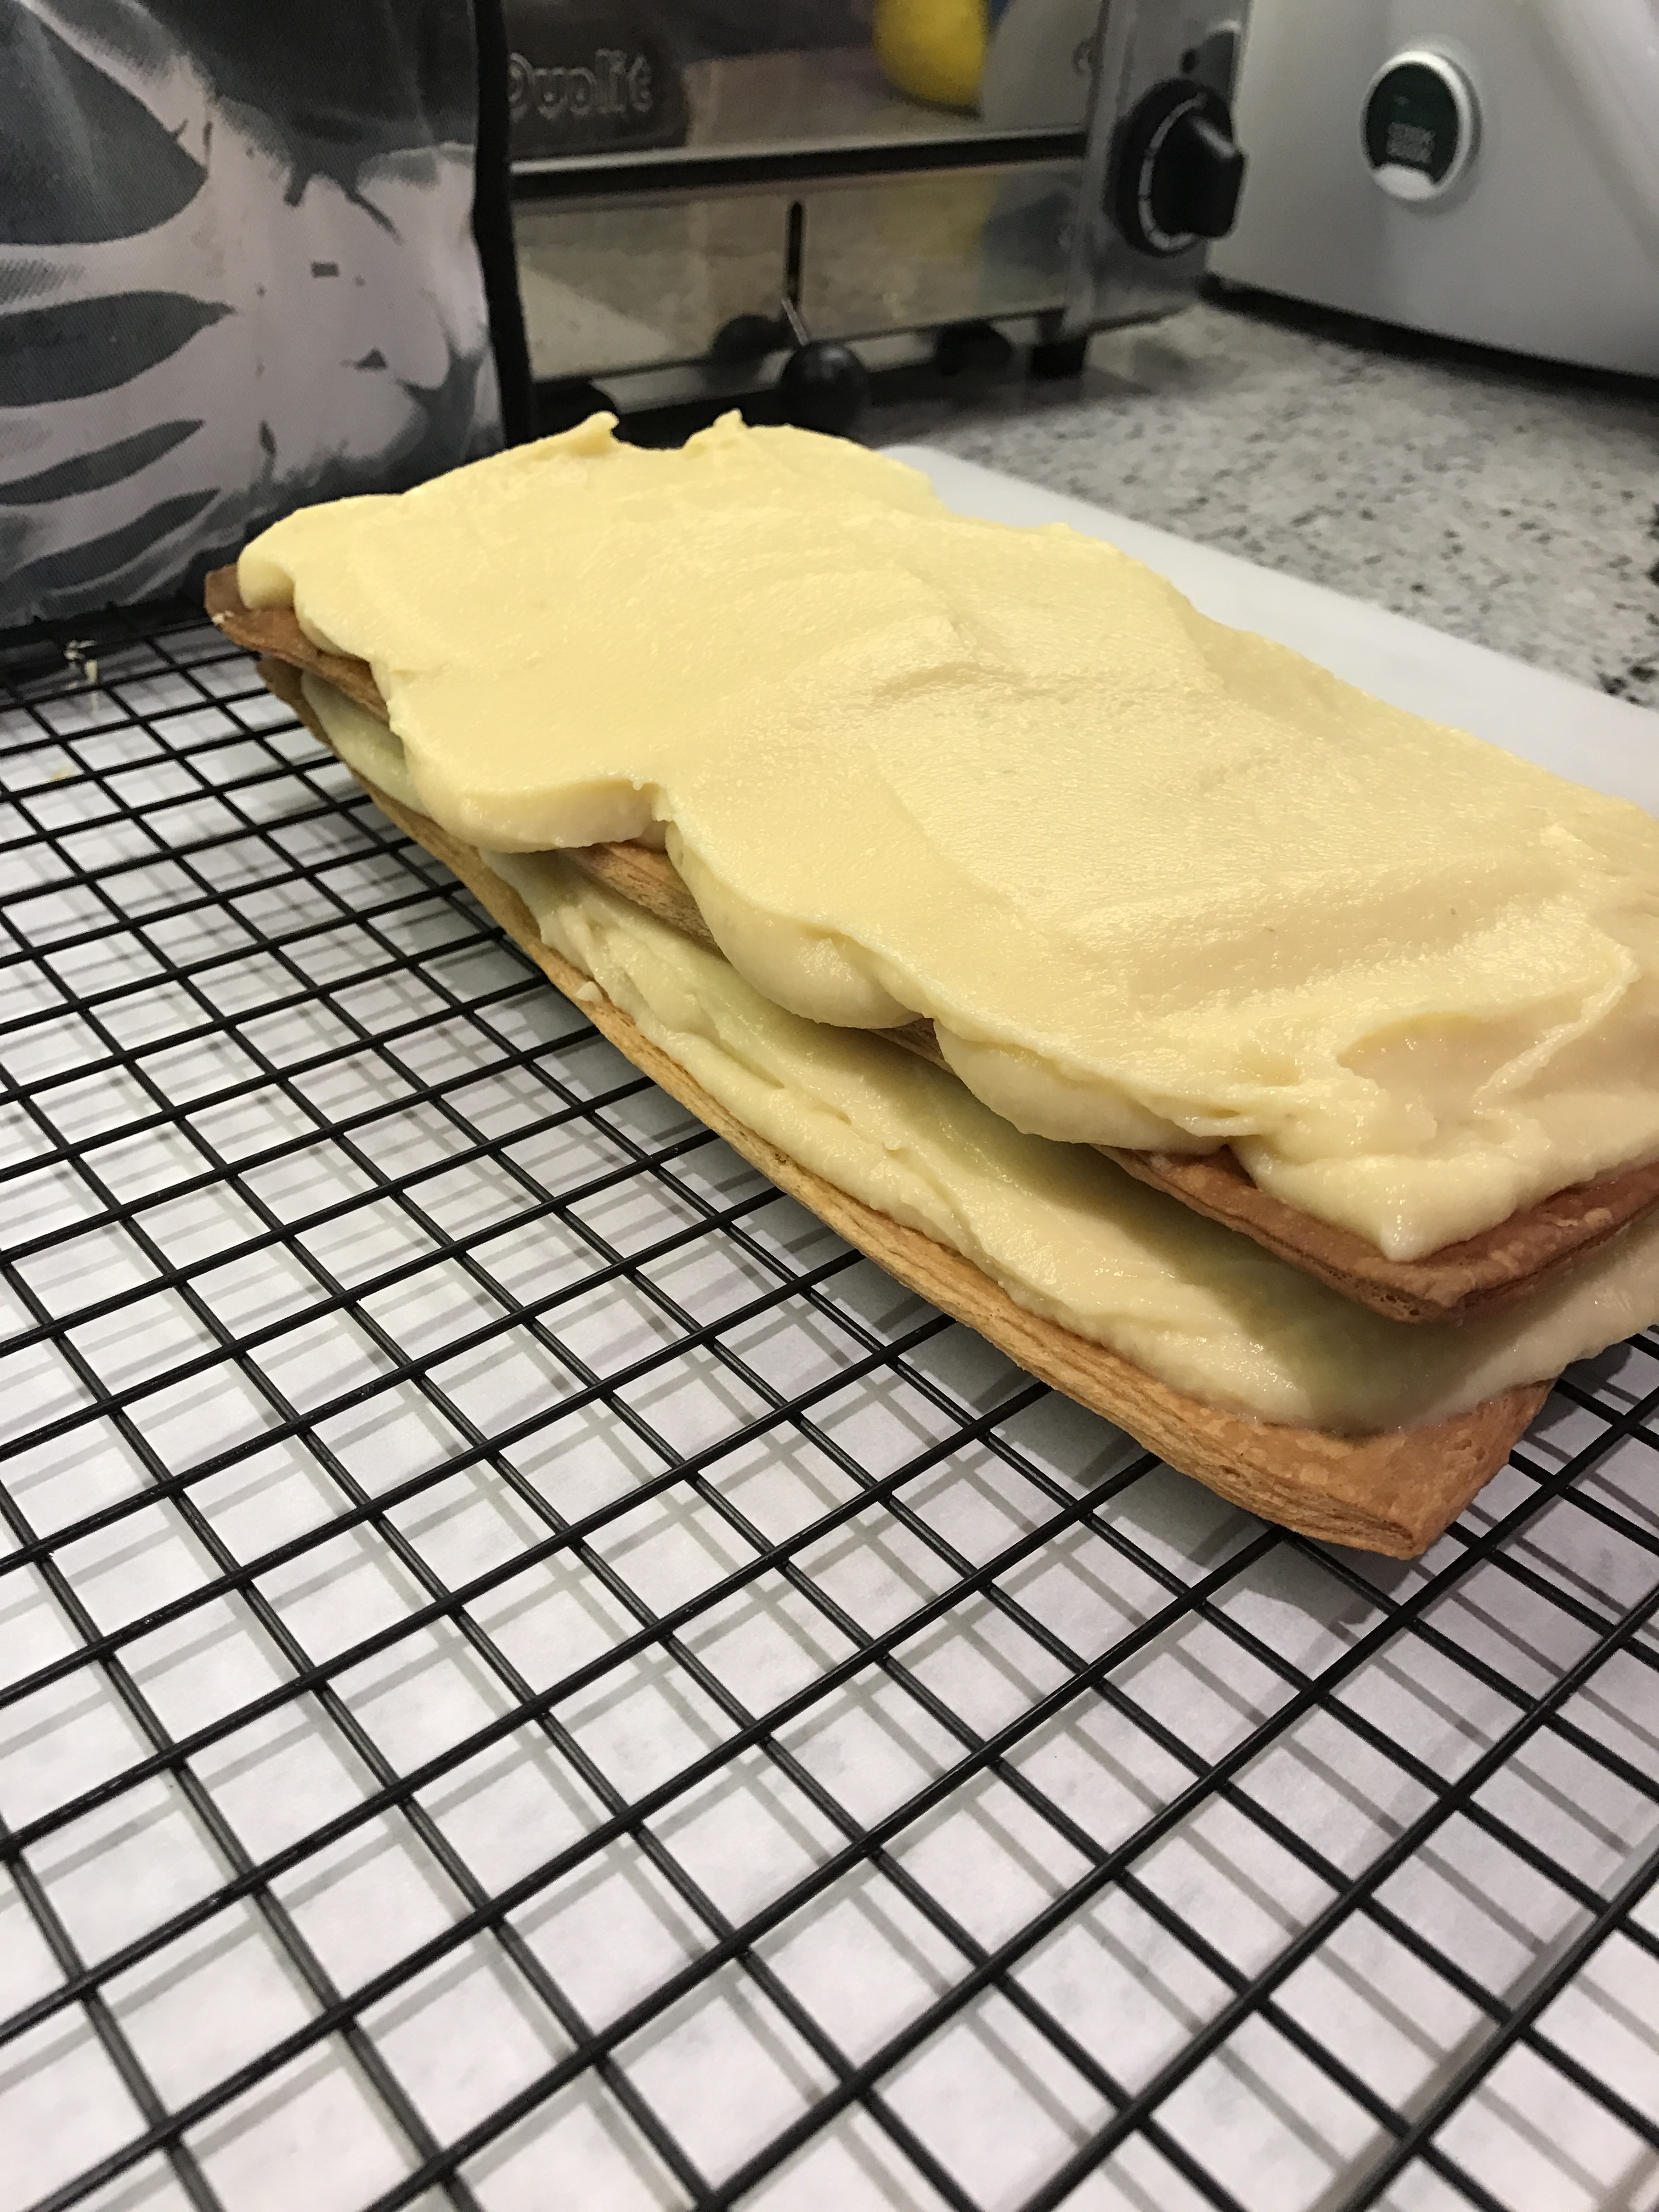
- Remove the baked sheets from the oven and leave on a wire rack to cool.
- Once the pastry has cooled, you’re ready to assemble your mille feuille. Get a sturdy flat board, your pastry and the chilled crème pâtissière from the fridge. I always transfer the creme pat into a piping bag, as it makes it easier to distribute and control.
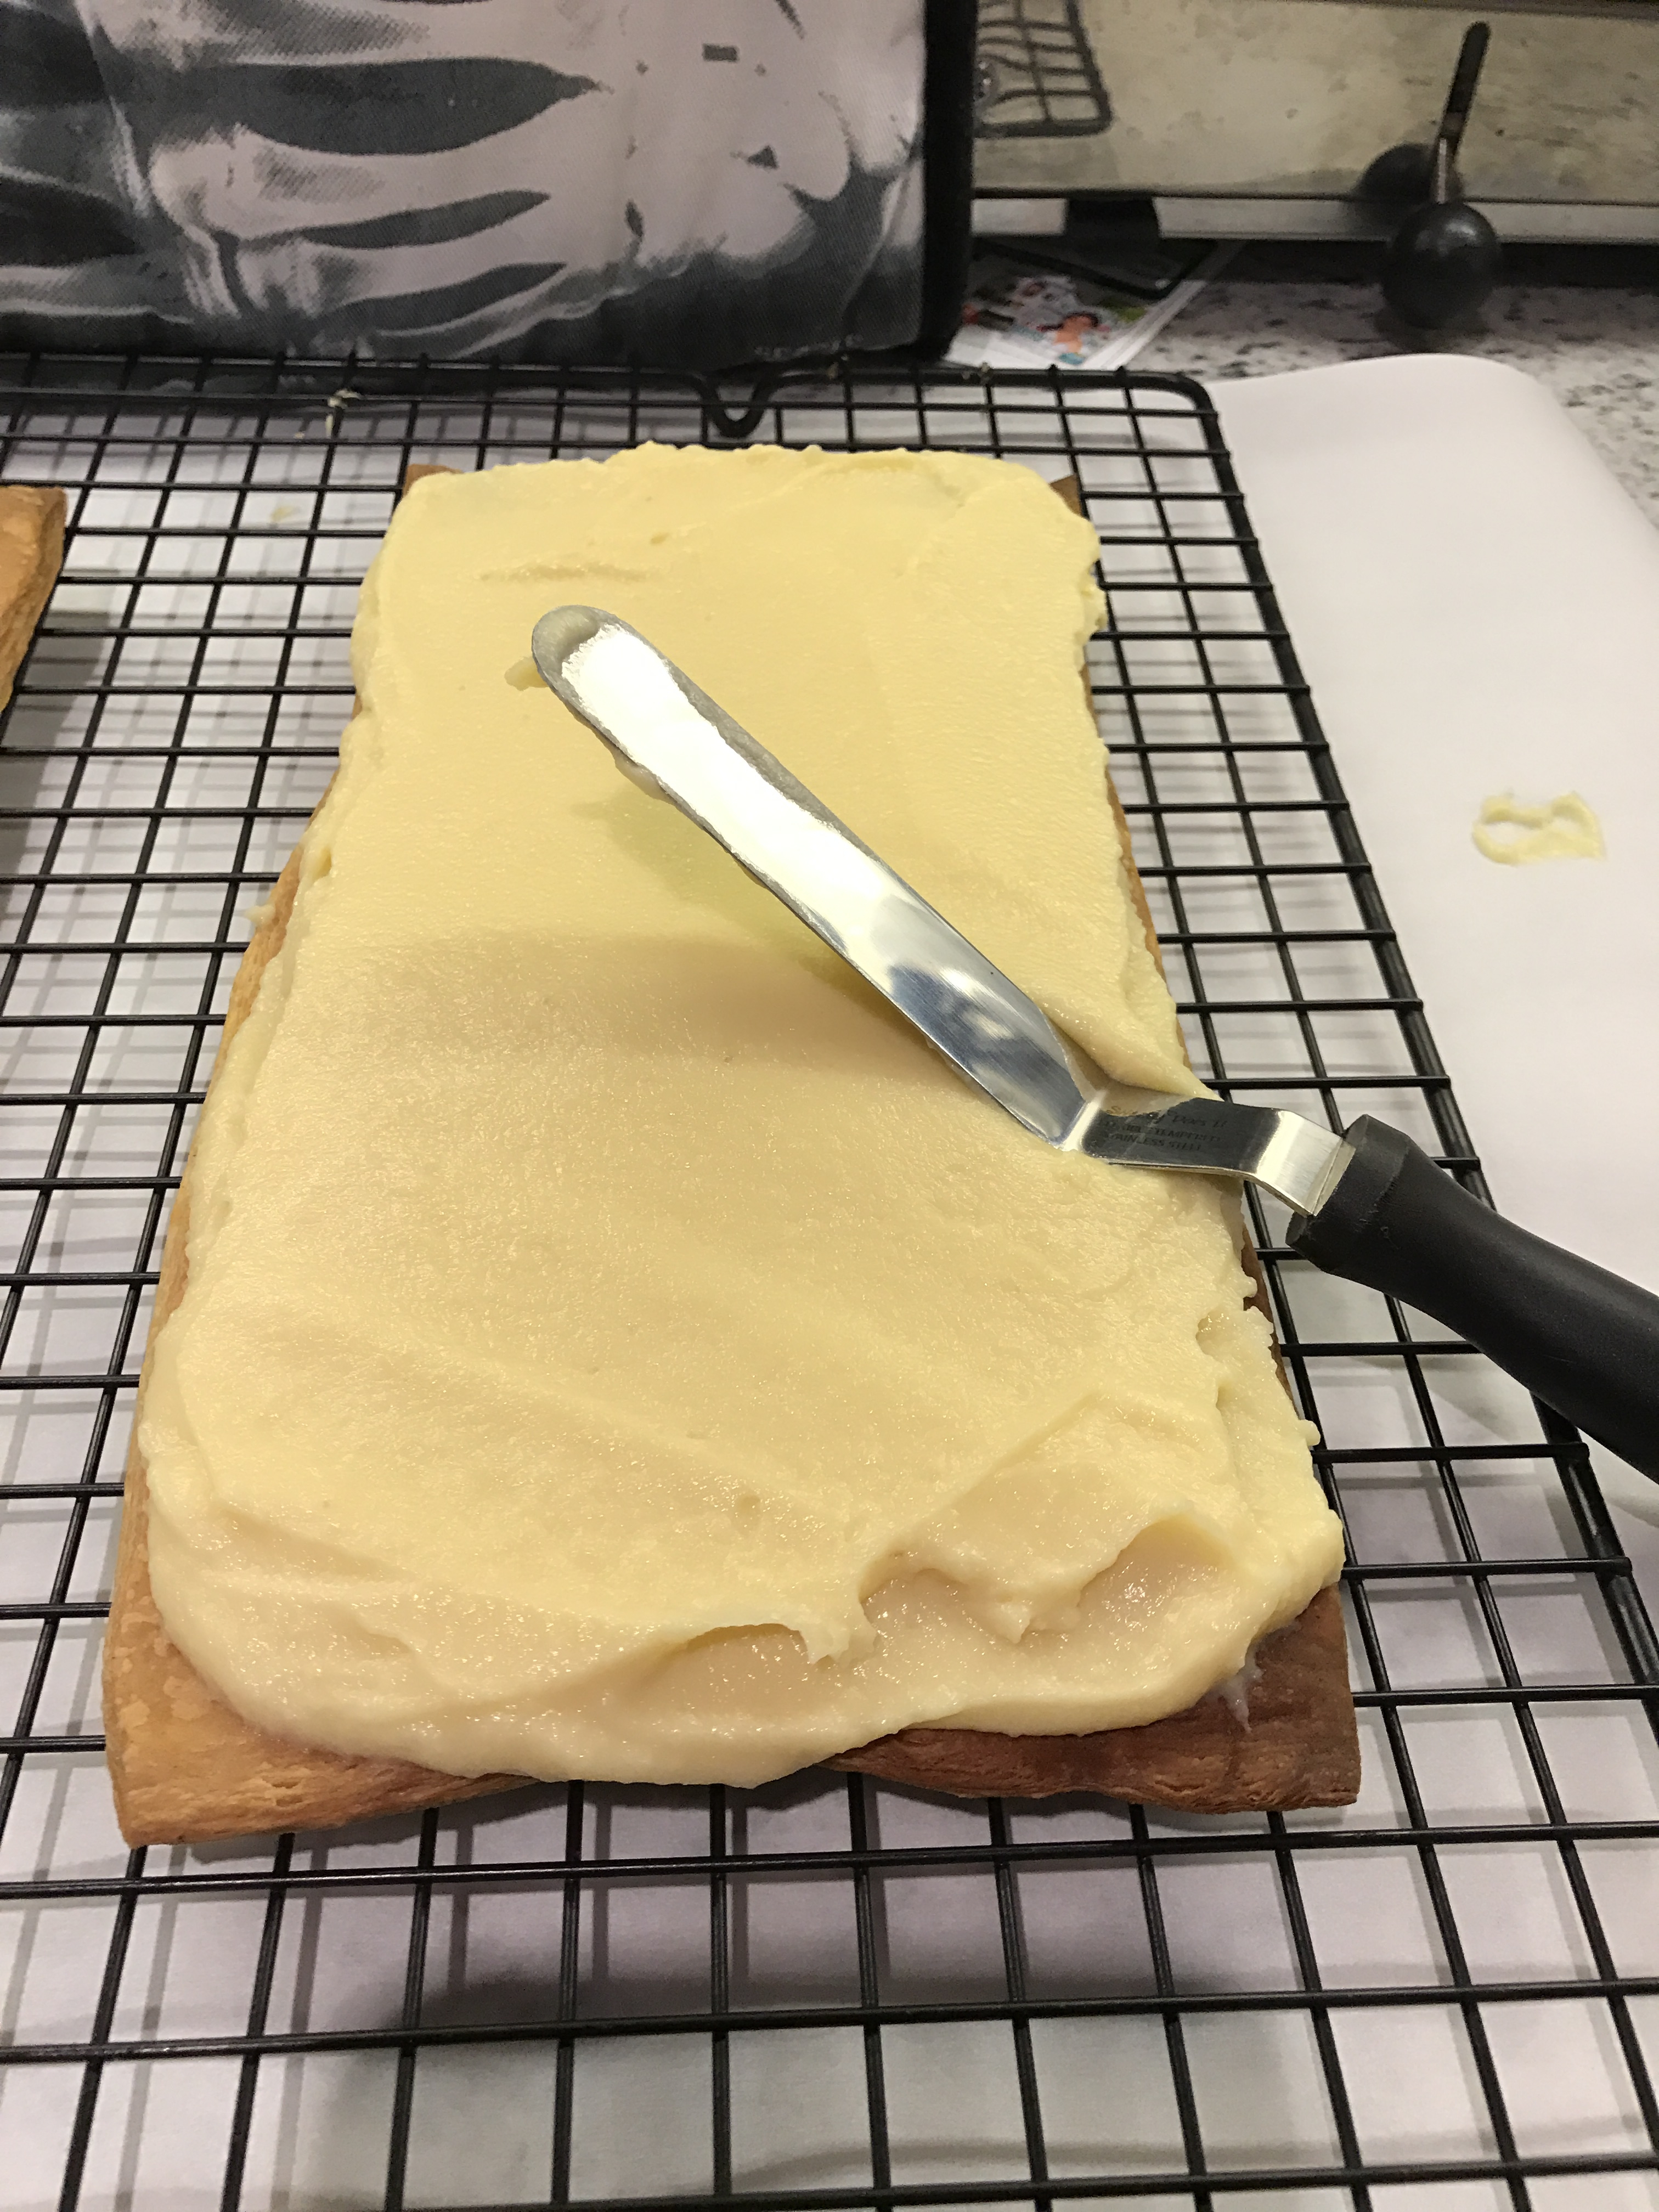
- Lay one sheet on the board and pipe and spread half the crème patisserie evenly over the top. See the gallery for the method I followed.
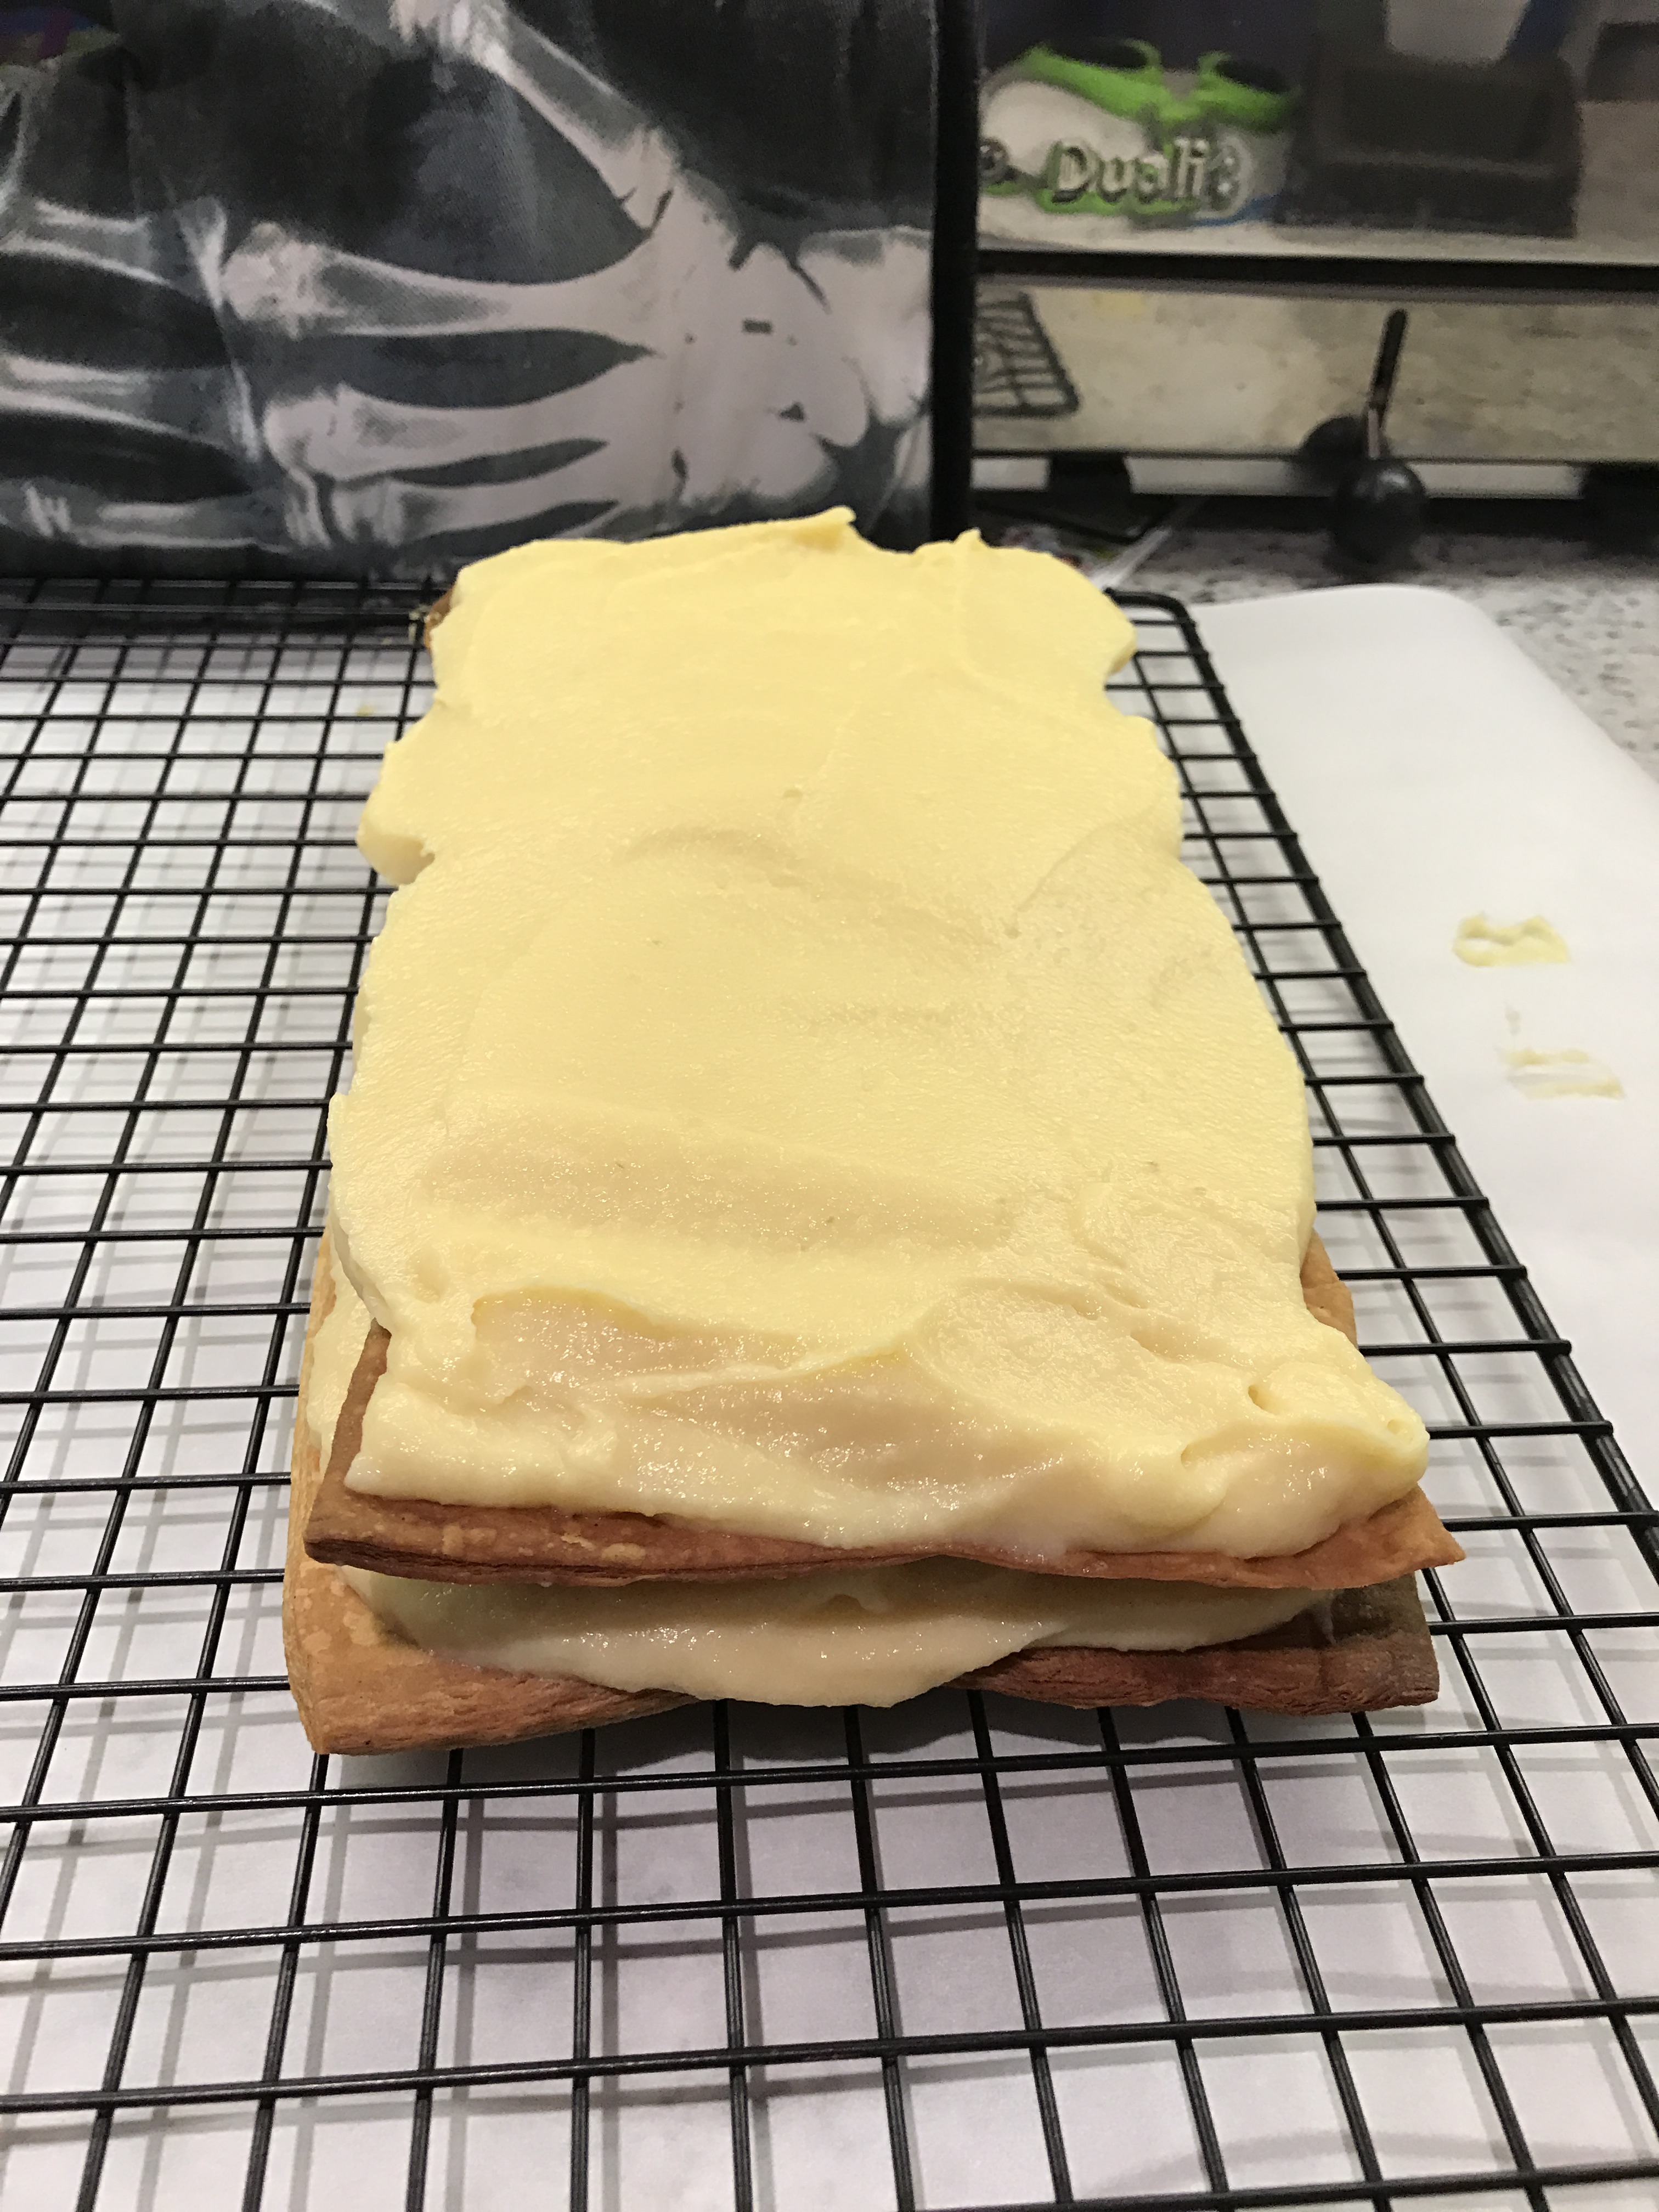
- Take the second sheet and place it on top, pressing down lightly with your hands to ensure that it sticks to the filling.
- Spread the remaining crème pâtissière and place the last sheet of pastry on top, pressing down again. Don’t worry if there’s some oozing at the sides as that can be neatened later using your tongue, or knife if you’re fussy about germs.
- Pop in the fridge while you prepare the icing / chocolate.
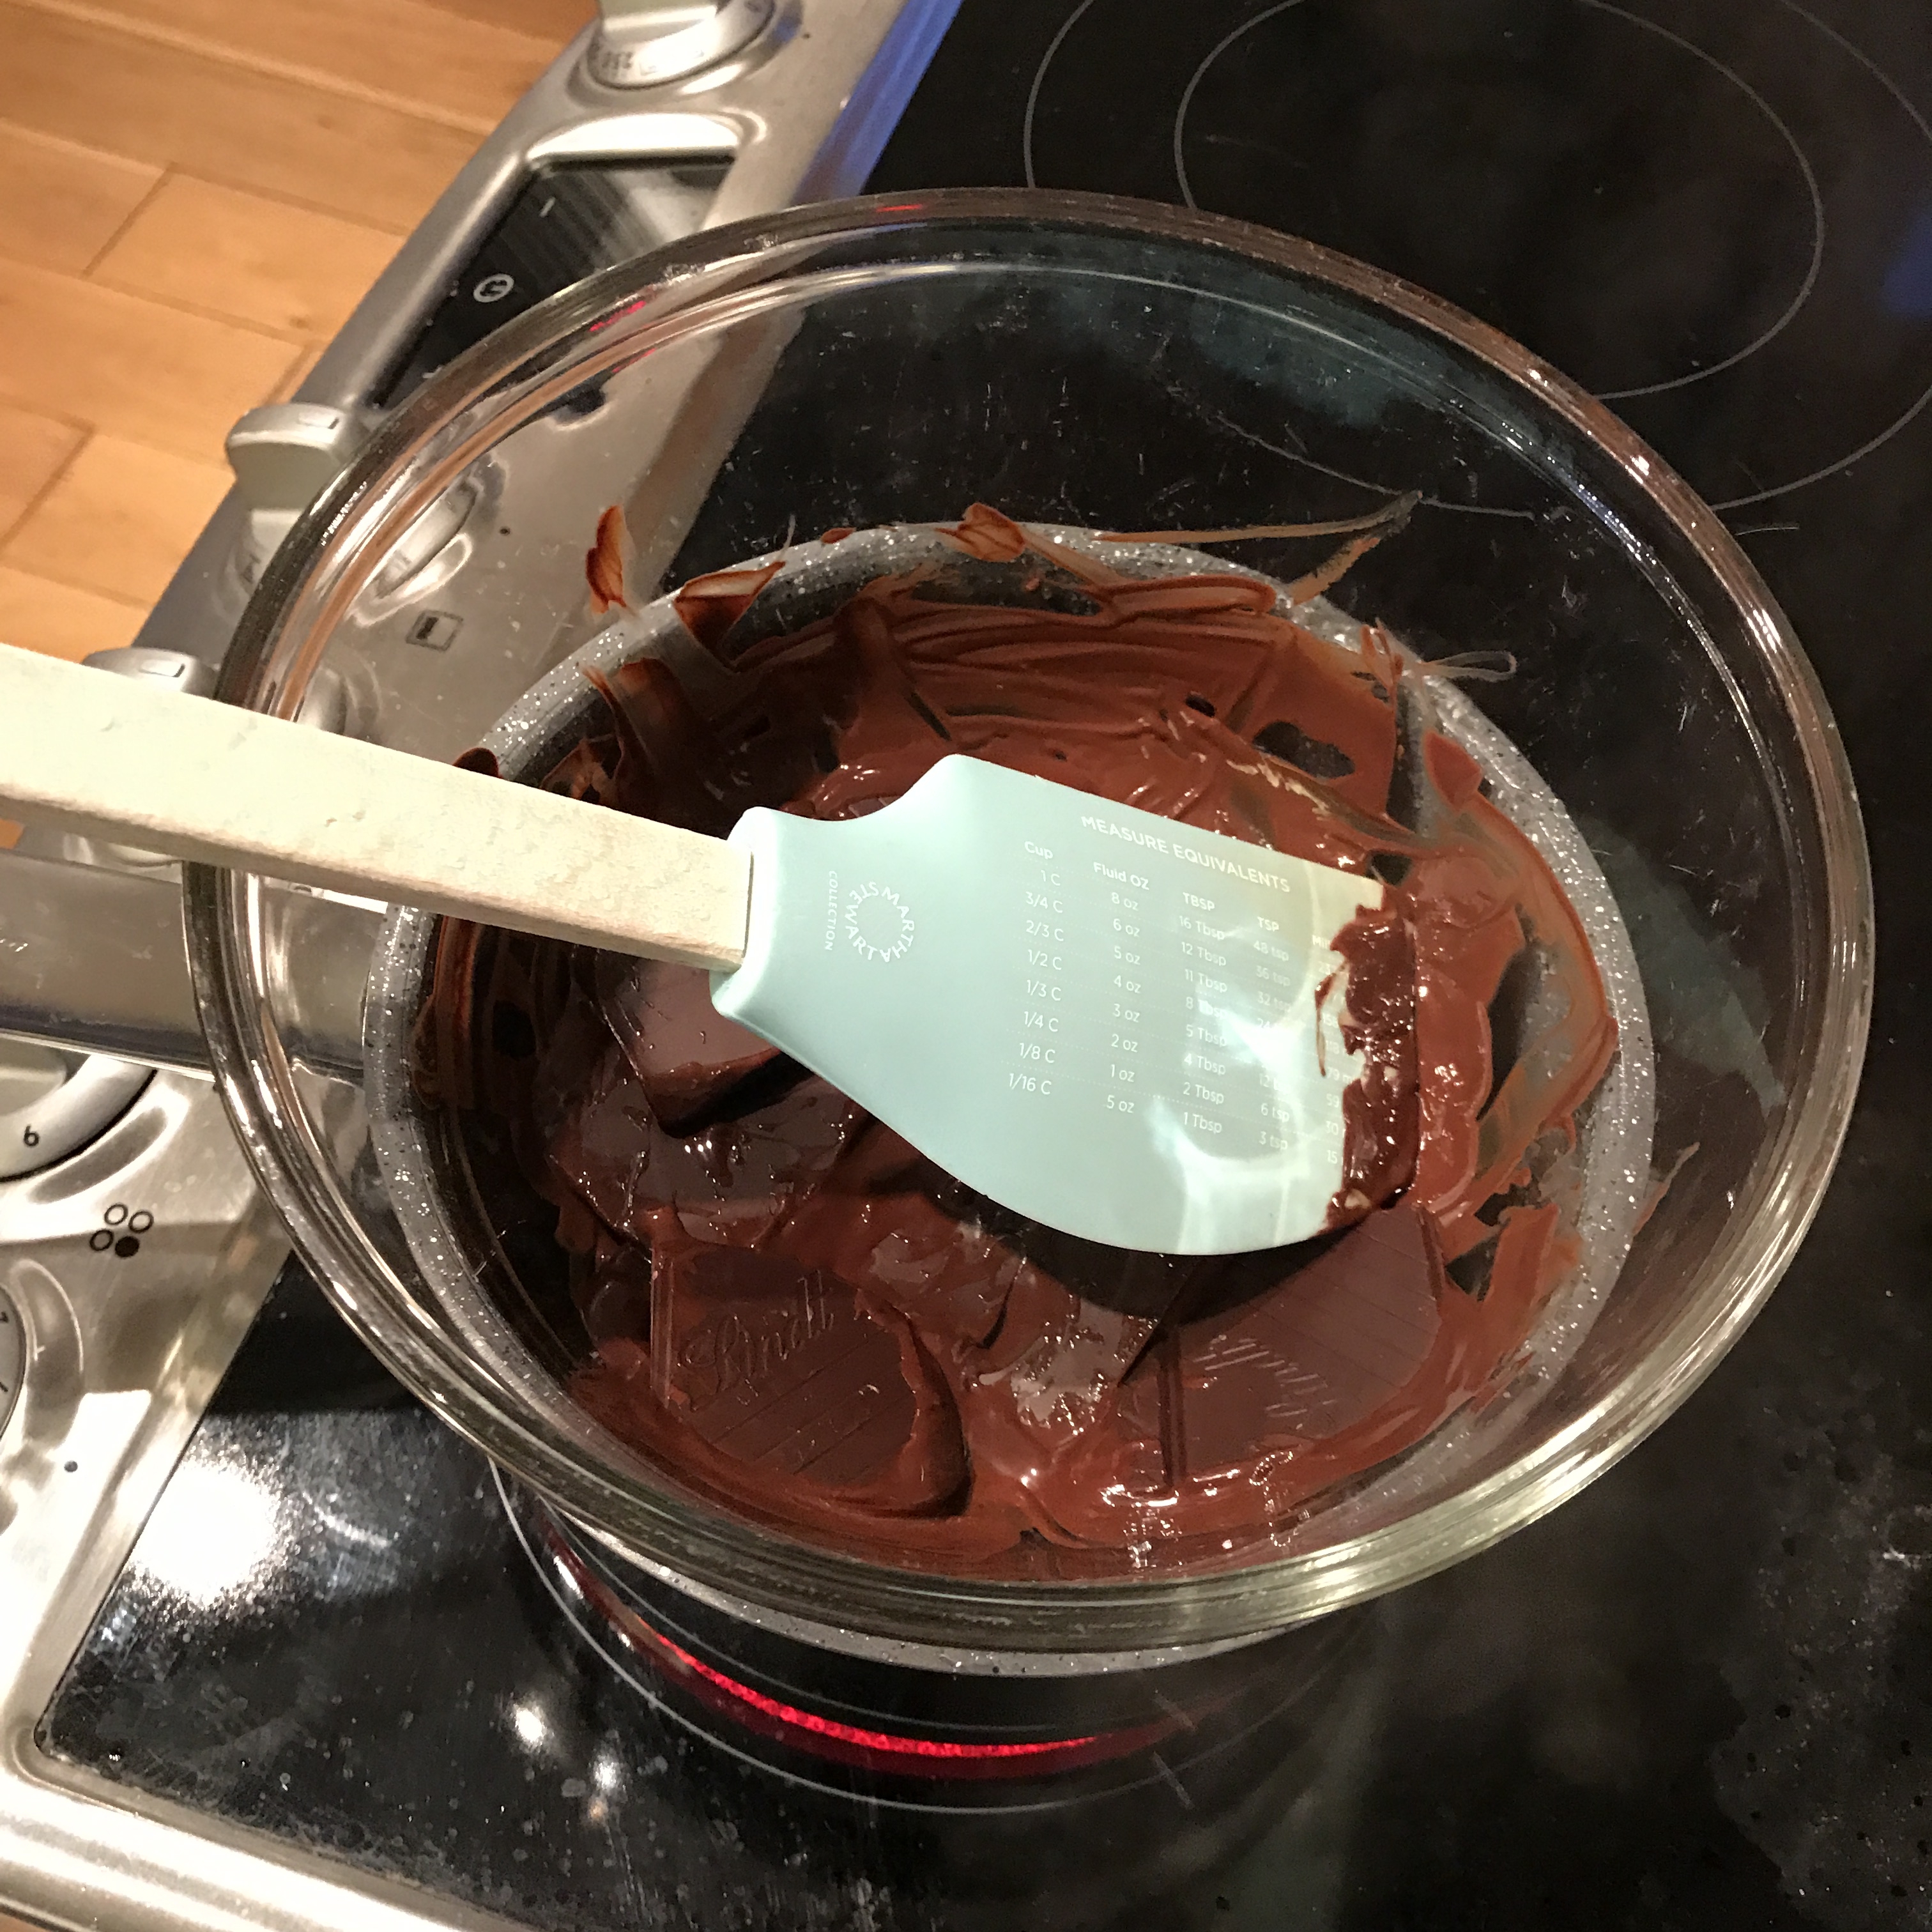
To make the chocolate glaze
- Melt the chocolate in a bain marie (glass bowl over boiling water in a pan), stirring periodically, but not crazily.
- Once chocolate is melted, transfer to a piping bag (I literally must go through 5 every weekend of these) to cool a little while you make the icing.
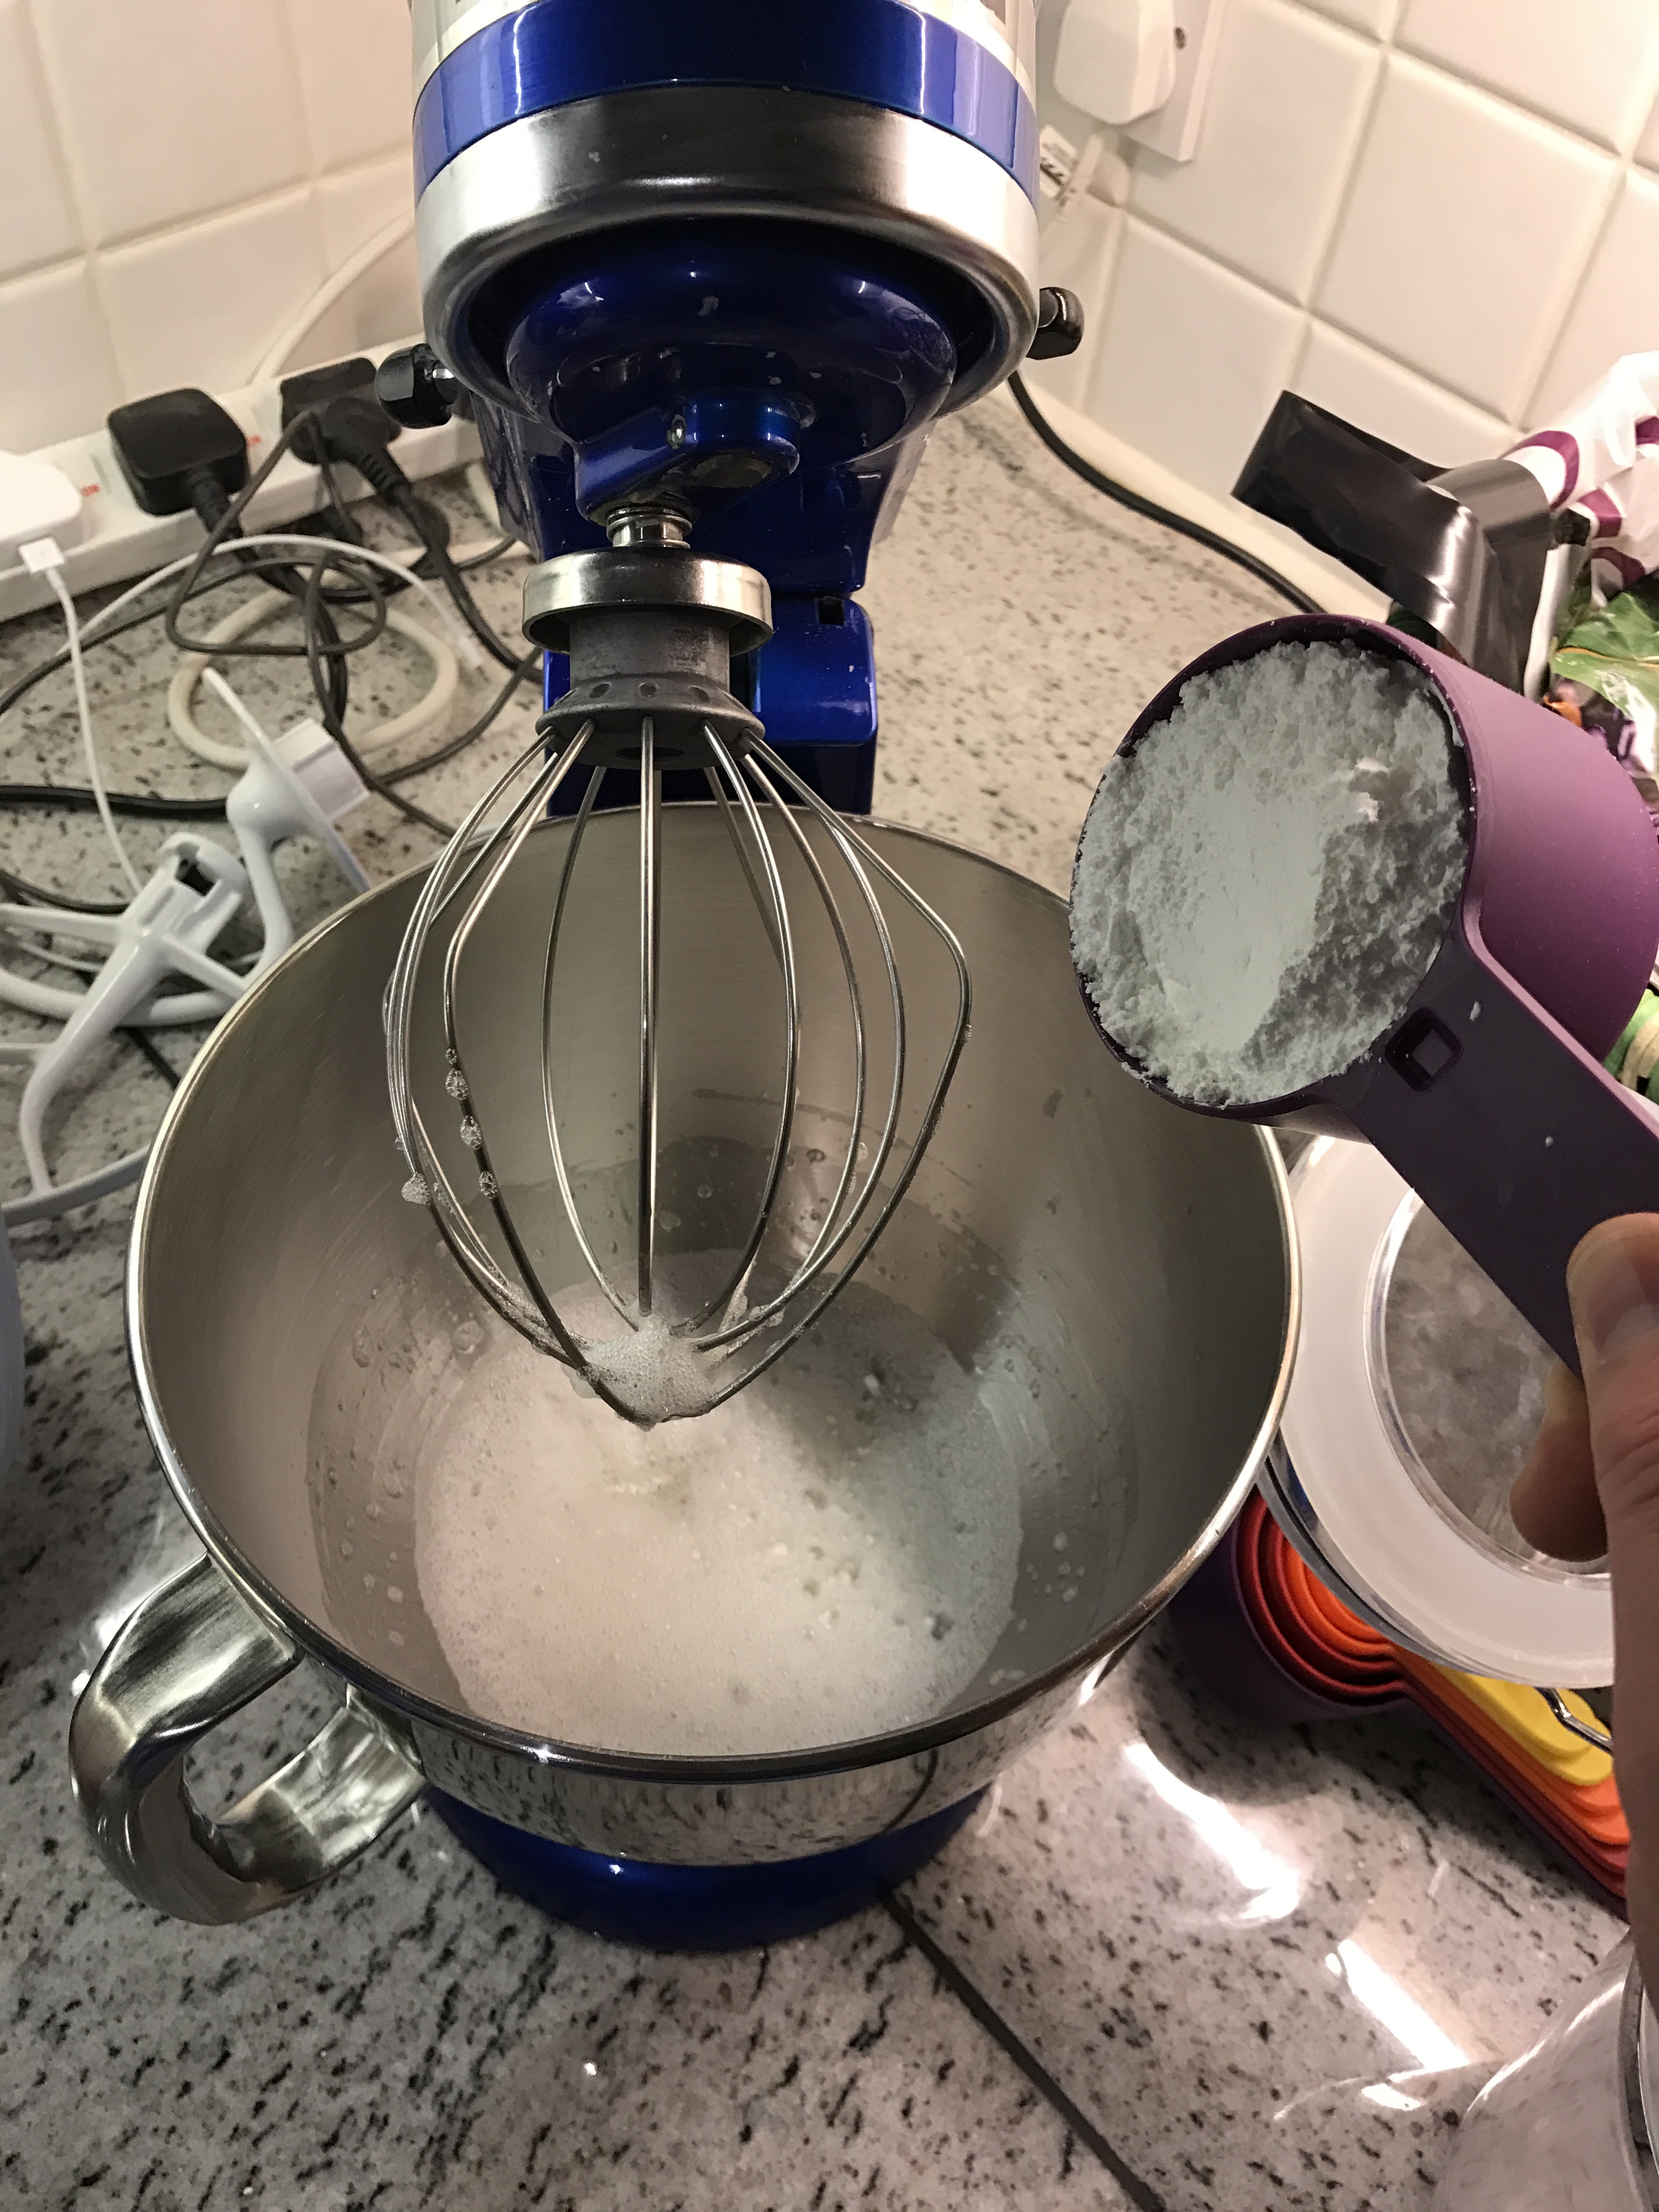
To make the icing
- Whisk 2 egg whites with 2 teaspoons lemon juice until lightly frothy.
- Whisk in about 210g of the icing sugar on a low setting until smooth and combined. The mixture should be thick enough to leave trails on the surface. If it’s too thin, whisk in a bit more icing sugar – you probably don’t need to use it all, otherwise it will be too thick.
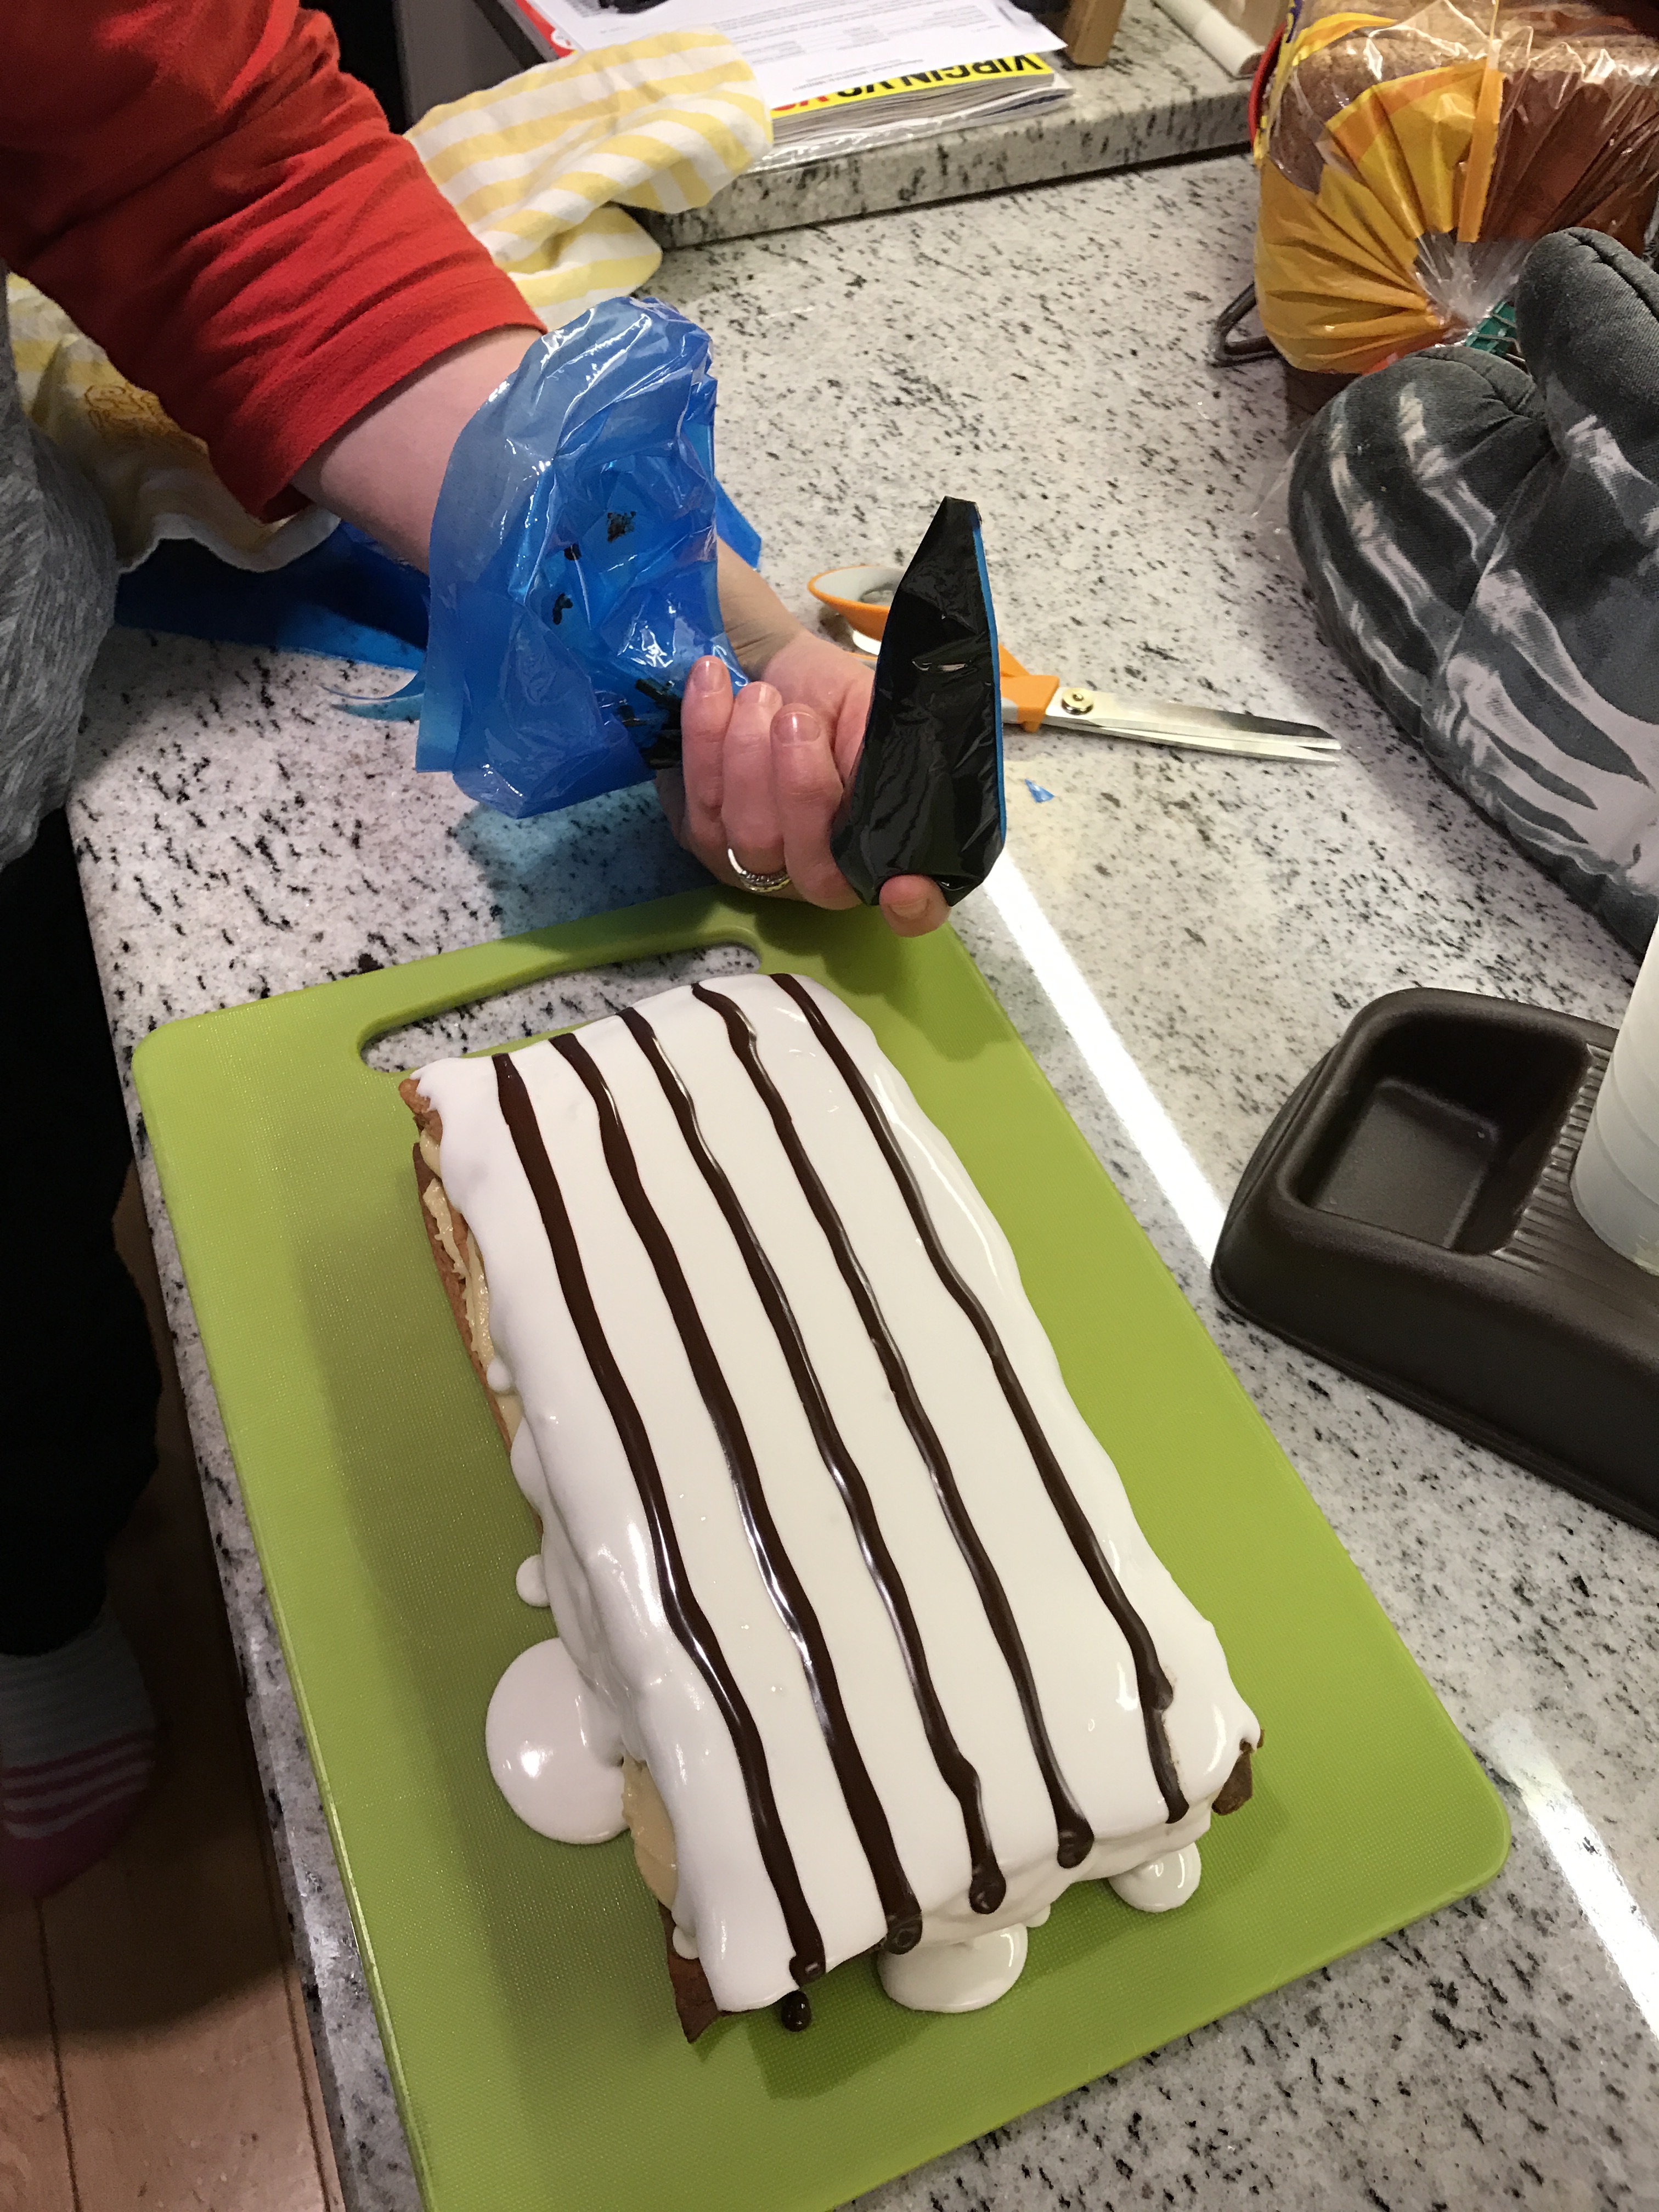
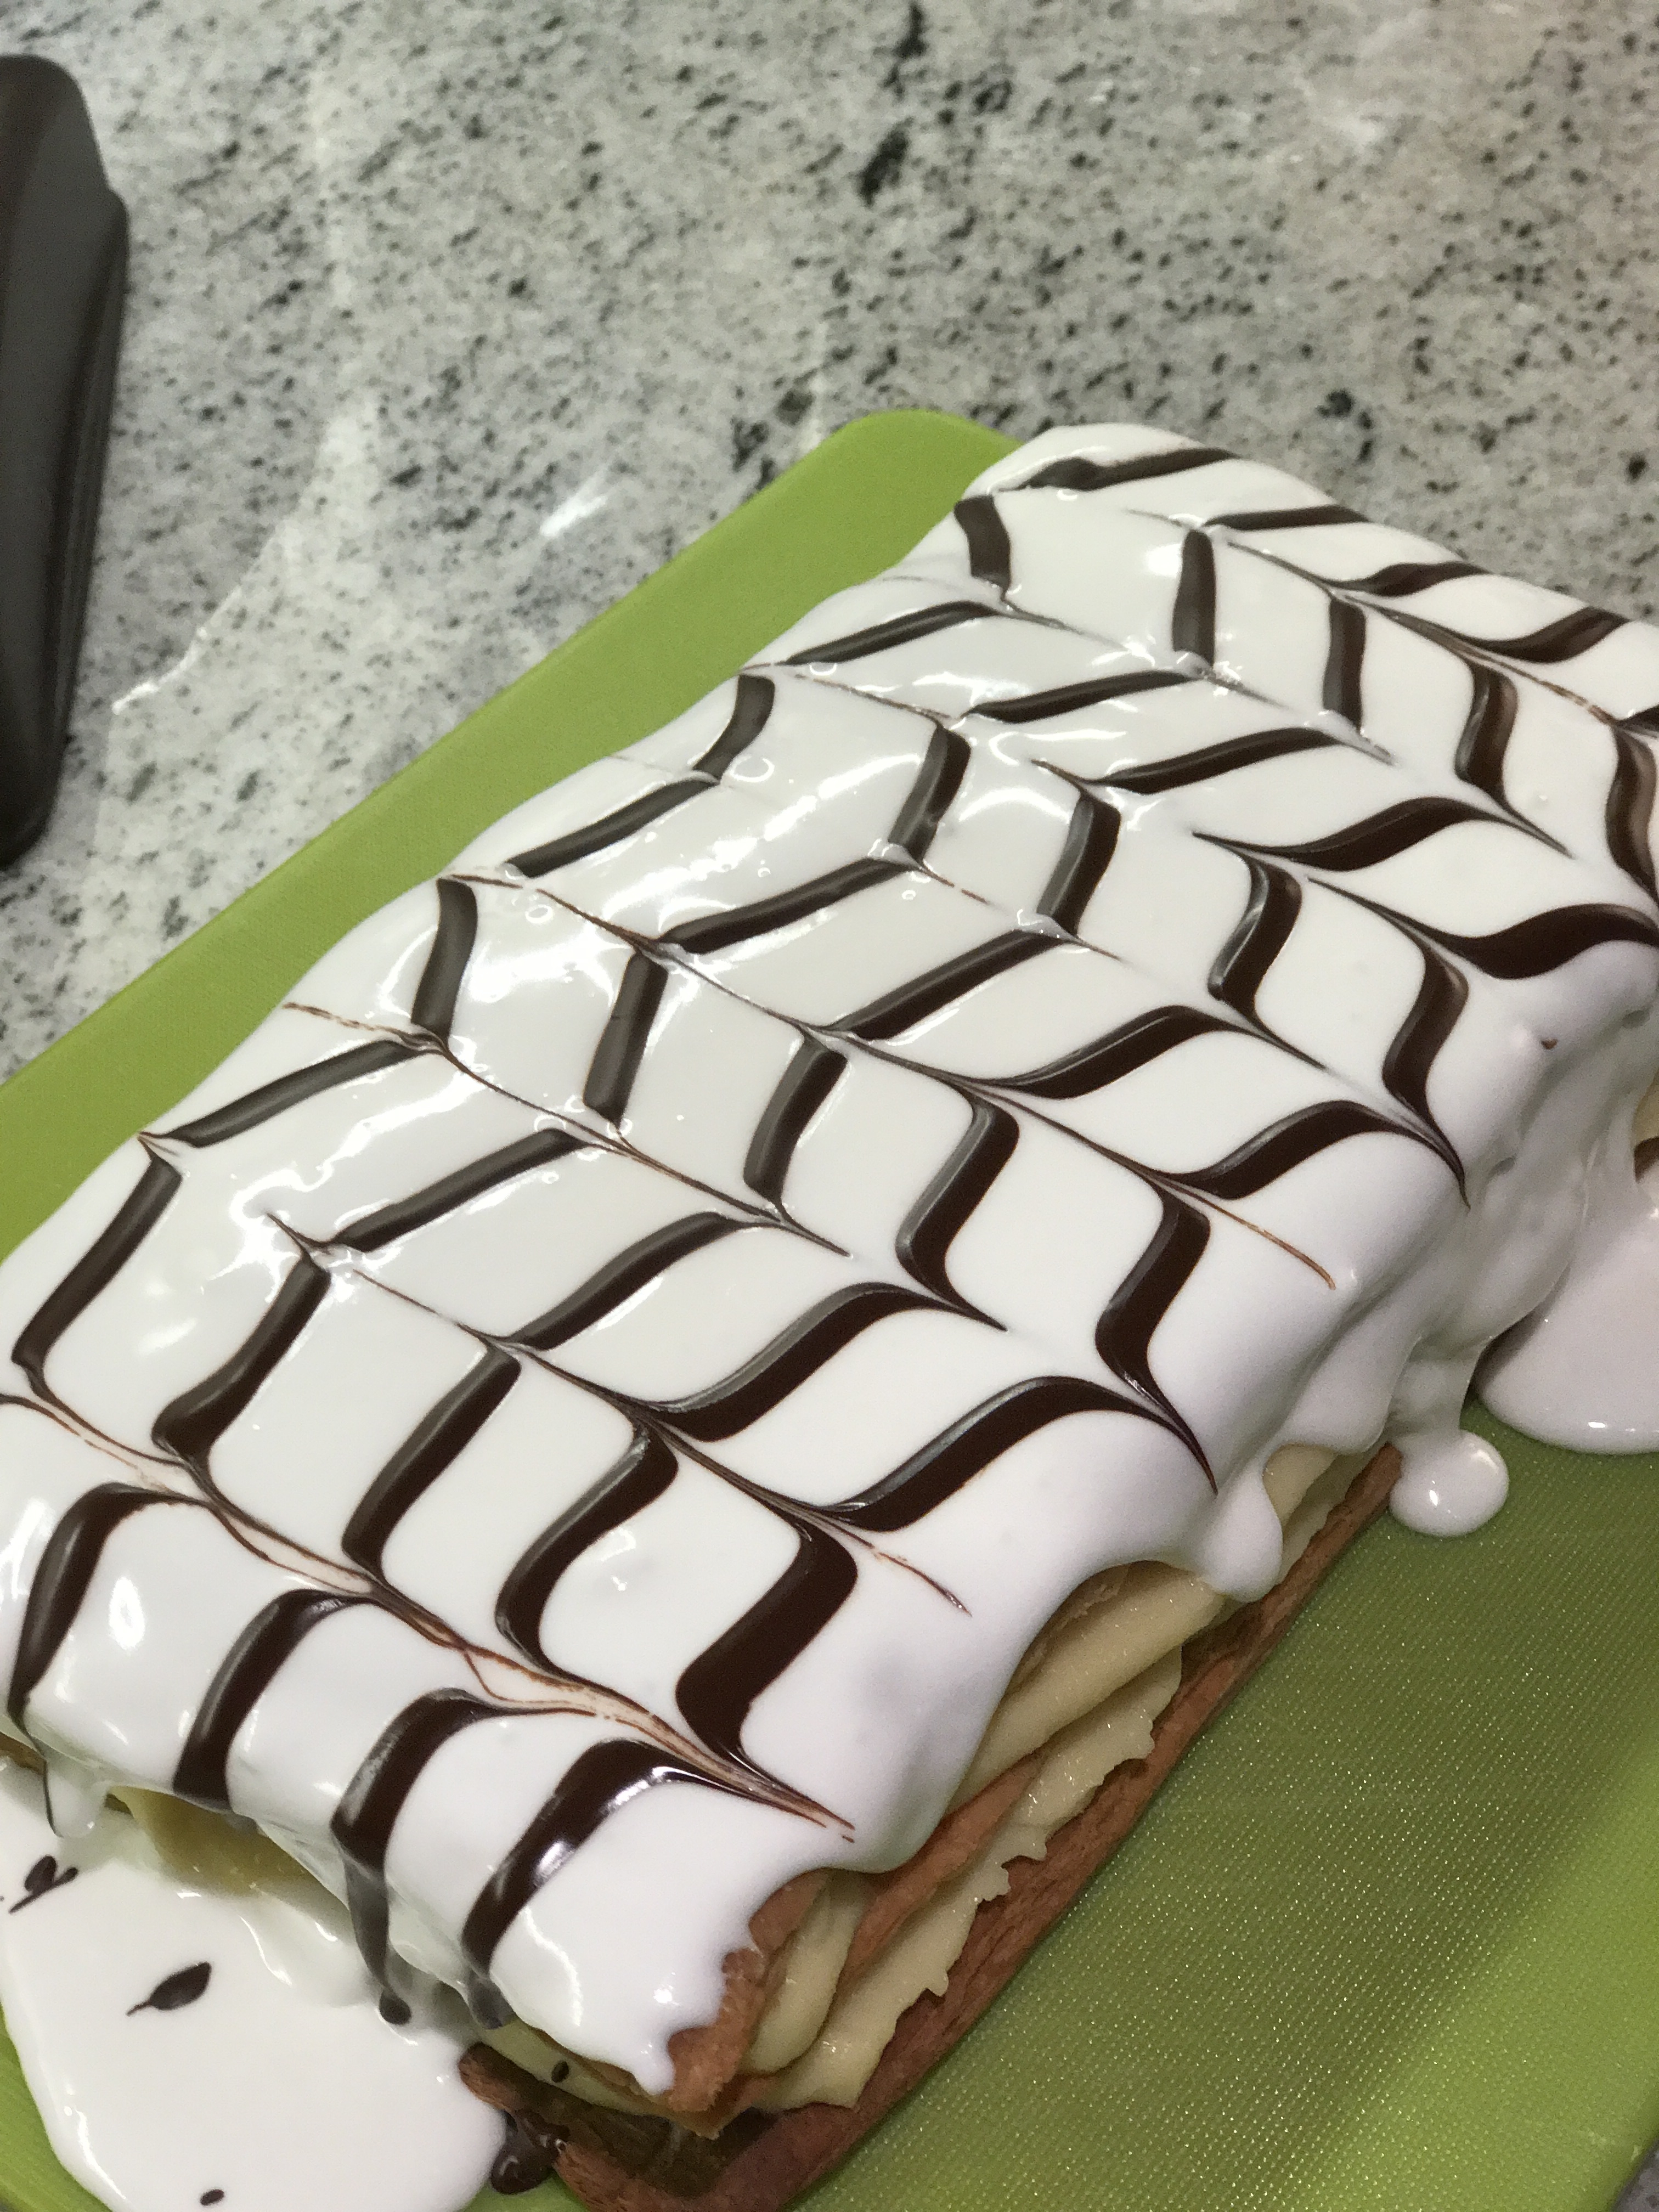
- Once ready, immediately pour over the top of the mille feuille and spread evenly.
- Still working quickly, snip a small cut at the end of the piping bag and pipe a row of thin chocolate lines along the widest length of your pastry sheet. You can make them as far apart/close together as you like.
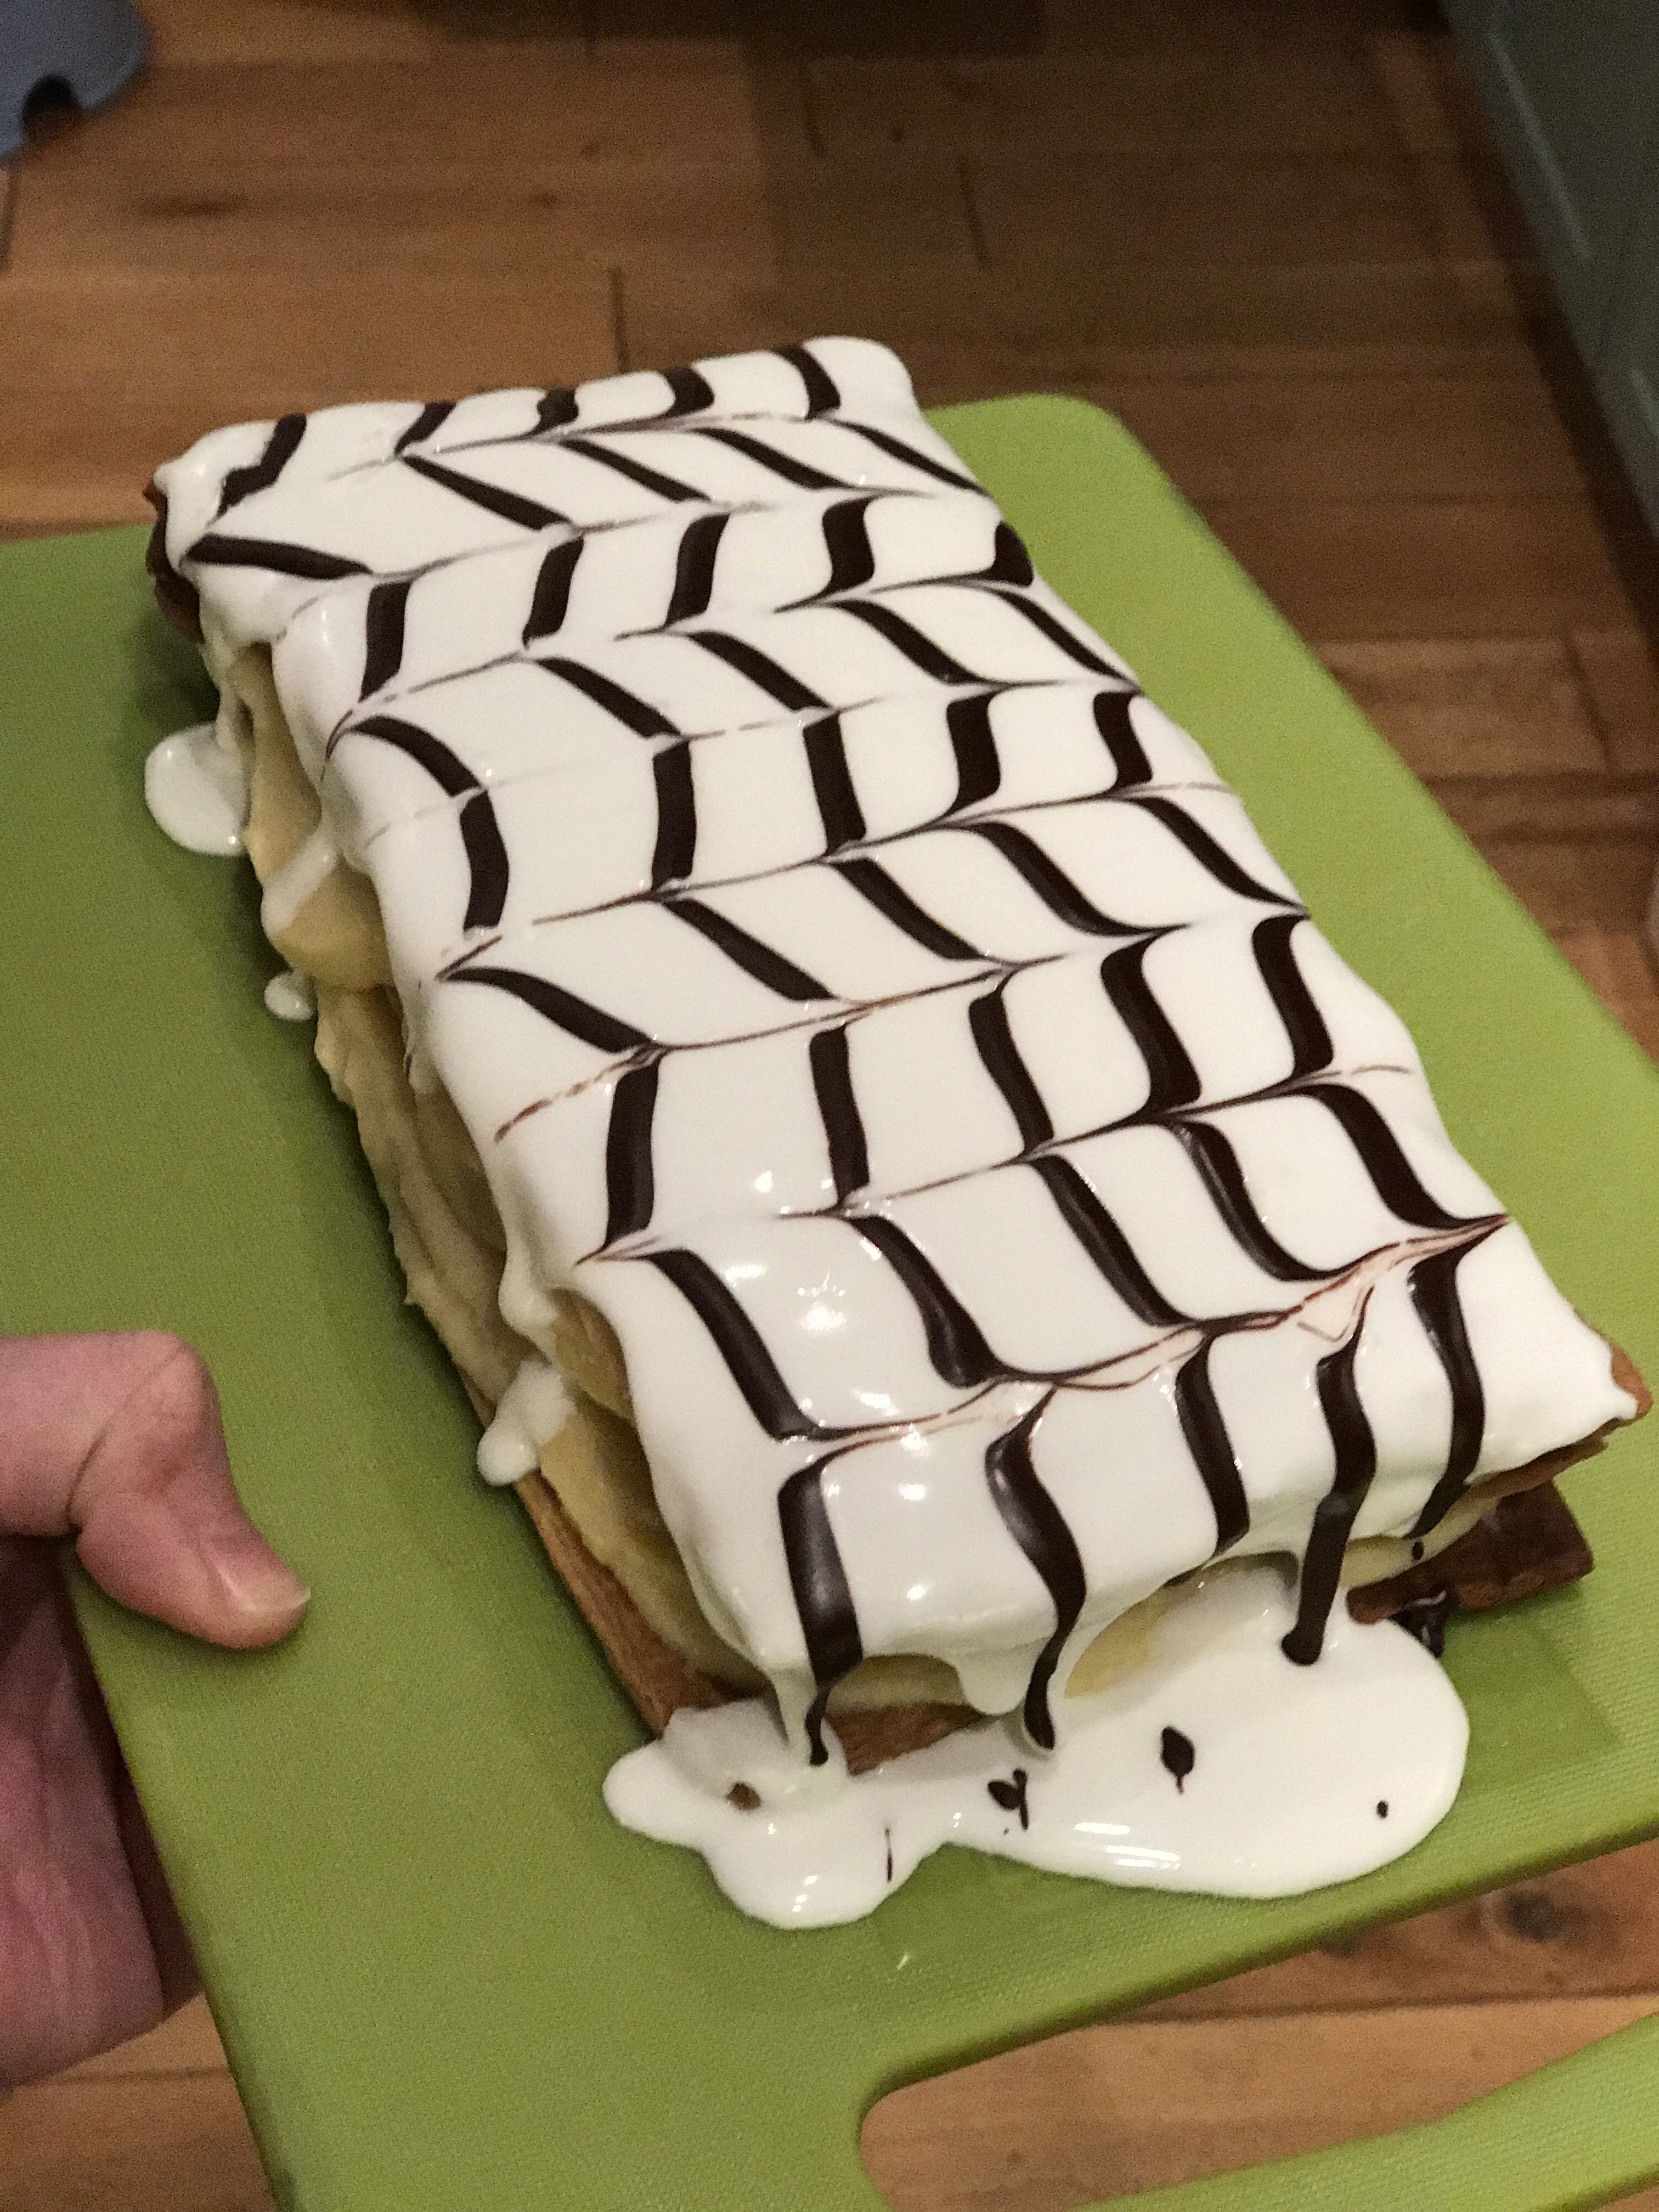
- Still working quickly, take a sharp knife and lightly draw it down (from top to bottom) through the rows of chocolate. A centimeter (½ inch) or so further across, draw the knife up the way this time, from bottom to top. Move along, draw it down again. Then up. And so on, moving along the rows of chocolate until the top is covered in a pretty swirly pattern.
- Take a moment to stand back to see what you’ve created so far, it is a thing of beauty!
- Once you’ve decorated your mille feuille , with a clean knife mark out where you’re going to cut your slices, depending on how big you want them to be and leaving space to trim the edges – or just don’t cut at all and have as a massive cake and stare back at people when they’re looking at you like a crazy person.
- Chill for a couple of hours (if you can bare to) to give the icing time to set and to make the creme pat really nice and firm.
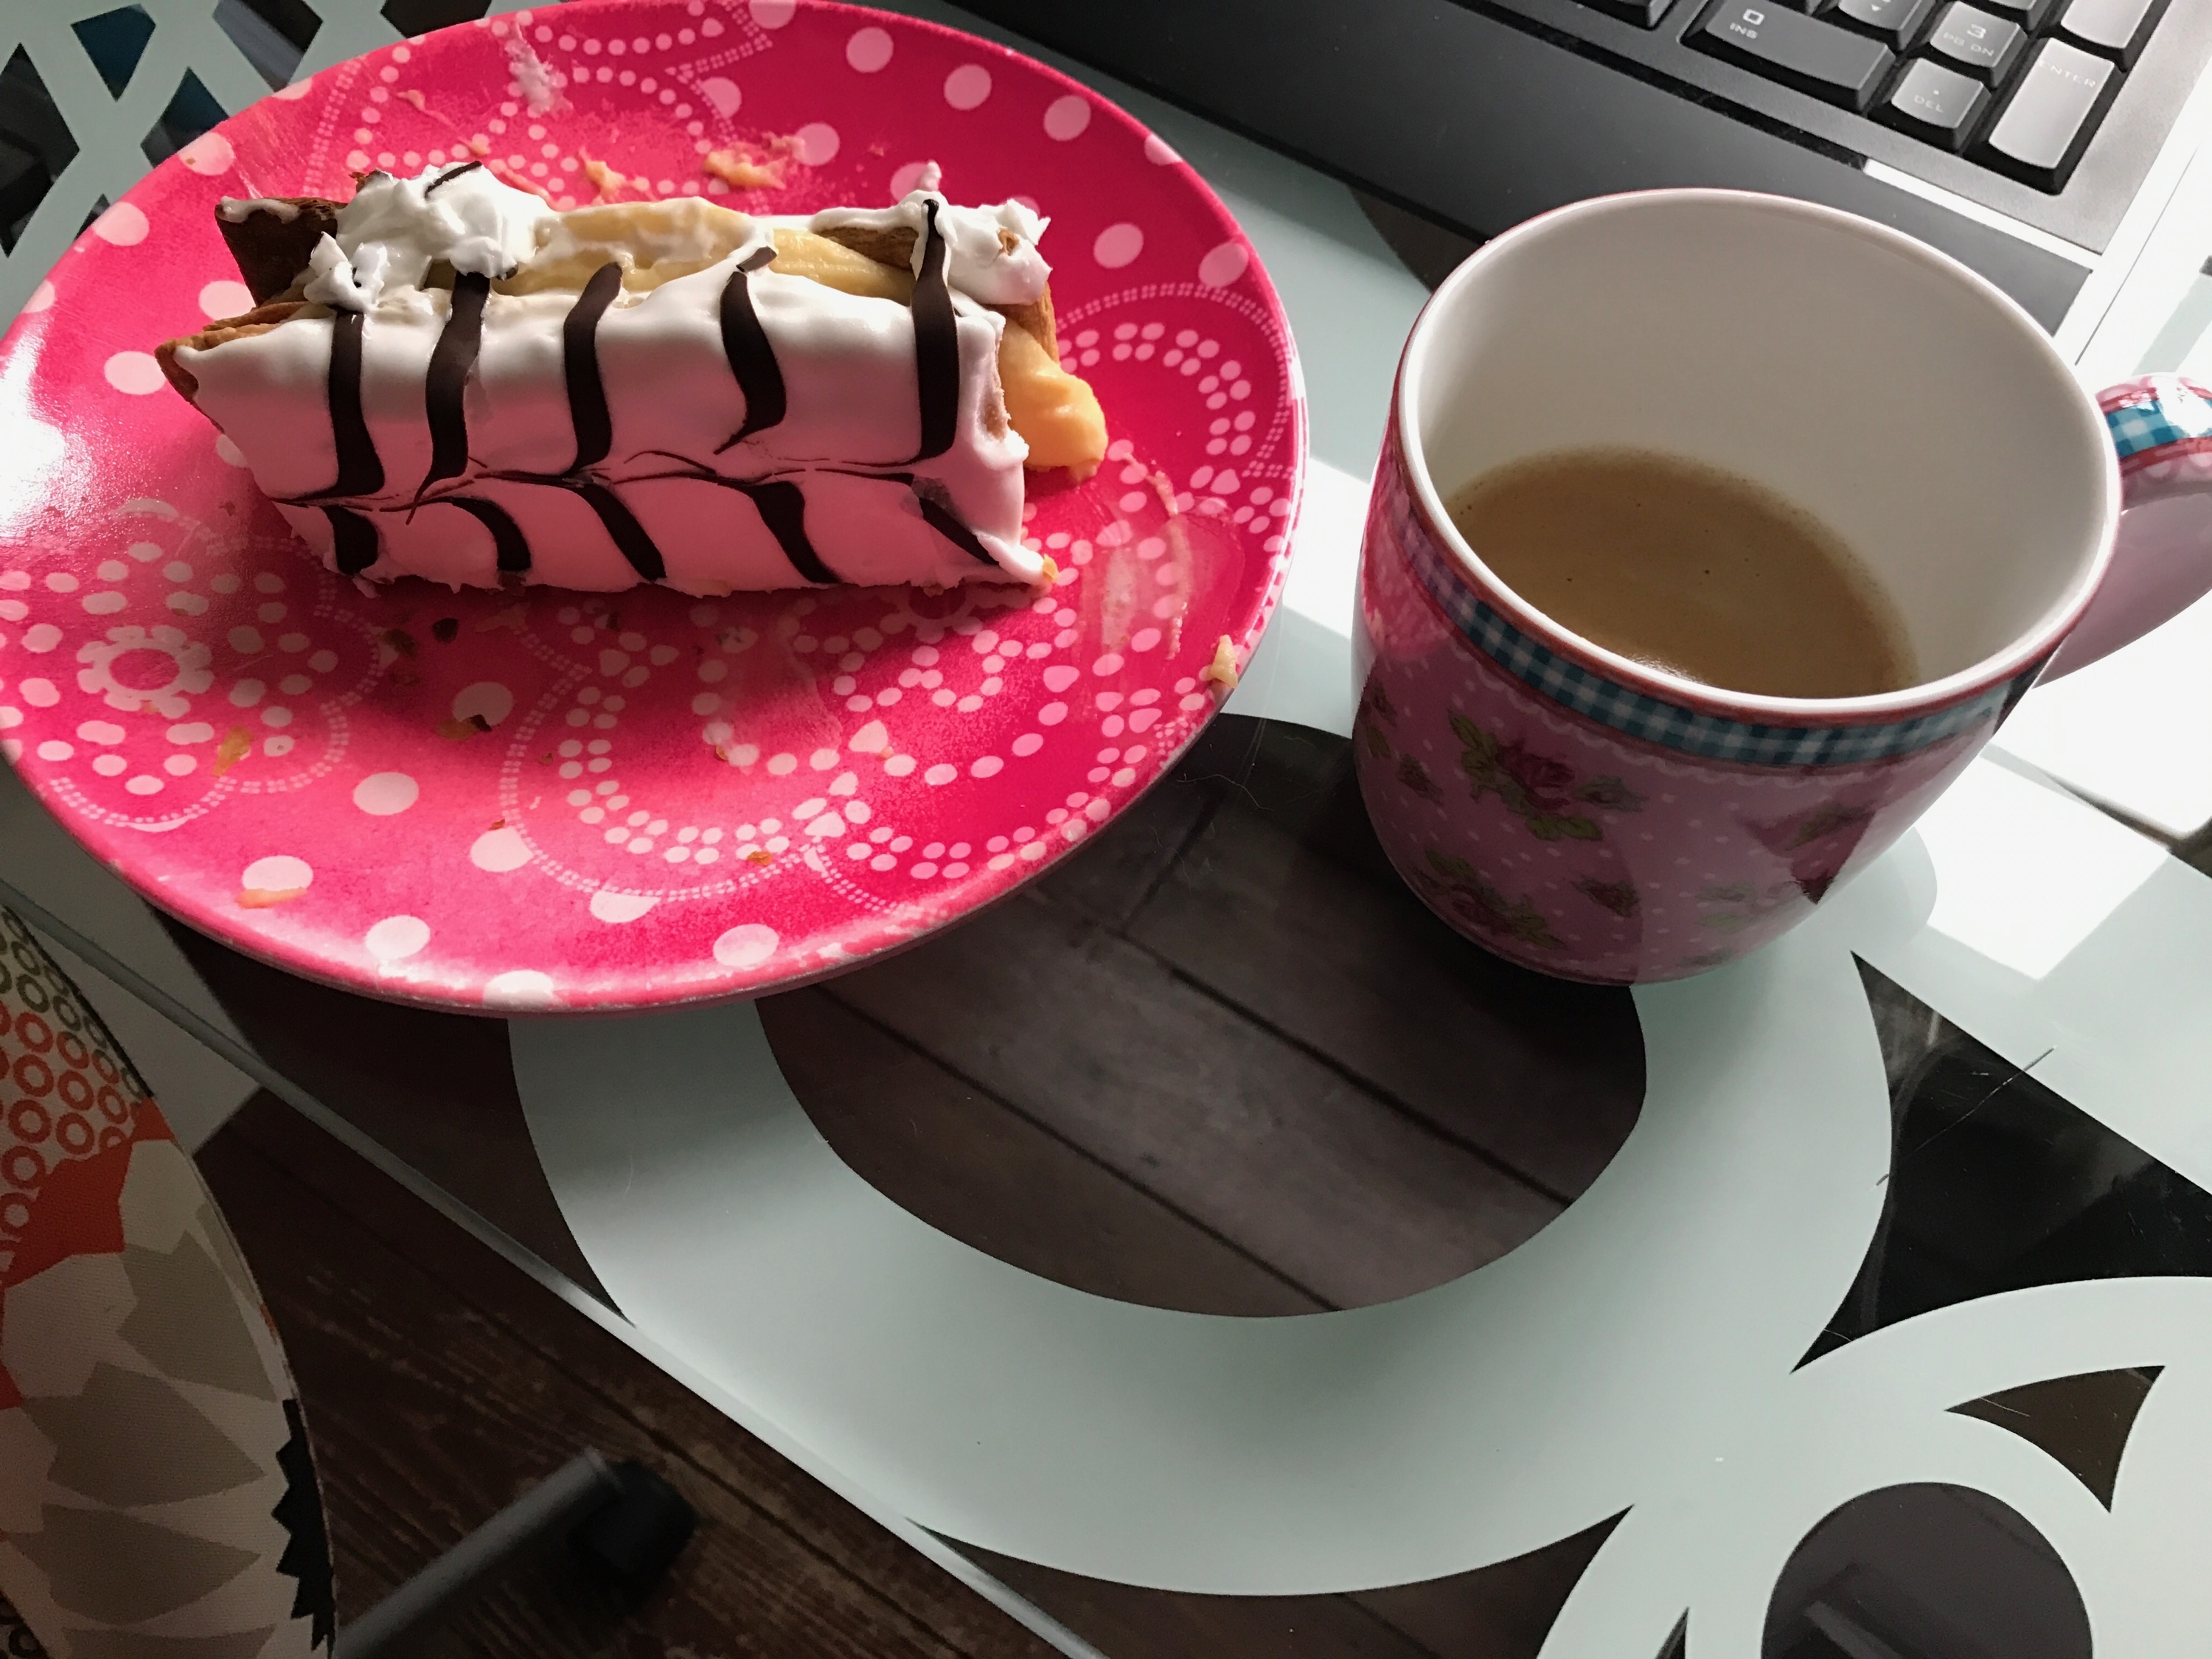
- When you can wait no more, take a sharp knife and trim the edges and cut your slices (must have more than one as first will be gone in a nanosecond and not touch the sides. Serving suggestion: hot cup of black coffee with feet up on the sofa.
I hope you enjoy and that you post here with how you got on and also any advice you have for me on the structure of the post. See you next time for the next instalment of Batch from Scratch, remember all thoughts welcome on what I can bake next!


0 comments on “A million layers and my Mille-Feuille ain’t one”Add yours →