I first made homemade pasta about 2 1/2 years ago and after a frustrating sticky batch, which meant I had to abandon it in favour of shop bought pasta, I stopped completely. The weekend just gone was time to put that experience behind me and learn from that mistake. The learning is there is never enough flour when you’re making the sheets of pasta, particularly when it comes to stacking them on top of each other.
Anyway, enough of skipping ahead and spoiling the conclusion, back to the start of this journey. So, this experience was inspired by Jamie Oliver, who is famously known for his love of Italian foods and specifically pasta. I had always wanted to try making my own pasta given the amazingly simple nature of the method. Cue the purchase of the pasta attachment bundle for our KitchenAid.
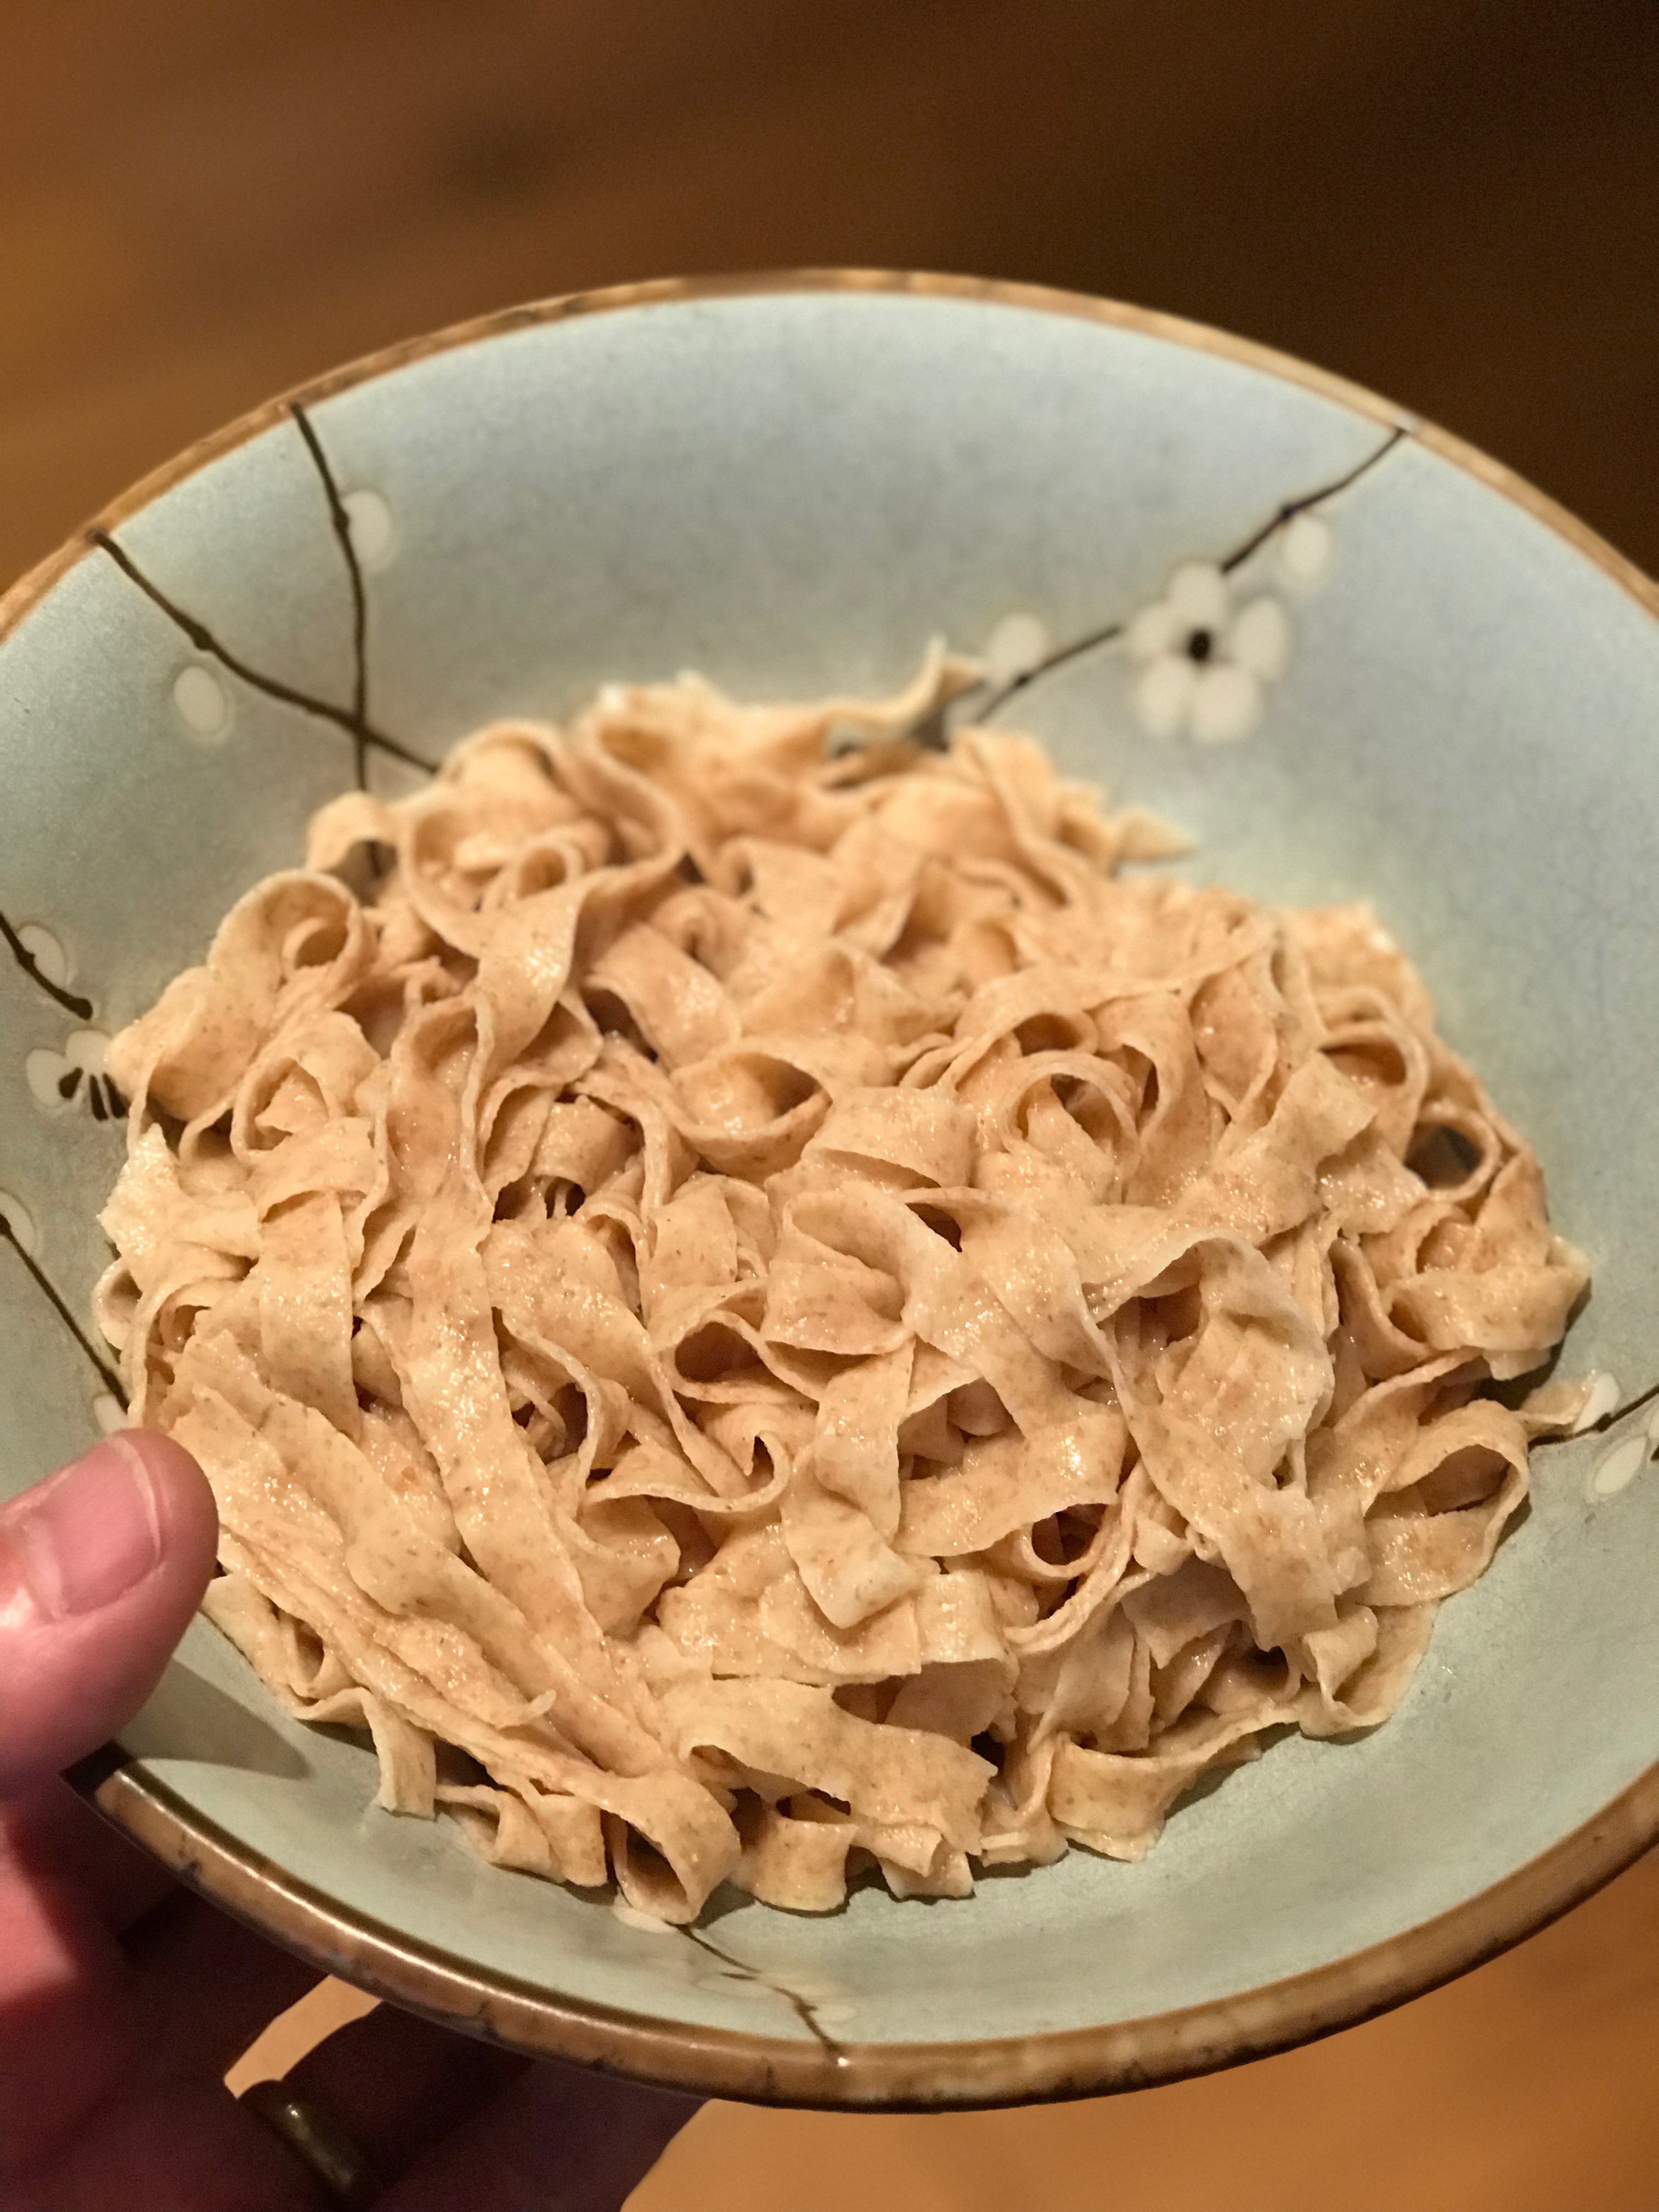
I have tried a few pastas on the journey of finding the best type for our family. They all have the basic ingredients, but tweak the recipe to include a bit of water, use differing flour and more or less eggs. The one that I settled on is whole wheat pasta, as it has a bit of texture to it and is much better for you than normal (the plain type) pasta. This is the one I’ll teach you to make and almost doesn’t require an ingredients section given the small number of ingredients, but including for the measurements as a guide.
INGREDIENTS
- 315g whole wheat pasta / spelt flour
- Decent pinch of salt
- 3 x large eggs
Note: The measurements are enough to make enough for 4-5 large portions. I typically put half of the dough in the freezer to save me time if we are rushed for time.
METHOD
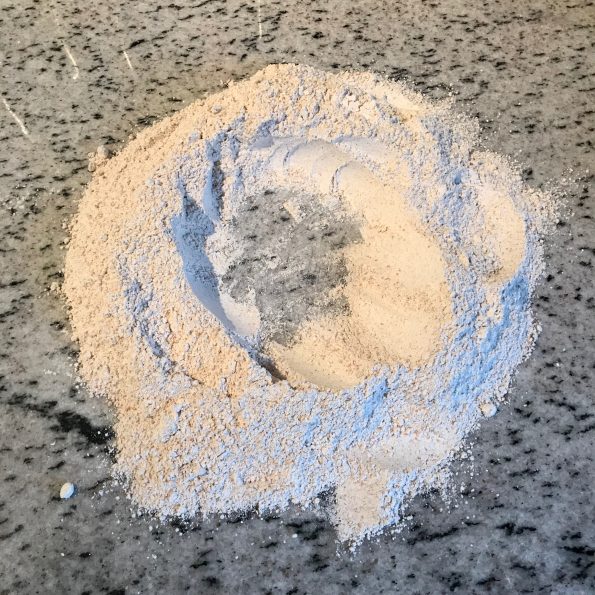
To start put the flour on a work surface and then add the salt. If like me you feel a bit uncomfortable with making a mess when it comes to adding the eggs, you can do this in a stand mixer with the dough attachment. However, having done it like this successfully and getting to grips with the ingredients, I wouldn’t go back to using the KitchenAid. The key is to make sure you have a dough scraper to help bring the ingredients together as soon as the eggs gets loose!

As part of making a well in the centre of the flour, make sure you mix the salt in and distribute it into the flour.
Very carefully, drop the eggs into the middle.
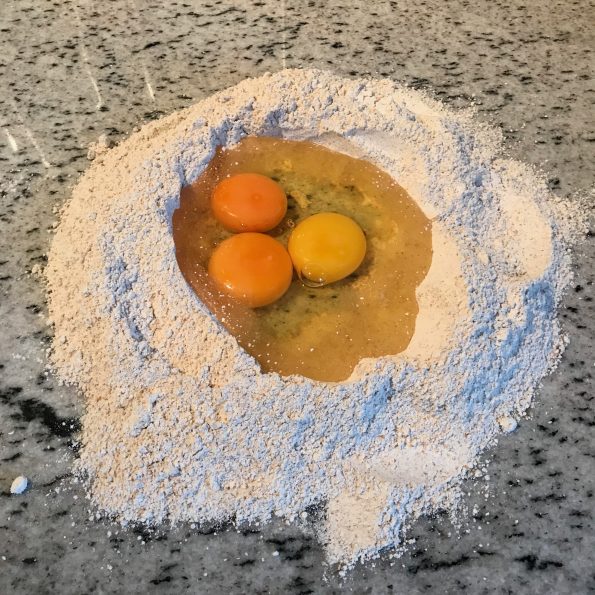
Before you mix the egg and flour together, you want to whisk the eggs in the centre to break the yolks.
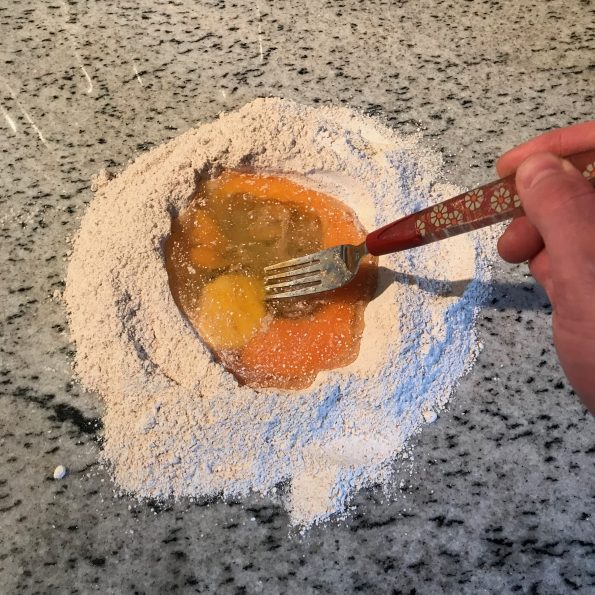
Now let the egg see the flour and make sure you have the dough scraper on hand to ensure the eggs doesn’t run off onto the floor (and to stop your other half shouting at you too!).

Once the dough comes together, you then want to get hands on and kneed the dough.
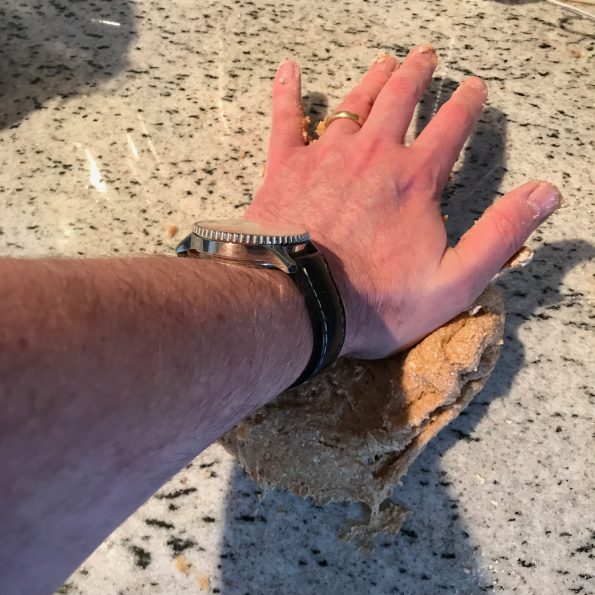
Keep kneeding until you can feel the dough become elastic, it’s this elasticity that allows you to roll it into long pasta strips without it breaking. How you can tell it’s ready is it should return to normal when pressed with your finger. At that stage you want to then roll it into a ball and bang it onto a plate and cover with some cling film, or a damp towel to allow it to prove for 30 minutes or so. If your dough is still sticky after kneeding, add some more flour to the mix. This will make it easier to roll later and not stick together.
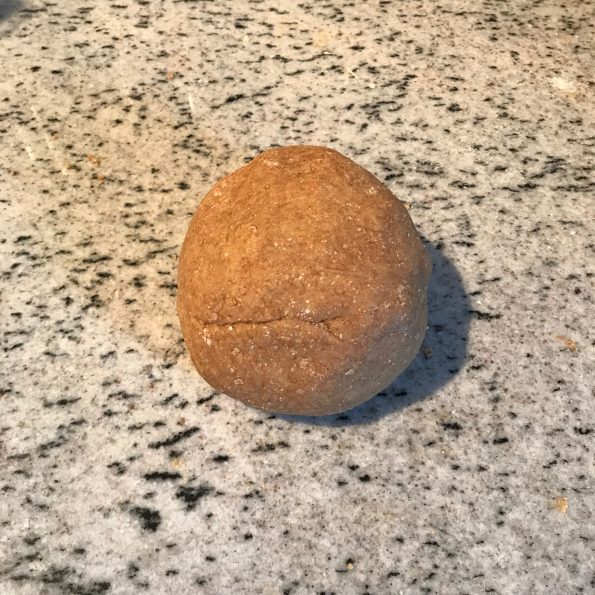
When the time has passed and you’re ready to transform your humble dough ball into epic pasta, you first want to flatten it into a disc on a heavily floured board.
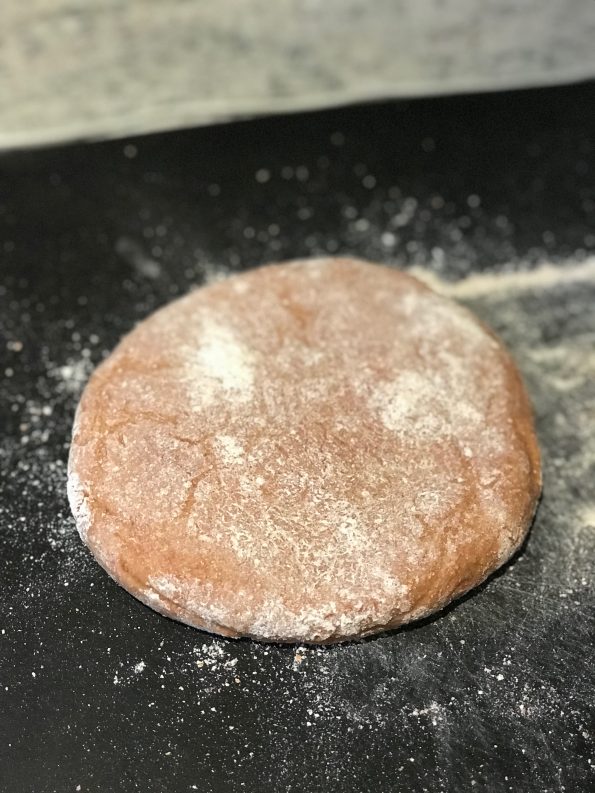
You then want to cut the disc into 8, each segment will make 1 sheet of pasta.
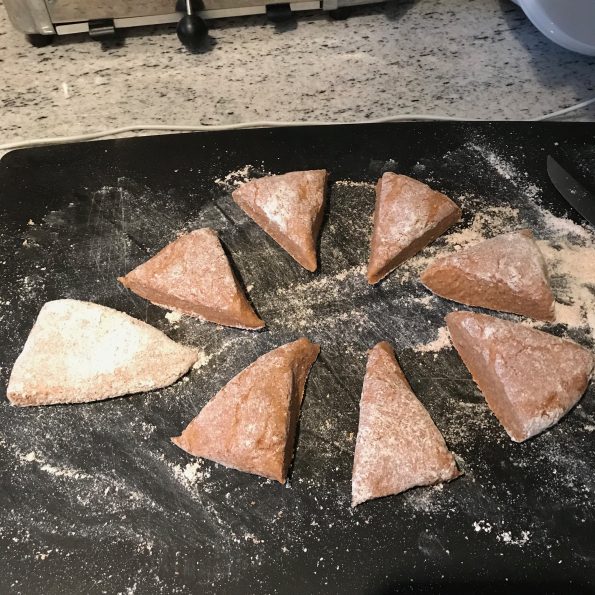
Ahead of rolling you want to flatten the pasta segments further so they are the width of the pasta maker. You don’t have to do this, but it makes a more consistently shaped pasta sheet – more rectangular rather than tapering at one point. It is at this stage you can freeze the pasta you don’t feel you’ll use.
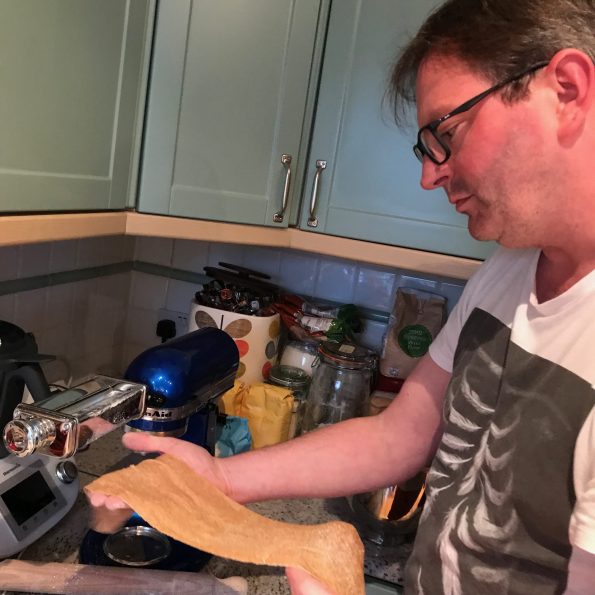
Now comes the fun part, rolling the pasta segments into pasta sheets, ready for you then to choose the type of pasta you’re making and in turn the attachment or utensil that comes next.
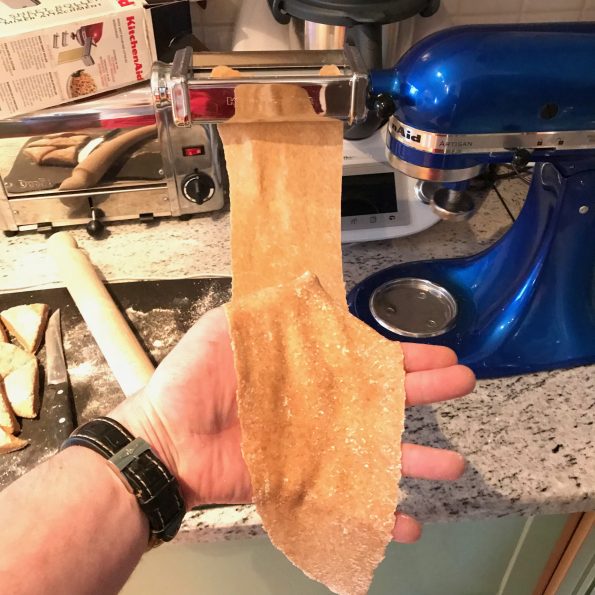
My technique here is to set the pasta roller on the lowest setting (the biggest gap) and then progressively close the gap to produce silky thin pasta sheets. If you try to rush the closing of the gap, say for instance going to setting 5 on my KitchenAid attachment, you’ll get pasta sheets that can be torn in parts, or the thinness varies. My advice is to take the time to move through the levels and always do the same level twice. You’ll notice that the sheets get longer each time you change level, don’t feel the need to cut it in half as it makes for entertaining eating!
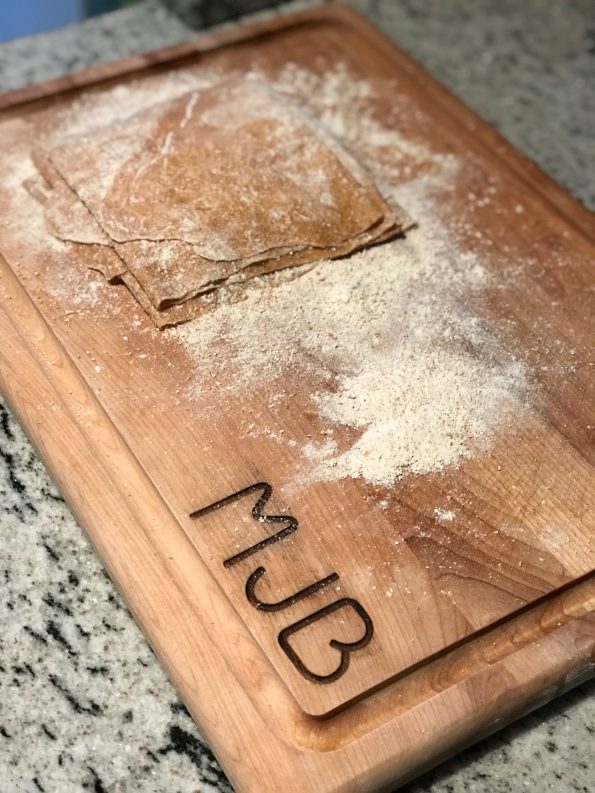
What to do when you’ve got a sheet of pasta made? Well, this is where it can go horribly wrong, especially if you have a number of sheets to make before you move to the next stage. The tip that I come back to is make sure you cover every available surface (pasta, work surface, board, your whole being) with lots of flour. Any excess flour will come off in the cooking, so it won’t spoil the pasta in anyway.
The best method I’ve found for keeping the sheets in good condition as I make more is to place on a board and fold it over on itself (yes more flour between the folds). You can then place each sheet on top of each other. Like this…
Yes you can invest in a pasta hanger for the sheets, but for me this isn’t necessary, particularly when I’ve tried this in the pasta it tends to mean the sheets stick to the hanger itself, which is frustrating to say the least.
When all your sheets are ready, you can then move to the cutting stage. The KitchenAid comes with a couple of attachments – spaghetti and thin flat pappardelle one. I’ve always used the flat cutter to create the magic, as it holds its shape better. Best thing here is to have all the well floured pasta to drop onto the well floured board, you can then drop it off the board and into the water when it has all been done.

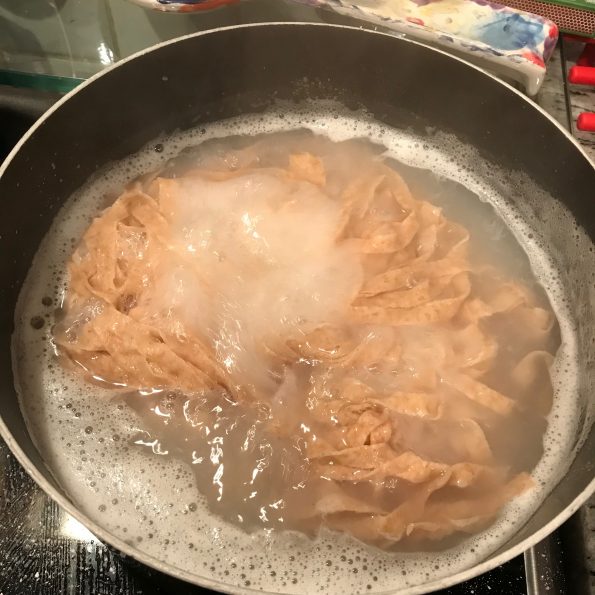
For the cooking you want to salt & oil (will stop the pasta sticking together) a pan of water and get it to the boiling point. Once the pan is boiling you can drop the pasta into the water and check it after about 3 minutes. Given the pasta’s freshness it won’t take any longer than 4 minutes to cook – you’re looking for al dente, which means it still has some texture but isn’t raw.
Once the pasta is ready, tip it out into a colander…
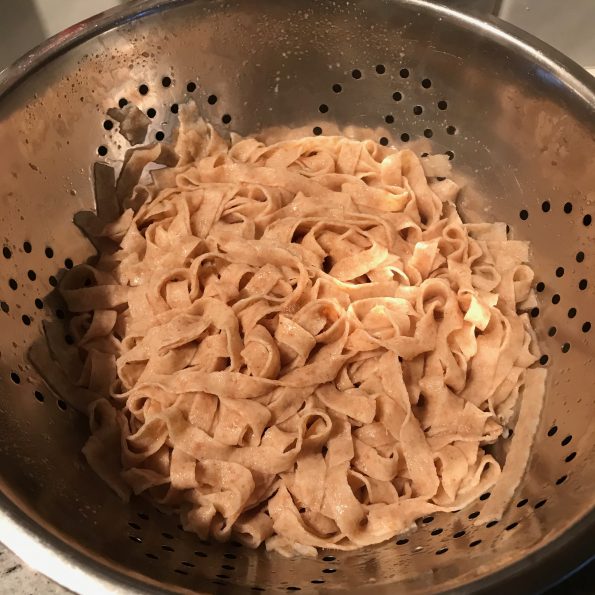
Before serving…

…and then serve with your favourite sauce. Enjoy!
The next thing I am going to try is filled pasta, which will most likely facilitate another kitchen utensil purchase to allow the easy cutting of the pasta (e.g. ravioli).
Let me know how you get on.
0 comments on “Whole wheat pasta – so tasty and so simple with only 3 ingredients!”Add yours →